Babassu Body Cream – Recipe

LAB NOTES & SAFETY NOTICE
For educational purposes only. Content reflects personal, non-professional formulation experiments and is not instructional.
No formula or information on this site is intended for commercial use, consumer application, or third-party use.
Accessing this content means you accept all risks and full responsibility for safety, testing, legal compliance, and outcomes.
[Full Legal Disclaimer & Safety Requirements]

Hello there! 😀

Babassu Body Cream

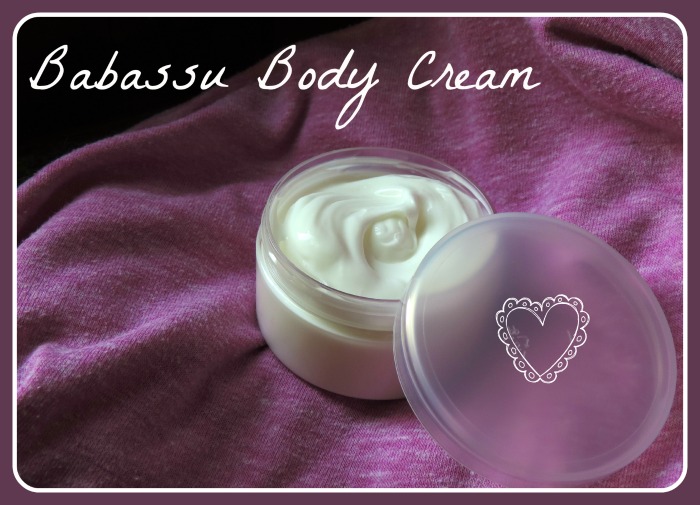
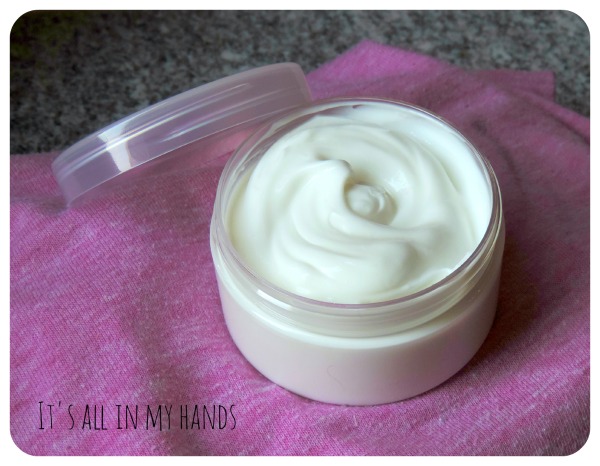
Lab Note: My “Smooth as Silk” Babassu & Shea Body Cream

Today I’m sharing a recipe for a rich body cream using a new emulsifier: Methyl Glucose Distearate. I’ve found the skin feel is even lighter than the “Sesquistearate” version, so I might start testing this for face creams too! yeheee!

For this body cream, I wanted it to feel luxurious but not greasy, so I chose Babassu Oil and Shea Butter, but balanced them with Dicaprylyl Ether to give it a nice “dry” finish.

The “Secret” Allantoin Trick:

I add Allantoin to almost everything because it’s so soothing and affordable. But it can be tricky to disperse! My secret? I found that it “melts” perfectly into Hydrolyzed Proteins. Now, I always pair them together in my Phase C—no more grainy creams! 😉

The Formula I Used:

Phase A (The Gel Base):

  • Water: to 100

  • Glycerin: 5.0

  • Xanthan Gum: 0.2

  • Carbopol Ultrez 21: 0.4 (The “No-Stir” superstar!)

Phase B (The Precious Fats):

  • Methyl Glucose Distearate: 3.5 (The new emulsifier)

  • Cetyl Alcohol / Cetyl Palmitate: 0.8 / 0.7 (My thickening duo)

  • Shea Butter: 6.0

  • Babassu Oil: 8.0

  • Rose Hip Oil: 3.0

  • Dicaprylyl Ether: 3.0 (For that “dry” touch)

Phase C (The Active Finish):

  • Hydrolyzed Oat Proteins: 3.0

  • Allantoin: 0.4 (Pre-mixed into the proteins!)

  • Preservative (Cosgard): 1.0

  • Fragrance Oil: A few drops


Notes from my Beaker:

  1. The Carbopol Ritual: I measured the Carbopol Ultrez 21 and just poured it on top of the water. Do not mix it! Just let it sit and hydrate slowly while it sits on the surface. After a few minutes, it looks like water with little whitish pieces—that’s perfect! It only becomes a gel once the pH hits 5.

  2. The Emulsion: I heated Phase A and B to 70°C. I added the Xanthan-glycerin slurry to the water just before mixing. Then, I slowly poured Phase B into Phase A while stirring with a spatula.

  3. The Mixer: Once they are combined, it’s time for the immersion mixer! It turns white and liquid, but the mixer is what makes the “magic” emulsification happen.

  4. The Ice Bath: You cannot skip the cooling process or it might separate! I used an ice bath to speed things up, stirring for about 30 minutes until it reached room temperature.

  5. The Finish: I added my Phase C (with my Allantoin-Protein mix!), checked the pH, and adjusted it to 5.5.

  6. The Waiting Game: Because of the Cetyl Alcohol and Palmitate, the cream keeps thickening for 24-48 hours. I left it in the beaker covered with plastic wrap for two days, stirring it every now and then, before finally putting it into jars.

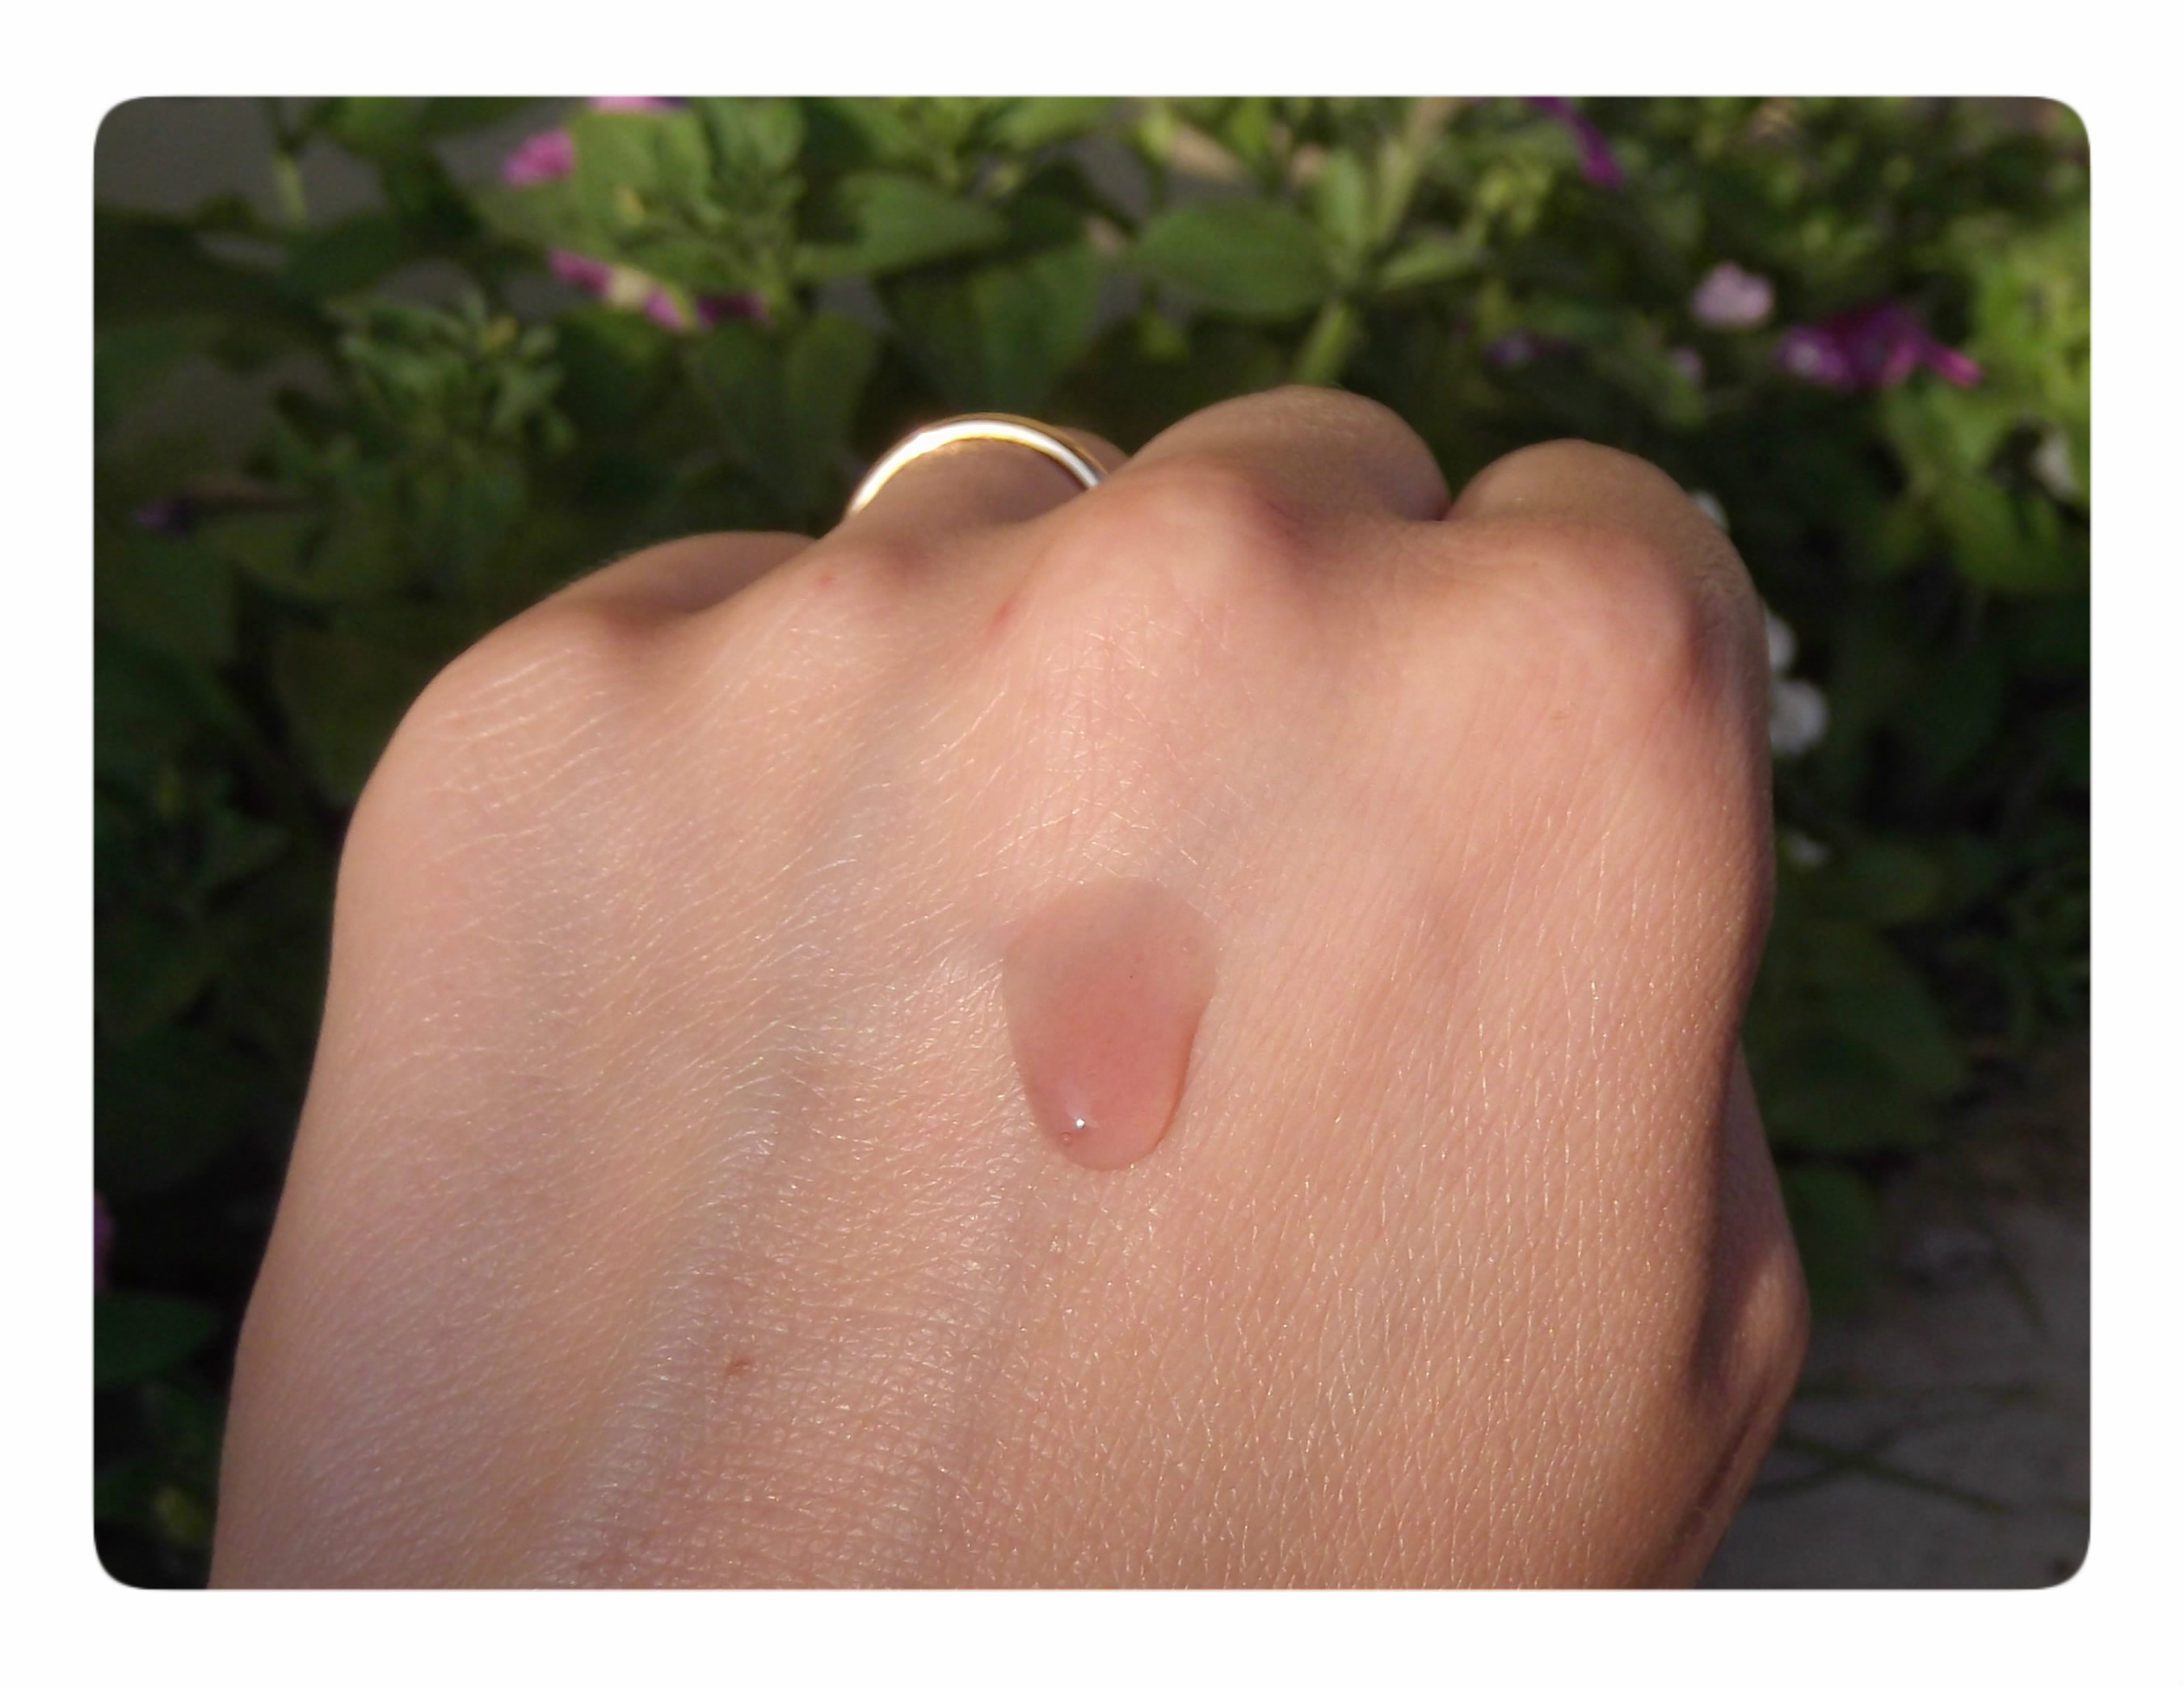
Final Verdict: The texture is lovely! It’s rich because of the Shea and Babassu, but the new emulsifier and the Dicaprylyl Ether keep it from feeling “heavy.” And thanks to the protein trick, the Allantoin is perfectly smooth. ENJOY! 😀 😀 😀

Body cream itsallinmyhands


Amla Power – DIY Spicy Shampoo

LAB NOTES & SAFETY NOTICE
For educational purposes only. Content reflects personal, non-professional formulation experiments and is not instructional.
No formula or information on this site is intended for commercial use, consumer application, or third-party use.
Accessing this content means you accept all risks and full responsibility for safety, testing, legal compliance, and outcomes.
[Full Legal Disclaimer & Safety Requirements]

Amla Power DIY Shampoo

Lab Note: “Amla Power” Spicy Shampoo (The Poetic Effect!)

Hello Hello! 😀 Instead of trying to invent a “miracle anti-gravity” cream today, I decided to focus on something I really needed: a new shampoo!

I formulated this one for the “Autumn hair loss” season. I’m not saying I found a high-tech miracle cure—I’m not even sure those exist! Instead, I used a simple trick: Spicy Essential Oils to help stimulate blood circulation in the scalp. Plus, I added the “Prince” of Indian hair care: Amla Powder!

The Amla Legend

I bought this Amla in India. There, it’s believed to do everything: strengthen follicles, stop dandruff, prevent graying, and even straighten hair! Sips water. If you know me, you know I don’t blindly believe in miracles, but I love the history of Amla, so I added it for The Poetic Effect. 🙂

A Formulator’s Warning: Adding powders to shampoo is tricky! Unless your shampoo is super thick, the powder will eventually sink to the bottom. It can also mess with stability, so I used a higher level of preservative and made a small batch (100g) to be used quickly!


The Formula: Spicy Amla Power

Phase A:

  • Water: to 100

  • Amla Powder: 0.2 (For the poetry!)

  • Glycerin: 3.0

  • Inulin: 1.0 (For smoothing)

  • Hydrolyzed Silk Proteins: 2.5

  • Preservative (Cosgard): 1.0

Phase B (The Surfactant Base):

  • SLES: 25.0

  • Coco Glucoside / Glyceryl Oleate: 2.5

  • Decyl Glucoside: 2.5

Phase C (The “Spice” & Conditioning):

  • Polyquaternium 7: 2.0 (The conditioner)

  • EO of Cinnamon: 10 drops

  • EO of Cardamom: 5 drops

  • EO of Sweet Orange: 5 drops

Phase D (The Thickener):

  • Cocamidopropyl Betaine: 10.0 (The key to the texture!)

  • pH adjusted to 4.5 with Citric Acid


Notes from my Beaker:

  1. Dispersing the Amla: At first, the Amla powder just floated there, so I hit it with the immersion mixer until Phase A was uniform.

  2. Surfactant Magic: I mixed the Phase B surfactants first. It’s always satisfying to see that thick, pearly density start to form!

  3. One by One: I added the Phase C ingredients (Polyquat and oils) to the surfactants one at a time. I’m not very patient about bubbles :D, so there were a few, but that’s okay!

  4. The Big Mix: I poured the watery Phase A into the thick Phase B very slowly. It became very liquid at first—but don’t panic!

  5. The “Betaine Flip”: As soon as I added the Cocamidopropyl Betaine (Phase D), the whole thing became dense and thick like a real shampoo. It’s my favorite part of the process!

Final Verdict: It smells incredible—like a spicy tea for your head! My hair felt strong and the scalp felt “awake.” Just remember to shake it if the Amla starts to settle!

Amla Power Shampoo


Winter Delight – Lip Rescue Balm

LAB NOTES & SAFETY NOTICE
For educational purposes only. Content reflects personal, non-professional formulation experiments and is not instructional.
No formula or information on this site is intended for commercial use, consumer application, or third-party use.
Accessing this content means you accept all risks and full responsibility for safety, testing, legal compliance, and outcomes.
[Full Legal Disclaimer & Safety Requirements]

Hello there I AM BACK! 😀

winterdelight

Lab Note: The “Winter Delight” Lip Rescue (Lola’s Recipe!)

Hello Hello! 😀 Today I am sharing what is truly the best lip balm recipe I have ever tried. This isn’t my invention—it was created by Lola, the founder of the forum where I learned so much of my formulation knowledge! I’ve been making this for over two years, so it is very well tested.

The Hydration Secret

Most lip balms are 100% oil and wax. We always hear that “Shea butter hydrates,” but actually, it doesn’t! 😀 Oils create a layer that stops water from leaving, but they don’t add any new water. Eventually, your lips still end up dry.

What makes this recipe special? It actually contains a water phase! By adding honey and glycerin, we are finally giving the lips real hydration. And the best part? The ingredients are extremely easy to find!

The Formula: Winter Delight

Oil Phase:

  • Beeswax: 20.0 (Use yellow virgin wax for the best scent! :D)
  • Rice Bran Oil: 45.0
  • Tocopheryl Acetate (Vitamin E): 10.0
  • Vanillin: A tiny pinch (for that amazing aroma)

Water Phase:

  • Glycerin: 5.0
  • Honey: 20.0

Phase C:

  • Sweet Orange Essential Oil: 5 drops
  • [NEW 2026 UPDATE]: A lip-safe preservative (see notes below!)

Notes from my Beaker: The “Drop-by-Drop” Method

  1. Modified Cold Cream: This recipe doesn’t use a traditional emulsifier. Instead, it uses the “mechanical” method. I heated the oil phase and water phase separately.
  2. Patience is Key: Once the wax melted, I started adding the water phase DROP BY DROP into the oil. I had to stir constantly for about 30 minutes!
  3. The Goal: I am trying to create tiny water droplets that get “trapped” and held in place as the beeswax cools and solidifies.
  4. Spoon vs. Mixer: I tried using a mini-mixer this time, but it created too many bubbles (making it look very white). A simple spatula or spoon actually works better for a creamy, stable result. Lesson learned! 😀
  5. Add the PRESERVATIVE
  6. The Scent: The mix of honey, vanillin, and sweet orange is absolutely IRRESISTIBLE.

⚠️ SAFETY UPDATE: A Note on Preservatives

In the original version of this post, I mentioned that this recipe doesn’t need a preservative because the high sugar in the honey and the glycerin “occupy” the water. While that chemistry is true, I have updated my lab practice! Because we use our fingers to apply this from a tin, it’s very easy to introduce bacteria. For 100% peace of mind, I now strongly recommend adding a lip-safe or food-grade preservative. Safety first for those beautiful lips! 😀

Final Verdict: This is a creamy balm, so it won’t work in a twist-up stick—keep it in a little tin. It’s a total lifesaver for winter. ENJOY! 😀 😀 😀

Zombie Vaccine – Lifting Eye Gel ;)

LAB NOTES & SAFETY NOTICE
These are personal experiments for educational use only— not instructions and not for commercial or consumer use. By proceeding, you assume all risks related to safety, testing, and regulatory compliance.
[Full Legal Disclaimer & Safety Requirements]

ZOMBIE VACCINE 2

ZOMBIE VACCINE 3

Lab Note: The “Zombie Vaccine” Eye Serum-Gel

Hello Hello! 😀 Who doesn’t look like a zombie in the morning? (Okay, maybe you don’t… but I definitely do!). I saw the name “Zombie Vaccine” on a coffee cup once and I knew I had to steal it for this lifting eye serum.

I’m calling this a serum because it’s made of 100% active ingredients! There are no fillers here—just pure hydration and “wake-up” magic for that delicate eye area. yeheee!

The Active Duo:

  • Caffeine: The ultimate “double espresso” for your face. It helps stimulate microcirculation to fight puffiness and those dark zombie circles.
  • Sodium Hyaluronate: This is the salt form of Hyaluronic Acid. Just 1 gram is enough to turn this liquid into a beautiful, thick gel. It gives a slight “lifting” effect as it dries, while pulling hydration deep into the skin.

The Formula: Zombie Vaccine

  • Water: to 100
  • Rose Water: 30.0 (Soothing and smells like a dream)
  • Glycerin: 3.0
  • Sodium Hyaluronate: 1.0 (The gelling agent)
  • Blueberry Powder Extract: 0.3 (Antioxidant power!)
  • Caffeine: 2.0 (The anti-puffiness hero)
  • Preservative (Cosgard): 1.0

Notes from my Beaker:

  1. The Caffeine Challenge: Caffeine can be a bit of a diva. I mixed the water, rose water, glycerin, and caffeine together and heated it very slowly, stirring constantly. You have to make sure it’s fully dissolved—and then I prayed it wouldn’t crystallize into needles as it cooled down! 😀 (Luckily, it stayed smooth).
  2. The “No-Stir” Gelling: Once the liquid was completely cool, I added the preservative and the blueberry extract. Then came the Sodium Hyaluronate. I just poured it on top and did not stir.
  3. The Waiting Game: I covered the beaker with plastic wrap and walked away. I gave it a tiny mix after a few hours, but mostly I just let it sit. It takes about a day and a half for the Hyaluronate to fully hydrate into a clear, thick gel.
  4. pH Check: I checked the pH and it was a neutral 7.0. Since it’s for the eyes, I left it right there!

Final Verdict: This serum is so refreshing in the morning! It’s light, it’s cold, and it really helps “tighten” things up so I look a bit more human and a bit less zombie. ENJOY! 😀 😀 😀

Soap soap soap… decoration!

Violet Soap 2

LAB NOTES & SAFETY NOTICE
These are personal experiments for educational use only—not for commercial or consumer use. By proceeding, you assume all risks related to safety, testing, and regulatory compliance.
[Full Legal Disclaimer & Safety Requirements]

300 gr Coconut oil
400 gr Olive oil
150 gr Shea butter
50 gr Castor oil
50 gr Cocoa butter
50 gr Almond oil 

147 gr lye
330 water

but what I love of this soap is actually the decoration! 😀

I colored all the paste of violet, using a specific colorant for cold process soaps (but if you have micas you might want to try with that! BUT some micas do not keep their color in saponification: what you can do is drop some mica inside a small amount of water and lye just to see if the color changes in a strong alcaline environment – like soap is going to be – if the color stays same… you can use it to color your soaps! Yay! 😀 ).

Then I had some fresh leftovers of another soap which was white in color: I cut very small cubes and, using gloves, I rolled each cube in my hands to make it become a small ball! 😀
I also colored some paste with another drop of violet and that’s why some balls look more pinkish!

Eventually I collected all the little soap balls and poured on them a dark copper Mica! I mixed lightly until all were covered and simply dropped them in my soap (which was at a quite thick trace!). As you can see the result is a little dark mark around each ball! 😀

Hope you like this!
I loved the result! 😀

Have a great day!

[ps. as you can see I still haven’t got the hang on stamping soaps… but I will 😀 sooner or later 😀 ahahah]

Violet Soap

For more recipes click HERE 
To learn how to formulate cosmetics click HERE
For a list of online cosmetic ingredients suppliers click HERE 

Creative Commons License
This work is licensed under a Creative Commons Attribution-NonCommercial-NoDerivatives 4.0 International License.

DIY Karma Shampoo (extra delicate!) & chat on betaine

LAB NOTES & SAFETY NOTICE
These are personal experiments for educational use only—not for commercial or consumer use. By proceeding, you assume all risks related to safety, testing, and regulatory compliance.
[Full Legal Disclaimer & Safety Requirements]

Hello everyone! 😀

Make your own Karma Shampoo

Hello Hello! 😀 Today I’m sharing my experiment with a formula that is all about finding the perfect “Karma” for my hair. I know I’ve been experimenting with a lot of sulfate-free stuff lately, but sometimes you just want that really deep, satisfying clean that only SLES can give—especially if you’ve been using a lot of hairspray or if your hair just feels “heavy.”

The challenge I set for myself was: Can I use SLES but make it feel like a high-end, expensive boutique shampoo instead of something harsh?

The secret is all in the TMG (Trimethylglycine). (Trimethylglycine). I didn’t just want bubbles; I wanted protection. TMG is an anhydrous betaine that is a total powerhouse for hydration. Adding it to a SLES base is a game-changer because it helps protect the scalp and hair from the drying effects of the surfactants. It’s like giving your hair a big drink of water while you clean it!

The Formula

Phase A:

  • Water: to 100

  • Glycerin: 3

  • Guar Hydroxypropyltrimonium Chloride: 0.2

Phase B:

  • Sodium Laureth Sulfate (SLES): 25

  • Cocamidopropyl Betaine: 10

  • Coco-Glucoside: 5

  • TMG (Trimethylglycine): 3

Phase C:

  • Hydrolyzed Wheat Protein: 1

  • Panthenol: 0.5

  • Preservative: (According to my usual lab choice)

  • Fragrance Oil: (Karma type scent)

  • Citric Acid: (To reach pH 5.5)

  • Salt (Sodium Chloride): (A pinch to thicken)

My notes from the experiment:

The best part was watching the texture change. When I started adding the Citric Acid to bring the pH down to 5.5, and then just a tiny pinch of salt at the very end, the shampoo turned into this gorgeous, thick “honey” consistency. It’s so satisfying to pour!

The result is exactly what I wanted. You get those huge, fluffy bubbles that everyone loves, but when you rinse it off, your hair doesn’t feel like “straw.” It feels clean, bouncy, and smells like a L**h dupe 😀 . It just goes to show that with the right balance, even the “strong” ingredients can have great Karma! ENJOY! 😀

Banana Smoothie – Hair Conditioner (with Cetrimonium Chloride)

Bananasmoothie2

LAB NOTES & SAFETY NOTICE
These are personal experiments for educational use only—not for commercial or consumer use. By proceeding, you assume all risks related to safety, testing, and regulatory compliance.
[Full Legal Disclaimer & Safety Requirements]

Lab Note: My “Banana Smoothie” Hair Conditioner

Hello Hello Everyone! 😀 I know I just posted a hair conditioner recipe recently, but I am way too excited about this one to wait!

In my last experiment, I used an eco-friendly emulsifier that was good, but it needed so many thickeners that I had to put it in a pot. This one is different. This is my Banana Smoothie—it’s creamy, but not too thick, so it actually pours into a bottle!

The star of the show? Mr. Cetrimonium Chloride! 😀 It is an amazing conditioner. It’s a “beast” at detangling (even though the cream itself is soft), and the effect lasts as long as it’s on your hair.

The Formula for my Smoothie:

Phase A:

  • Water to 100
  • Glycerin 2
  • Cetrimonium Chloride 4 (I have long, thin hair that knots if I just look at it, so I used 4% and it works amazingly!)

Phase B:

  • Cetearyl Alcohol 2 (This is the thickener. I only used 2% to keep it pourable. If you wanted a pot-cream, you’d go up to 5%!)
  • Shea Butter 0.5
  • Dicaprylyl Ether 0.5 (A very light synthetic oil)
  • Jojoba Oil 0.5 (Technically a wax—it never goes rancid!)

Phase C:

  • Wheat Proteins Powder 0.5
  • Polyquaternium 7 – 1
  • Quaternium 80 – 0.5 (These are extra conditioners, but Cetrimonium is so strong you could even omit these!)
  • Preservative (According to the type used)
  • Fragrance Oil (I used BANANA—hence the name! :D)
  • Citric Acid (To reach pH 4.5—you MUST add this!)

Notes from the Beaker:

  1. Heat it up: I heated both Phase A and Phase B to 70°C.
  2. The Golden Rule: For conditioners, it’s different! Phase A (Water) MUST be poured into Phase B (Oils). Not the other way around! Very important! 😀
  3. Mixing: I used the immersion mixer until it looked smooth, then stirred slowly by hand until it cooled down.
  4. One by One: I added the Phase C ingredients at the end, but I added them one by one. If you dump them all in, the texture can get cranky.
  5. The Oil Choice: I used Jojoba and a synthetic oil because they don’t go rancid. Since conditioner stays on the hair a bit, you don’t want oils that smell bad after a while!

Final Verdict: I am really satisfied! It smells like bananas, detangles like a dream, and actually fits in my squeeze bottles. I love it! 😀