Smooth Away Face Cream

LAB NOTES & SAFETY NOTICE
For educational purposes only. Content reflects personal, non-professional formulation experiments and is not instructional.
No formula or information on this site is intended for commercial use, consumer application, or third-party use.
Accessing this content means you accept all risks and full responsibility for safety, testing, legal compliance, and outcomes.
[Full Legal Disclaimer & Safety Requirements]

Hello everyone!

IMG_20181029_082916 (1)

Continue reading Smooth Away Face Cream

Spring Hydrating and Multivit – Face Cream

LAB NOTES & SAFETY NOTICE
For educational purposes only. Content reflects personal, non-professional formulation experiments and is not instructional.
No formula or information on this site is intended for commercial use, consumer application, or third-party use.
Accessing this content means you accept all risks and full responsibility for safety, testing, legal compliance, and outcomes.
[Full Legal Disclaimer & Safety Requirements]

Spring Face Cream - Itsallinmyhands

My “Multivit” Spring Hydrating Cream

Hello Hello! 😀 Today I’m so happy to share my recipe for a “skin-awakening” cream. I made this specifically for the transition into Spring. During winter, my skin always ends up looking a bit dull and “tired,” so I wanted something light, super hydrating, and packed with vitamins to bring back that healthy glow! yeheee!

The Vitamin Cocktail:

I didn’t want a heavy, occlusive cream; I wanted a “water-bomb” effect. I used a combination of Pro-Vitamin B5 (Panthenol) for healing, Vitamin E for protection, and a touch of Vitamin C (the stable version!) to brighten things up. It’s like a fresh smoothie for the face!

The Formula:

Phase A:

  • Water to 100

  • Glycerin 3

  • Xanthan Gum 0.2

  • Hyaluronic Acid (1% solution) – 5 (This is the secret for that “plump” Spring skin!)

Phase B:

  • Emulsifier (I used Olivem 1000) – 4 (I lowered it slightly from 5 to 4 to keep it lighter for the warmer weather.)

  • Rice Bran Oil – 3 (Very light and full of antioxidants.)

  • Jojoba Oil – 2

  • Ethylhexyl Stearate – 3 (This is a very fast-spreading “dry” oil that helps the cream absorb in seconds!)

Phase C (The Vitamin Boost):

  • Panthenol (B5) – 1

  • Tocopherol (Vitamin E) – 1

  • Sodium Ascorbyl Phosphate (Vitamin C) – 0.5 (This stable version of Vitamin C is great because it doesn’t irritate the skin as much!)

  • Niacinamide (Vitamin B3) – 2 (My absolute favorite for refining pores and evening out the skin tone.)

  • Preservative (According to your type)

  • Fragrance (I used a “Green Tea and Lemon” scent—it smells so fresh! :D)


Notes from the Beaker:

  1. The Niacinamide Trick: I make sure to dissolve the Niacinamide in a tiny bit of water from Phase A before adding it at the end. If the pH of your cream is too low (below 5), Niacinamide can get “angry” and turn into nicotinic acid, which makes your face flush red! So I always check that the pH is exactly 5.5.

  2. Lightness is Key: Since this is for Spring, I used more “dry” emollients. If you feel like it’s still too heavy, you can swap the Jojoba for more Rice Bran oil.

  3. The Glow: The combination of Vitamin C and Hyaluronic acid gives an immediate brightness. It doesn’t hide imperfections; it just makes the skin look “awake.”

  4. Heating: Usual drill! Heat A and B to 70°C, then combine. Wait until it’s below 40°C before adding all those precious vitamins in Phase C, or the heat might destroy them!

Final Verdict: I’ve been using this for a week and my skin feels so much more resilient. It’s the perfect “reset” button after a long, cold winter. ENJOY! 😀

Aloe Vera Face Cream DIY

LAB NOTES & SAFETY NOTICE
For educational purposes only. Content reflects personal, non-professional formulation experiments and is not instructional.
No formula or information on this site is intended for commercial use, consumer application, or third-party use.
Accessing this content means you accept all risks and full responsibility for safety, testing, legal compliance, and outcomes.
[Full Legal Disclaimer & Safety Requirements]

Aloe Vera Cream Cover

In this experiment I tried to formulat a soothing, matte-finish cream designed for skin that is no longer in an active acne phase but remains sensitive and prone to congestion. I tried creating a “grease fall” that would use butters which don’t melt so easily and don’t spread on the skin like, let’s say, coconut butter.

The Technical Highlights

The “Dry” Lipid Profile (Grease Fall)

To achieve a matte finish and avoid a “heavy” skin feel, I utilized a strategic blend of lipids:

  • The “Dry” Butters: Kokum and Murumuru butters provide structural richness but possess a high stearic acid content, which leads to a “dryer” finish on the skin compared to Shea or Cocoa butter.
  • Non-Comedogenic Oils: Safflower, Black Currant, and Cranberry seed oils are high in linoleic acid. In my records, I prioritize these for acne-prone skin as they help balance the skin’s sebum composition.
  • Cetiol Sensoft: A lightweight synthetic ester used to enhance the “slip” and provide a professional, elegant texture without greasiness.
Phase Component % / grams Function
A Distilled Water to 100 Solvent
A Glycerin 4.0 Humectant
A Xanthan Gum 0.25 Stabilizer
B Methyl Glucose Sesquistearate 3.0 Emulsifier
B Cetyl Alcohol 1.8 Co-emulsifier / Thickener
B Kokum & Murumuru Butters 1.0 / 1.0 “Dry” Butters
B Vitamin E / Cetiol Sensoft 0.5 / 0.5 Antioxidant / Emollient
C1 High-Linoleic Oil Blend 2.0 Nutrient Lipids (Cold Phase)
C1 Bisabolol 0.5 Soothing Active
C2 Hyaluronic Acid (1% Gel) 3.0 Hydration
C2 D-Panthenol / Allantoin 1.0 / 0.4 Healing / Anti-irritant
C2 Silk Hydrolyzed Proteins 2.6 Conditioning
C2 Aloe Vera Powder (200:1) 0.5 Concentrated Soothing
D Preservative / Fragrance 1.0 / q.s. Protection / Aesthetic

Notes from my Beaker:

  1. The Aloe Choice: I used a high-quality Aloe Vera juice/gel. You have to be careful with Aloe because if you use the “ready-made” gels from the store, they already have thickeners in them that can mess up your emulsion. I prefer the liquid version so I can control the texture myself.

  2. The Emulsion: I heated Phase A and Phase B to about 70°C. When I combined them, I used my mini-mixer for a few minutes until it turned into a beautiful, snowy white cream. It’s so satisfying to watch it thicken as it cools!

  3. The pH Check: As always, I made sure to check the pH once it cooled down. Keeping it at 5.5 is the “sweet spot” for my skin to stay happy and the barrier to stay strong.

  4. The Feel: This cream has a “velvet” finish. It sinks in quickly but you can still feel that the Aloe is there, keeping the skin hydrated and plump.

Final Verdict: This has become my go-to “emergency” cream for whenever my skin feels a bit sensitized. It’s simple, it’s cooling, and it works! It’s amazing what a difference a good amount of Aloe can make. ENJOY! 😀

Aloe Cream

How to make a lotion – THEORY pt.1

LAB NOTES & SAFETY NOTICE
For educational purposes only. Content reflects personal, non-professional formulation experiments and is not instructional.
No formula or information on this site is intended for commercial use, consumer application, or third-party use.
Accessing this content means you accept all risks and full responsibility for safety, testing, legal compliance, and outcomes.
[Full Legal Disclaimer & Safety Requirements]

Escin and Caffeine Eye Cream14

My Lab Notes: The Four Pillars of a Great Emulsion

Hello Hello! 😀

When I first started playing with body butters, I realized pretty quickly that I needed to dig a bit deeper into the science of it all. I didn’t want to just follow “recipes”; I wanted to understand the why.

These are my personal notes on the core structure of every face and body cream I make. While formulation can get incredibly complex, I’ve realized that my most successful experiments always come down to these four essential pillars.

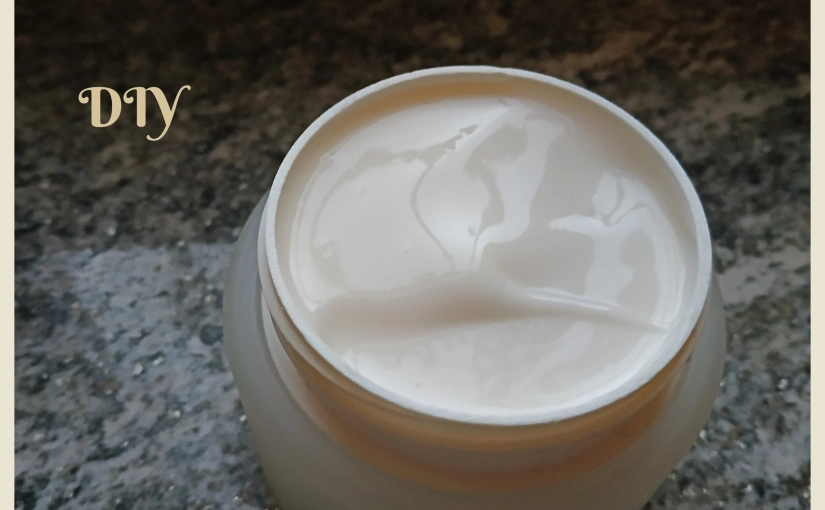
1. The Mechanics of Hydration (Water + Fats)

I used to think water was just a filler, but it’s actually the hydration hero! The problem is that water evaporates too fast on its own. That’s where the Lipids (my oils and butters) come in—they act as a shield to keep that moisture trapped in.

  • My Observation: I’ve noticed that an emulsified cream (where the water and oil are actually “glued” together) works so much better than just shaking up a bottle of oil and water. It feels better, and the skin stays hydrated longer!

2. Preservation: My Non-Negotiable Rule! 😀

PHEW! Let’s talk about preservatives. I know some people want to avoid them, but in my lab, preservation is NOT optional. * The Reality: Any time I add water to a formula, I’m basically inviting bacteria and mold to a party. Unless I want to keep my creams in the fridge and throw them away after three days (no thanks! 😉 ), I need a professional preservation system. I usually choose eco-friendly options around 0.5-1%. Safety first!

3. The Water Phase: Pure vs. “Poetic”

For my experiments, I always use demineralized, pure water to avoid any minerals messing with my emulsifiers.

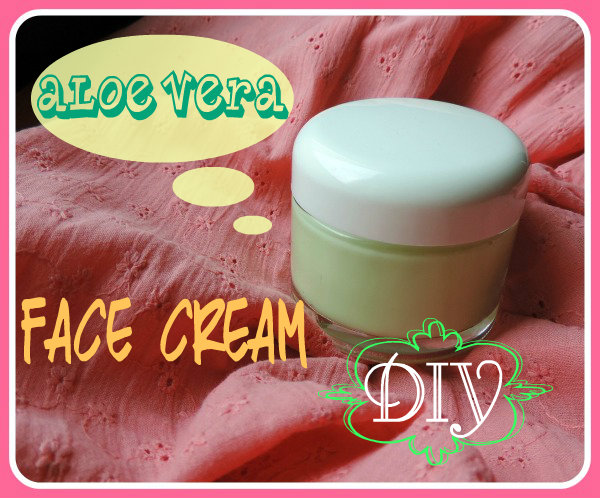
  • A bit of Poetry: I love using Rose water or Witch Hazel, but I’ve started categorizing these as “poetic” ingredients. They smell amazing and feel luxurious, but I keep my expectations realistic—they are there for the soul of the cream, while the “active ingredients” do the heavy lifting!

4. The Lipid Phase: Balancing the “Fall”

I’ve stopped believing in “miracle oils.” Now, I focus on the Grease-Fall.

  • The Strategy: Instead of just picking one oil, I look at the density ($\rho$) and the viscosity. I want a blend of light, medium, and heavy fats so the cream feels balanced from the moment I put it on until it sinks in.

5. Emulsifiers: The Architecture

The emulsifier is the “bridge” that holds the whole thing together. I choose mine based on:

  • Temperature: Do I want a cozy hot-process session at 70°C, or a quick cold-process fluid?

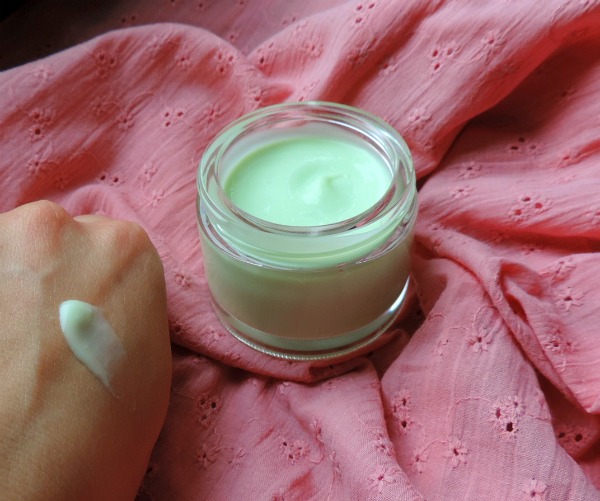
  • The “Touch”: Some give a dry, powdery finish, while others feel rich and velvety.

These four pillars are the foundation of everything I do. Once I get these right, I can start playing with the fun stuff—the actives!

HAVE A GREAT DAY! 😄