LAB NOTES & SAFETY NOTICE
For educational purposes only. Content reflects personal, non-professional formulation experiments and is not instructional.
No formula or information on this site is intended for commercial use, consumer application, or third-party use.
Accessing this content means you accept all risks and full responsibility for safety, testing, legal compliance, and outcomes.
[Full Legal Disclaimer & Safety Requirements]
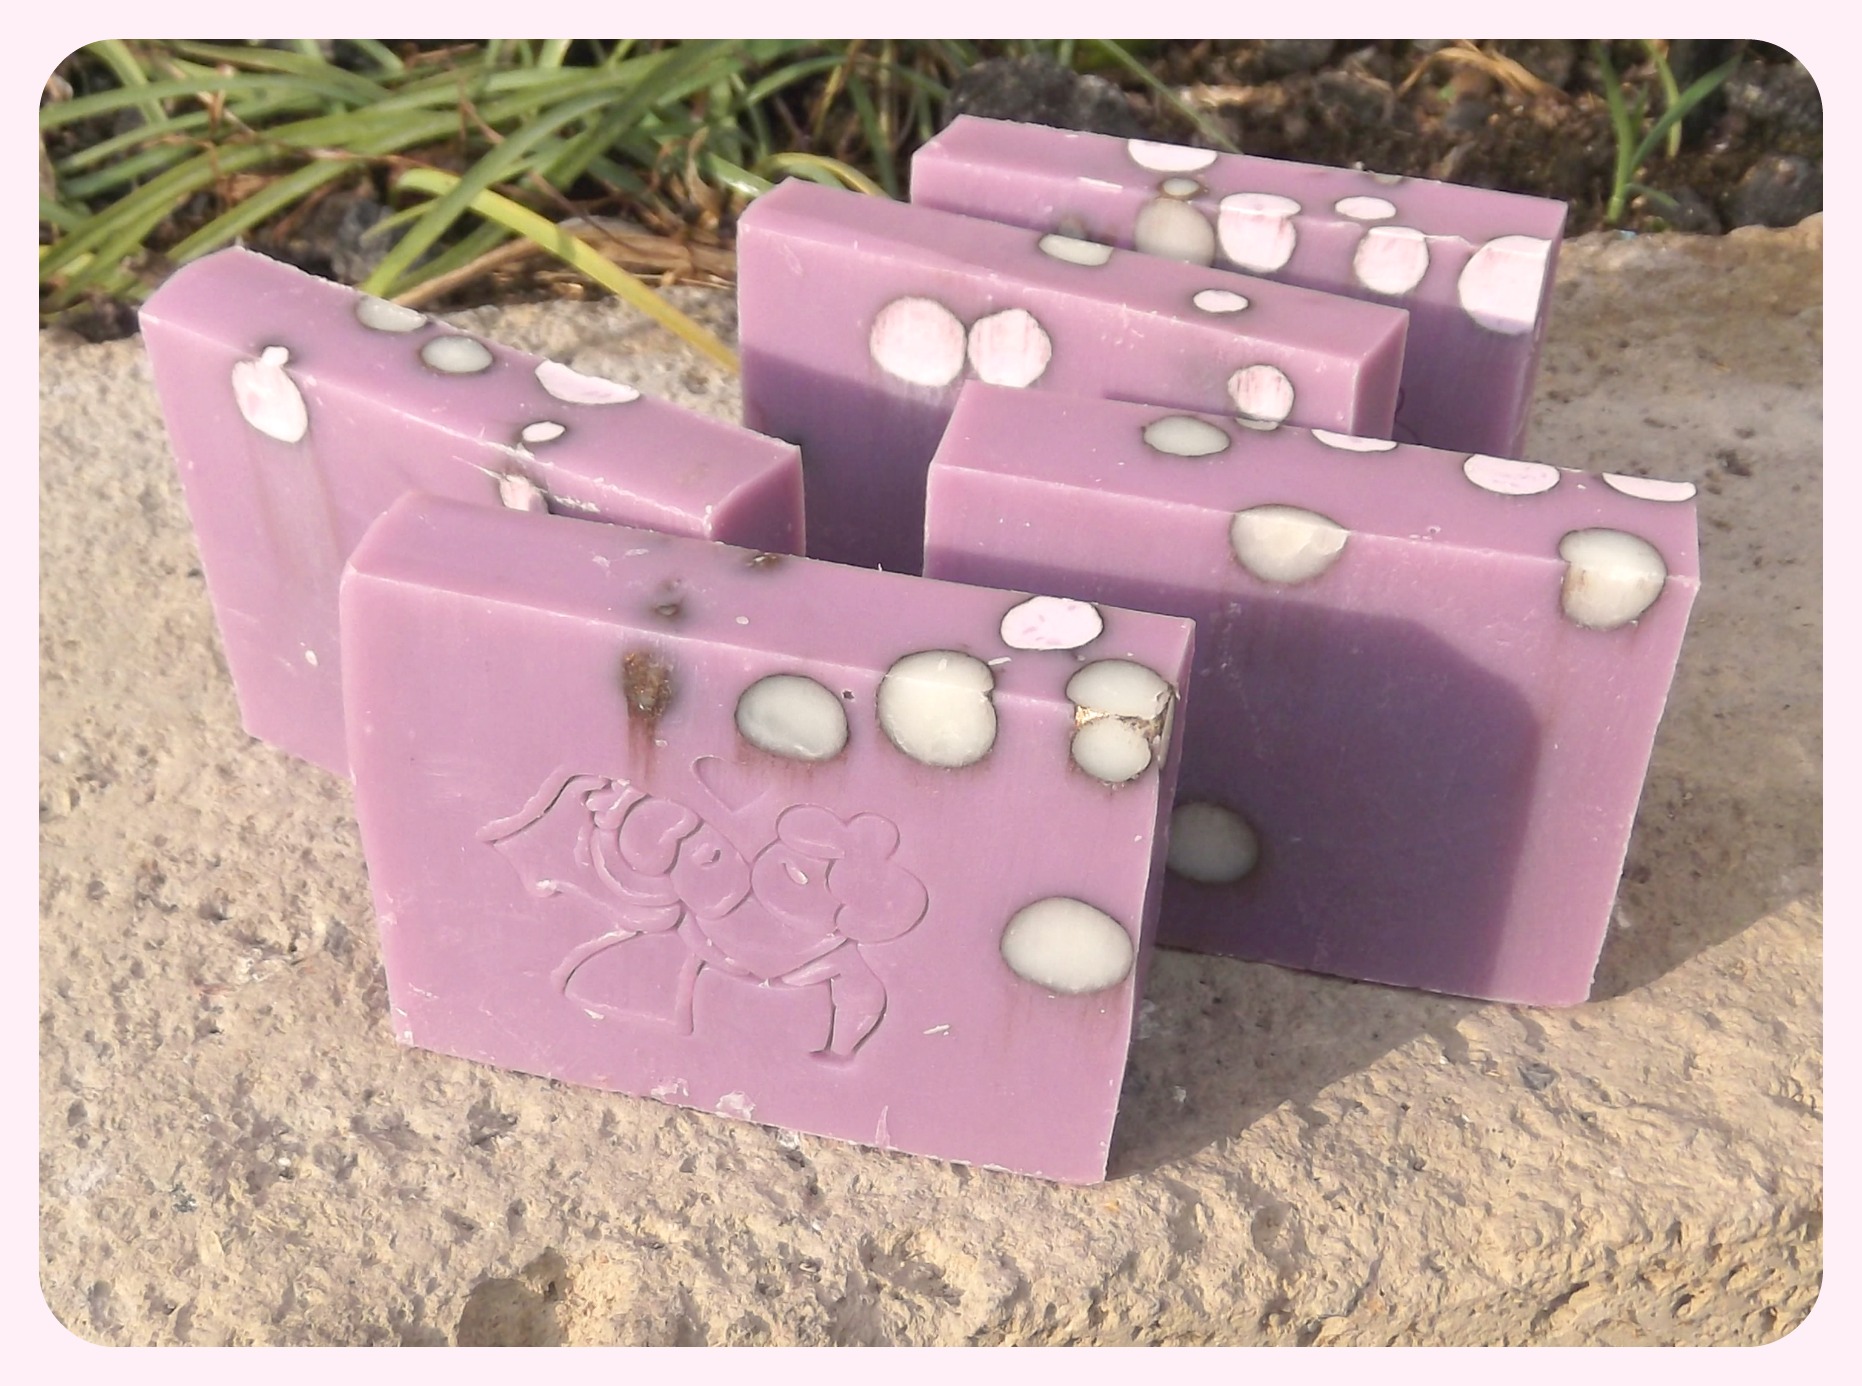
Hello there I AM BACK! 😀
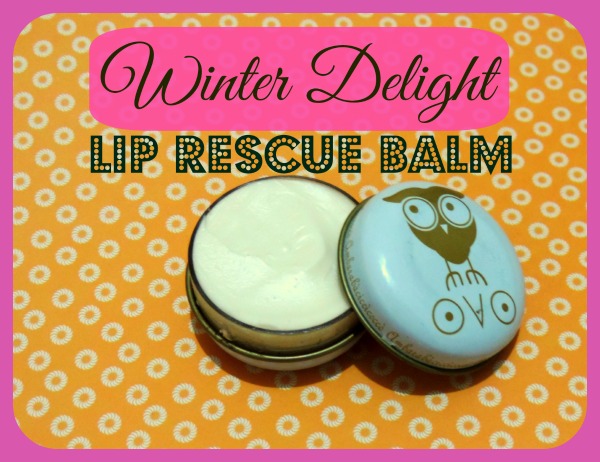
Lab Note: The “Winter Delight” Lip Rescue (Lola’s Recipe!)
Hello Hello! 😀 Today I am sharing what is truly the best lip balm recipe I have ever tried. This isn’t my invention—it was created by Lola, the founder of the forum where I learned so much of my formulation knowledge! I’ve been making this for over two years, so it is very well tested.
The Hydration Secret
Most lip balms are 100% oil and wax. We always hear that “Shea butter hydrates,” but actually, it doesn’t! 😀 Oils create a layer that stops water from leaving, but they don’t add any new water. Eventually, your lips still end up dry.
What makes this recipe special? It actually contains a water phase! By adding honey and glycerin, we are finally giving the lips real hydration. And the best part? The ingredients are extremely easy to find!
The Formula: Winter Delight
Oil Phase:
- Beeswax: 20.0 (Use yellow virgin wax for the best scent! :D)
- Rice Bran Oil: 45.0
- Tocopheryl Acetate (Vitamin E): 10.0
- Vanillin: A tiny pinch (for that amazing aroma)
Water Phase:
- Glycerin: 5.0
- Honey: 20.0
Phase C:
- Sweet Orange Essential Oil: 5 drops
- [NEW 2026 UPDATE]: A lip-safe preservative (see notes below!)
Notes from my Beaker: The “Drop-by-Drop” Method
- Modified Cold Cream: This recipe doesn’t use a traditional emulsifier. Instead, it uses the “mechanical” method. I heated the oil phase and water phase separately.
- Patience is Key: Once the wax melted, I started adding the water phase DROP BY DROP into the oil. I had to stir constantly for about 30 minutes!
- The Goal: I am trying to create tiny water droplets that get “trapped” and held in place as the beeswax cools and solidifies.
- Spoon vs. Mixer: I tried using a mini-mixer this time, but it created too many bubbles (making it look very white). A simple spatula or spoon actually works better for a creamy, stable result. Lesson learned! 😀
- Add the PRESERVATIVE
- The Scent: The mix of honey, vanillin, and sweet orange is absolutely IRRESISTIBLE.
⚠️ SAFETY UPDATE: A Note on Preservatives
In the original version of this post, I mentioned that this recipe doesn’t need a preservative because the high sugar in the honey and the glycerin “occupy” the water. While that chemistry is true, I have updated my lab practice! Because we use our fingers to apply this from a tin, it’s very easy to introduce bacteria. For 100% peace of mind, I now strongly recommend adding a lip-safe or food-grade preservative. Safety first for those beautiful lips! 😀
Final Verdict: This is a creamy balm, so it won’t work in a twist-up stick—keep it in a little tin. It’s a total lifesaver for winter. ENJOY! 😀 😀 😀