On Surfactants and Formulation (face wash, shampoo and shower gels)

LAB NOTES & SAFETY NOTICE
These are personal experiments for educational use only— not instructions and not for commercial or consumer use. By proceeding, you assume all risks related to safety, testing, and regulatory compliance.
[Full Legal Disclaimer & Safety Requirements]

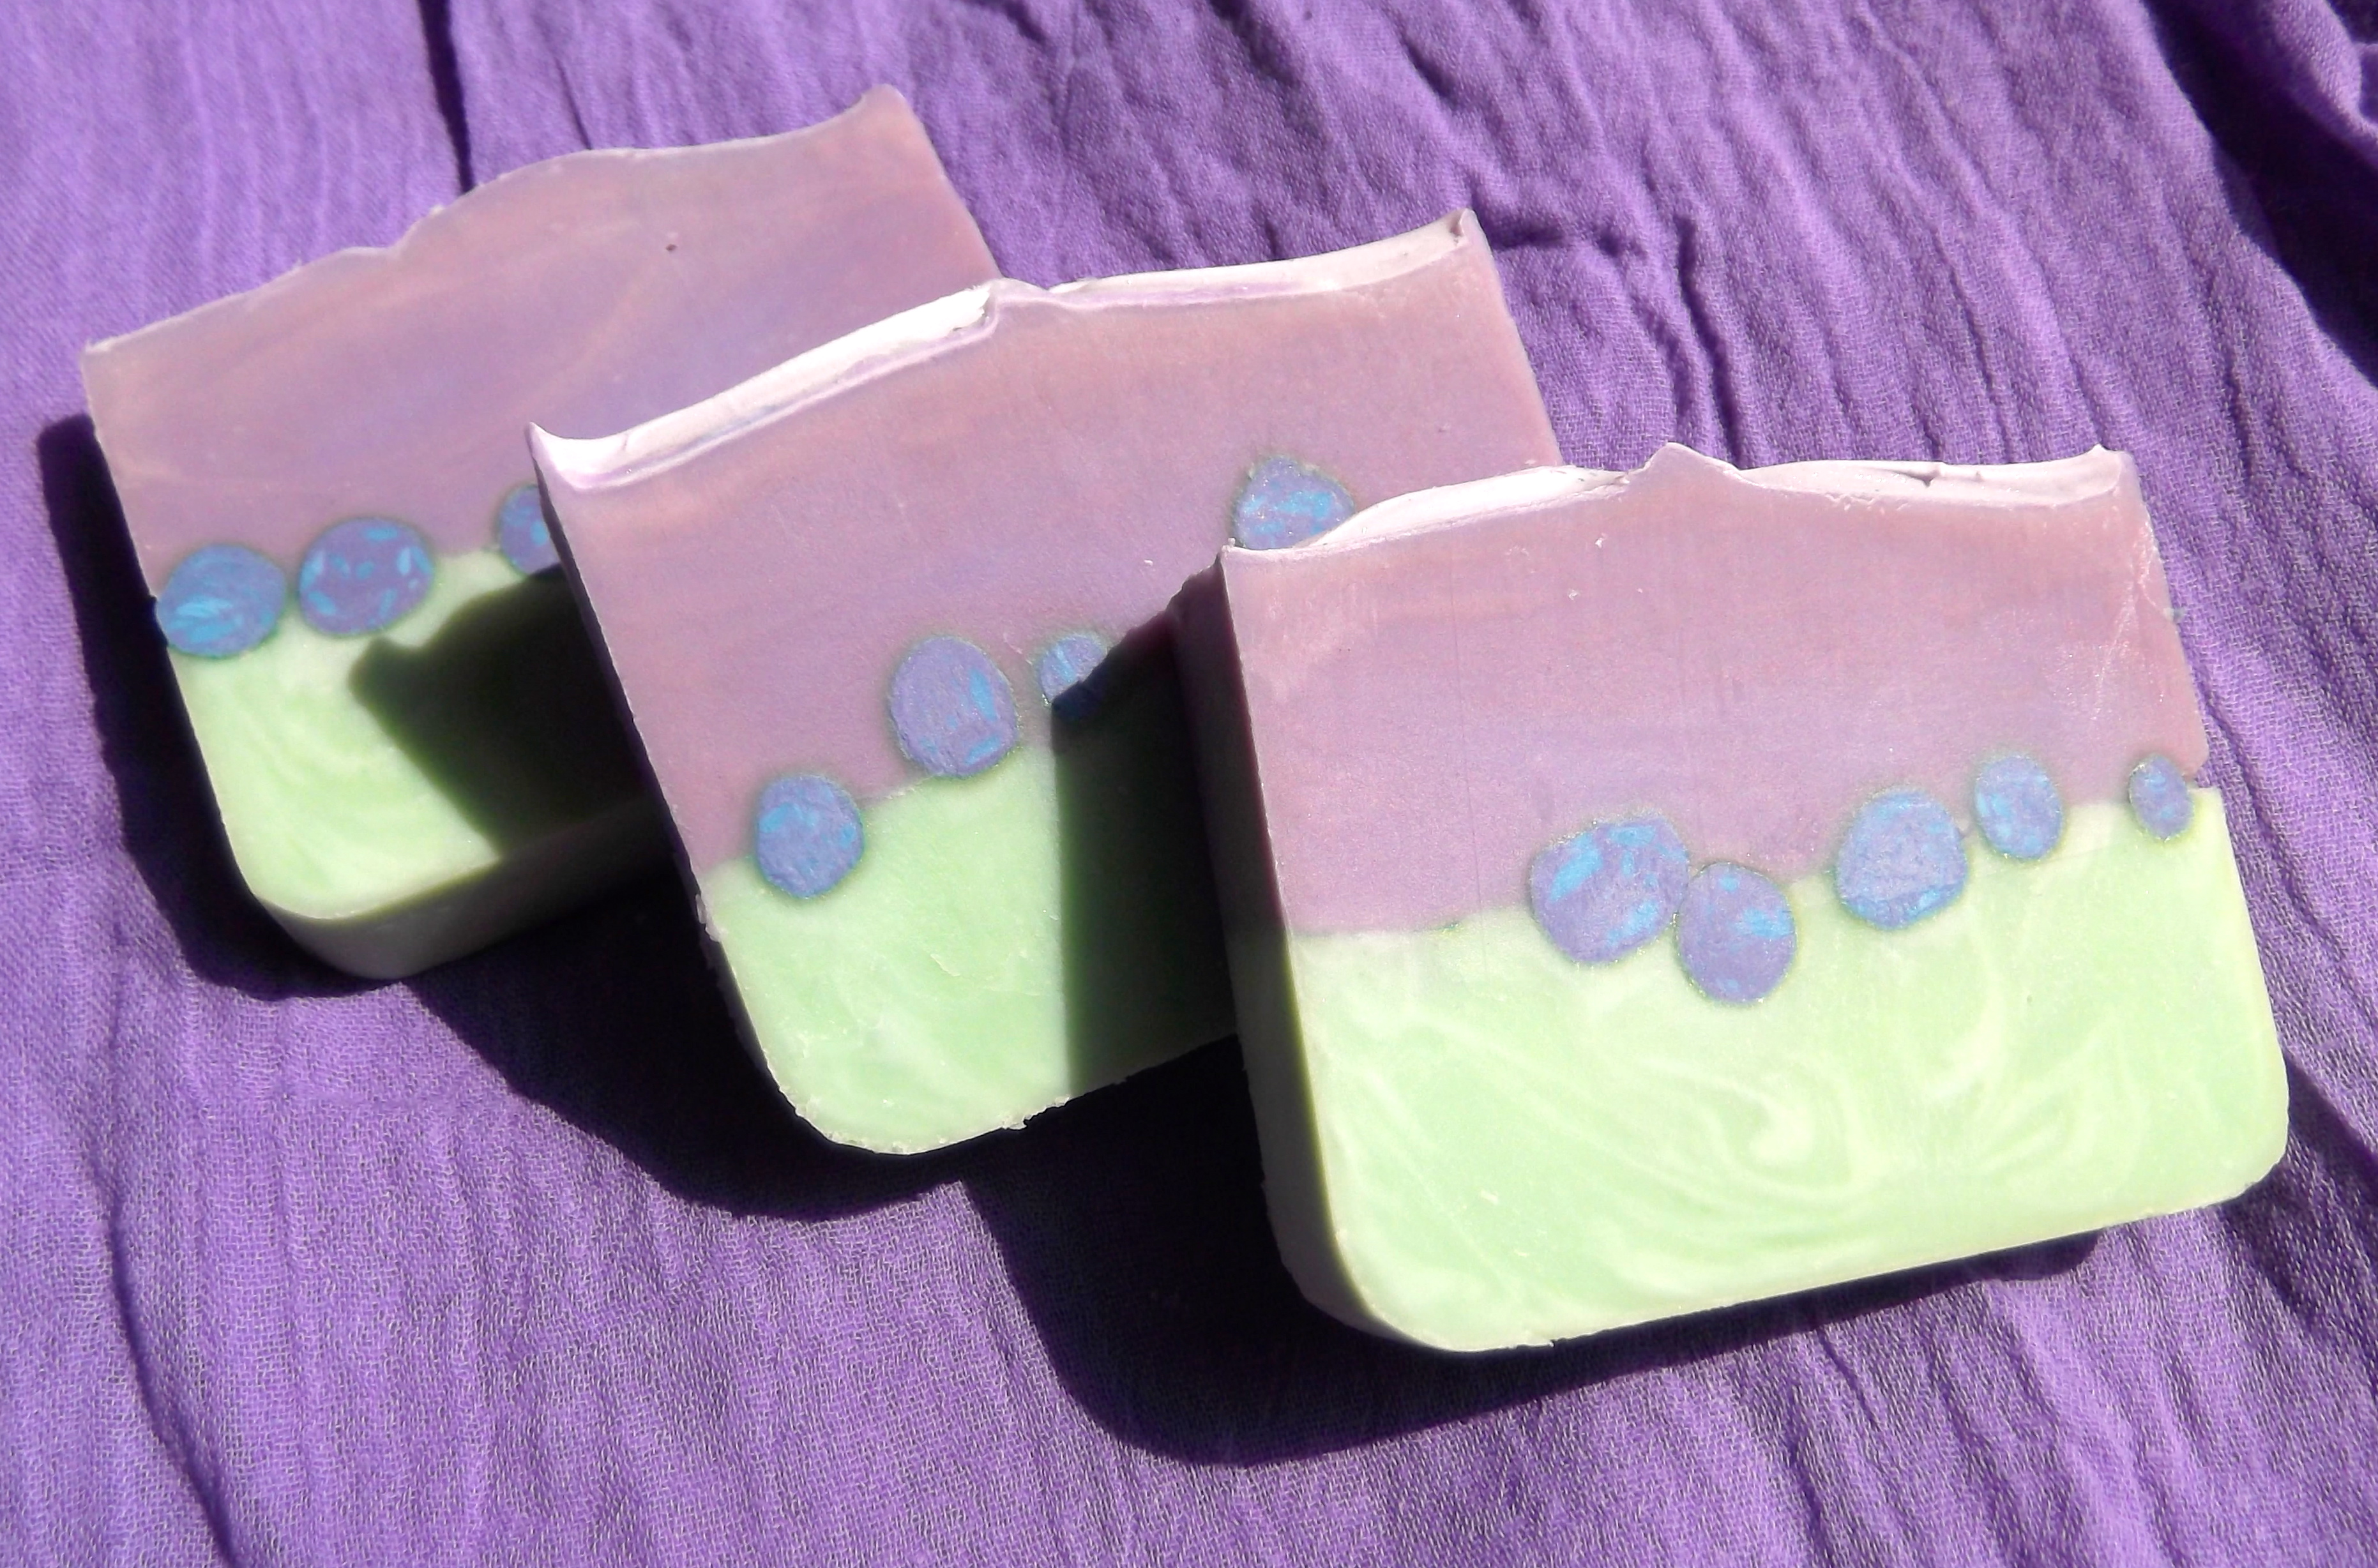
Lab Notes: The ASM Reality

After spending so much time with surfactants, it’s clear that formulating a detergent isn’t about the volume of the bottle, but about the ASM (Active Surfactant Matter). It’s a core lesson: since raw surfactants are usually sold as solutions (mostly water), the only way to know the real “cleaning power” is to calculate the active part of the molecule.

What I’ve Learnt About ASM Targets

The ASM Protocol — Quantitative Detergent Design

In surfactant chemistry, we do not formulate based on the “volume of the bottle” but on the Active Surfactant Matter (ASM). Since raw surfactants are sold as aqueous solutions (e.g., 30% active matter and 70% water), we must calculate the true concentration of the “cleaning” part of the molecule to ensure safety and efficacy.

1. The ASM Target Reference

Before calculating, I define the target ASM based on the physiological needs of the area being cleansed. High ASM provides more “bubbles” and stripping power, while low ASM preserves the lipid barrier.

Product Type Target ASM Range Formulation Goal
Face / Intimate Wash < 10% Ultra-delicate; avoids stripping the acid mantle.
Shampoo 10% – 15% High wetting ability; removes sebum/styling products.
Shower Gel 15% – 20% Standard body cleansing; good foam volume.
Bubble Bath 20% – 25%+ Maximum foam stability; not intended for direct skin contact.

2. The Mathematical Approach: Solving for ASM

I utilize two primary methods in the lab to reach my target (e.g., a 18% ASM Shower Gel).

Method A: Quota Division (Precise)

I decide exactly what “share” each surfactant contributes to the total 18% and solve for the grams needed.

  • Sarcosinate (29% ASM): Quota 10% then I calculate: 10 / 0.29 = 34.48g

  • Betaine (36% ASM): Quota 5% so: 5 / 0.36 = 13.88g

  • Lauryl Glucoside (52% ASM): Quota 3% so: 3 / 0.52 = 5.76g

  • Total ASM = 18%

Method B: Gram Estimation (Iterative)

I estimate the grams first and check the result against the target.

  • 40g { Sarcosinate}* 0.29 = 11.6g

  • 15g { Betaine} * 0.36 = 5.4g

  • 5g { Lauryl Glucoside} * 0.52 = 2.6

  • Total ASM = 19.6% (Adjust grams downward to reach 18%).

3. Raw Material Profiles & Behavioral Notes

  • Sodium Lauroyl Sarcosinate (Anionic – 29%): Eco-friendly and creamy. Viscosity is highly dependent on a pH of 5.0. It is sensitive to oils and fragrances, often requiring Xanthan Gum for stabilization.

  • Cocamidopropyl Betaine (Amphoteric – 30-38%): The “Buffer.” When paired with Anionics (like SLES), it creates a salt-thickening curve. It significantly reduces the irritation potential of harsher surfactants.

  • Lauryl Glucoside (Non-Ionic – 52%): A thick, cloudy paste. Excellent for thickening and skin-mildness, but requires gentle heating ($40^\circ\text{C}$$50^\circ\text{C}$) to become workable.

  • Disodium Cocoamphodiacetate (Amphoteric – 38%): The “Baby” surfactant. Does not trigger the ocular sting reflex; ideal for “no-tears” formulations.

Researcher Summary

Calculating ASM is the only way to ensure reproducibility in the lab. By mastering this math, I can hopefully swap one surfactant for another (e.g., replacing SLES with a more eco-friendly Sarcosinate) while maintaining the exact same “strength” of the detergent.

Sebum Normalizer cream Recipe

DSCF3535

LAB NOTES & SAFETY NOTICE
These are personal experiments for educational use only— not instructions and not for commercial or consumer use. By proceeding, you assume all risks related to safety, testing, and regulatory compliance.
[Full Legal Disclaimer & Safety Requirements]

Lab Note: The “Oil-Control” Spring Fluid

Hello Hello! 😀 With the spring days finally arriving, I wanted to formulate something light. This cream is specifically designed for oily skin that needs hydration without the weight. In fact, the oil percentage is so low it’s almost an “oil-free” cream!

The Oil-Control Duo:

  • Azeloglicine (6%): Pure Azelaic Acid is a nightmare to work with at home because it won’t dissolve in water or oil. Bingo! Azeloglicine is the answer. It’s a hydrophilic derivative that kills acne-causing bacteria and normalizes sebum.

  • Tiolisine Complex (2.5%): A sulfurated amino acid derivative that is a powerhouse for sebum-normalizing.

The Formula: Spring Oil-Control Fluid

Phase A (The Gel Base):

  • Water: to 100

  • Glycerin: 2.5

  • Xanthan Gum (Non-transparent): 0.11

  • Carbopol Ultrez 21: 0.3

Phase B (The Light Oily Phase):

  • Methyl Glucose Sesquistearate: 2.0 (Low % for a low-oil formula)

  • Cetyl Alcohol: 0.8 (Kept low to avoid a “waxy” feel)

  • Cetiol Sensoft: 1.5 (A very light synthetic oil for a smooth touch)

  • Evening Primrose Oil: 1.0

  • Hemp Oil: 0.5

  • Tocopherol (Vitamin E): 1.0

Phase C1 (The “Dry” Finish):

  • Bisabolol: 0.5 (Soothing)

  • Dry Flo: 0.7 (Aluminum Starch Octenylsuccinate—for a matte finish!)

Phase C2 (The Actives):

  • Azeloglicine: 6.0

  • Tiolisine Complex: 2.5

  • Preservative (Cosgard): 1.0

  • Adjust pH to 5.5 – 6.0


Notes from my Beaker:

  1. Consistency Matters: I intentionally made this a fluid lotion rather than a thick cream. For oily skin, thick textures can “feel” too rich or heavy. I prefer a light, milky fluid that sinks in immediately!

  2. The Wax Factor: If you want it thicker, you could raise the Cetyl Alcohol to 1.5%, but I don’t recommend it for oily skin—it can start to feel like a wax layer on your face.

  3. Active Power: Because Azeloglicine is water-soluble, it’s so much easier to incorporate into Phase C than trying to fight with pure Azelaic acid powder. It keeps the cream smooth and professional.

Final Verdict: This is my go-to when the weather gets warmer. It keeps the shine away while treating any little breakouts with the Tiolisine and Azeloglicine. It’s light, smooth, and fresh!

HAVE A GREAT DAY! 😀 😀 😀

Hair Conditioner Recipe (and THEORY)

Hair Conditioner Recipe

LAB NOTES & SAFETY NOTICE
These are personal experiments for educational use only— not instructions and not for commercial or consumer use. By proceeding, you assume all risks related to safety, testing, and regulatory compliance.
[Full Legal Disclaimer & Safety Requirements]

Theory & Practice: The Basic Hair Conditioner

Hello Hello! :D Today I want to show you a foundational recipe for a high-performance hair conditioner.

Making a conditioner is similar to making a skin lotion, but there are some critical differences in the technique. If you don’t follow these, your conditioner might fail or separate!

The Two Golden Rules of Conditioner:

  1. The Pour: In a lotion, we usually pour the Oil (B) into the Water (A). In a conditioner, you MUST pour the Water (Phase A) into the Oil (Phase B). This is vital for the cationic emulsion!

  2. Phase C: There isn’t a “block” Phase C. You must add every extra ingredient SINGULARLY, ONE BY ONE, once the emulsion is at room temperature.

The Formula: Eco-Friendly Conditioner

Phase A (Water):

  • Water: to 100

  • Glycerin: 3.0

  • Guar Hydroxypropyltrimonium Chloride: 0.1 (This is a fantastic detangler! If you don’t have it, you can use a Flaxseed or Mallow infusion instead).

  • Heat to precisely 75°C.

Phase B (The Cationic Base):

  • Esterquat: 8.0 (This is a cationic emulsifier—specifically for hair! It’s great because it’s eco-friendly).

  • Jojoba Oil: 2.0

  • Cetyl Alcohol: 3.5 (For thickness and “slip”)

  • Stearic Acid: 1.5

  • Heat to 70°C.

“Phase C” (Add one by one!):

  • Hydrolyzed Wheat Protein: 3.0

  • Panthenol: 1.0

  • Polyquaternium-7: 2.0 (Enhances the conditioning. You can skip it if you don’t have it).

  • Preservative: (According to your product’s dosage, e.g., 0.6%)

  • Fragrance/Essential Oil: To your taste! :D


Notes from my Beaker:

  • The Emulsifier: Unlike face creams, conditioners need a Cationic charge to stick to the hair (which has a negative charge). Esterquat is the perfect choice because it’s much better for the environment than older conditioning agents.

  • Temperature Check: Use your thermometer! If Phase A isn’t hot enough when it hits the Esterquat, the emulsion won’t be as smooth and stable.

  • The Finish: Once you’ve added your ingredients one by one, give it a final slow stir. You’ll notice the texture becomes very creamy and rich.

Final Verdict: This conditioner is simple but very effective. It leaves the hair soft, easy to comb, and static-free without being too heavy.

HAVE A GREAT DAY!!! 😀

DSCF3512


Lavender and Verbena Soap Recipe (palm free)

Lavender Verbena Soap Recipe

LAB NOTES & SAFETY NOTICE
These are personal experiments for educational use only— not instructions and not for commercial or consumer use. By proceeding, you assume all risks related to safety, testing, and regulatory compliance.
[Full Legal Disclaimer & Safety Requirements]

If you don’t know how to make soap, just follow the link HERE! 😀

For the others of you who already make soap… here is the recipe for 1 Kg of soap:

300 gr Coconut oil
400 gr Olive oil
150 gr Shea butter
50 gr Castor oil
50 gr Cocoa butter
50 gr Almond oil

330 gr water
142 gr lye (6% discount already included)
Temperature of the oils and lye when united: 38°

Once I reached trace I separated the soap paste in two bechers.
In one I added:
– 20 ml Lavender Essential Oil
– Purple CP color

In the other I added:
– 20 ml Verbena Essential Oil (this is one of the few citrusy Essential Oil smells to actually keep persistent in a cold process soap! 😀 I love it!)
– Apple CP color

I also added small balls which I had made with pieces of an old soap 🙂 of course this is not useful and you can decorate your soap as you like! 😀

Hope this was helpful 🙂

The recipe is also Palm free 🙂

DSCF3500

Have a great day! 🙂


Creative Commons License
This work is licensed under a Creative Commons Attribution-NonCommercial-NoDerivatives 4.0 International License.

Anti-puffiness Caffeine Eye cream – Recipe

DSCF3492

LAB NOTES & SAFETY NOTICE
These are personal experiments for educational use only— not instructions and not for commercial or consumer use. By proceeding, you assume all risks related to safety, testing, and regulatory compliance.
[Full Legal Disclaimer & Safety Requirements]

Lab Note: Caffeine & Ceramide Eye Cream

Hello Hello! :D The skin around our eyes is the thinnest and most delicate on our entire face. For this formula, the “Prince Ingredient” is Caffeine, which I’ve used for its famous stimulating and de-puffing properties.

I wanted this cream to feel light but also “substantial,” so I designed a grease-fall with a bit more butter (Avocado and Shea). This gives it a slightly thicker, more protective feeling while keeping all the fat densities balanced! yeheee!

The Formula: Eye Nutrition

Phase A (The Active Base):

  • Water: to 100
  • Fleur-de-lis Hydrolat: 10.0 (Soothing floral water)
  • Glycerin: 3.0
  • Xanthan Gum: 0.1 / Carbopol Ultrez 21: 0.3
  • Caffeine: 2.0 (The “De-puffer”)

Phase B (The Butters & Oils):

  • Methyl Glucose Sesquistearate: 3.0 (Emulsifier)
  • Cetyl Alcohol / Cetyl Palmitate: 1.0 / 0.5 (Thickeners)
  • Avocado Butter: 1.0 / Shea Butter: 2.0
  • Tocopherol (Vitamin E): 1.0
  • Argan / Evening Primrose / Jojoba Oil: 1.0 each

Phase C (The Cold Additions):

  • Oily Part: Rose Hip Oil (1.0), Bisabolol (0.5), Mixed Ceramide Complex (2.0)
  • Water Part: Allantoin (0.5), Hydrolyzed Oat Protein (2.0), Blueberry Dry Extract (0.5), Hyaluronic Acid Solution 1% (3.0)
  • Preservative: 1.0
  • Fragrance: 2-3 drops

Notes from my Beaker:

  1. The Allantoin Melt: As I always say, Allantoin can be temperamental and leave “grit” in your cream if you aren’t careful. I ensured it was completely “melted” into the hydrolyzed oat proteins before adding it to the cool cream.
  2. Heat Management: I kept the Rose Hip Oil for Phase C because it is quite sensitive to heat. Adding it at room temperature keeps its properties intact!
  3. The Color: The Blueberry Extract is a powder that gives the cream a lovely, soft color (as you can see in the photos!).
  4. Emulsification: I heated A and B to 70°C, poured B into A, and used the immersion mixer until it was a perfect white. Then, the long stir (30 mins!) with a spatula until cool.
  5. The Texture Trick: After adding all of Phase C and the preservative, I used the immersion mixer one last time. This really improved the final texture and made it look professional!
  6. pH Check: For this eye cream, I aimed for a pH of 6.5.

Final Verdict: This cream feels incredibly nourishing. It’s the perfect follow-up to a morning eye serum, providing that barrier of ceramides and butters that keeps the eye area looking rested and hydrated all day long. ENJOY! 😀

DSCF3493


How to make foot & hand cream: formulating!

LAB NOTES & SAFETY NOTICE
These are personal experiments for educational use only— not instructions and not for commercial or consumer use. By proceeding, you assume all risks related to safety, testing, and regulatory compliance.
[Full Legal Disclaimer & Safety Requirements]

DSCF3497

Formulating a Protective Barrier Cream (Hands & Feet)

In this experimental batch, I am documenting the creation of a high-lipid barrier cream designed for hands and feet. These areas require a specific “Heavy Emollient” profile—thick, protective, and highly hydrating. My goal was to achieve a 25% lipid load while maintaining a stable, professional texture.

Phase A: Rheology and Electrolyte Stability

In my lab notes, the choice of gelling agent for this formula was dictated by the active ingredients in Phase C.

  • Distilled Water: to 100

  • Glycerin: 4.0% (Increased humectant levels for extreme dryness).

  • Xanthan Gum: 0.5% Technical Observation: I opted for a relatively high percentage of Xanthan Gum as the sole stabilizer. I purposely avoided Carbomer polymers because the high concentration of Urea (an electrolyte) in Phase C would compromise the carbomer’s lattice, leading to viscosity loss.

Phase B: The Heavy “Grease-Fall” and Protective Waxes

For a hand/foot treatment, the lipid profile shifts toward the “heavy” end of the Gaussian distribution.

  • The Lipid Cascade: I prioritized hard butters (Cocoa and Shea) to provide structure and occlusion.

  • The Role of Waxes: I’ve introduced Jojoba Wax at 2%. Waxes are not strictly part of the “Grease-Fall” fluidity; instead, they function as film-formers, providing a protective “glove” effect against environmental stressors.

Experimental Oil Phase (25% total fats):

  • Jojoba Wax: 2.0%

  • Cocoa Butter: 5.0%

  • Shea Butter: 10.0%

  • Argan Oil: 5.0%

  • Grape Seed Oil: 5.0%

Phase C: Managing Urea and pH Stability

Phase C contains the “Hero” ingredients, but they require careful chemical management.

  • Urea (10%): A potent humectant known for its water-binding and keratolytic (exfoliating) properties.

  • Gluconolactone (2%): In my research, Urea is known to cause a pH drift (becoming more alkaline over time). To counter this, I’ve included Gluconolactone as a buffering/sequestering agent to maintain pH stability.

  • Texture Modifier: I added Aluminum Starch Octenylsuccinate (1%) to mitigate the greasiness of the 25% fat load, resulting in a matte, “velvet” after-feel.


My Batch Processing Workflow

  1. Hydration: I dispersed the Xanthan Gum in Glycerin before adding the water (setting aside 15g for the urea solution).

  2. Thermal Phase: Both Phase A and Phase B were heated to 70°C.

  3. Emulsification: Phase B was incorporated into Phase A in three stages using an immersion mixer.

  4. Urea Integration: Once the emulsion cooled to room temperature, I dissolved the Urea and Gluconolactone in the reserved 15g of water and integrated this into the base.

  5. Final Finish: I added the preservative, essential oils (Grapefruit and Mint), and a touch of food-grade coloring for aesthetic appeal.

Final QC Check: The pH was measured and found to be stable between 5.5 and 6.0.

How to make a lotion – THEORY pt.2

LAB NOTES & SAFETY NOTICE
For educational purposes only. Content reflects personal, non-professional formulation experiments and is not instructional.
No formula or information on this site is intended for commercial use, consumer application, or third-party use.
Accessing this content means you accept all risks and full responsibility for safety, testing, legal compliance, and outcomes.
[Full Legal Disclaimer & Safety Requirements]

My Lab Notes: The “Dance” of the Three Phases

Hello Hello! 😀 I’ve spent so much time reading about lipids and polymers, but there is nothing quite like the moment when theory actually turns into a cream in my beaker! It feels like a little bit of magic every time.

I’ve been looking over my process, and I’ve realized that I always follow a very specific “rhythm” to make sure my emulsions don’t fall apart. In my lab, I call it the Core Three Phase System.

The Three “Buckets”

I’ve learned the hard way that you can’t just throw everything in at once! Sips water. I always separate my ingredients into three beakers:

  • PHASE A (The Watery Side): The water, glycerin, and gums that need to get hot.

  • PHASE B (The Oily Side): My fats and the emulsifier.

  • PHASE C (The Sensitive Stuff): This is my “cool-down” phase. These are the actives and preservatives that absolutely HATE heat.

My Experience with the “Double Boiler”

One of the biggest lessons I’ve learned is about the Thermal Threshold. I put both beakers (A and B) in the double boiler and wait for them to hit 70°C.

  • Lab Observation: If I get impatient and one phase is colder than the other, it “shocks” the emulsifier. It’s like they don’t want to shake hands! They have to be at the same temperature to bond properly.

The Mixing Moment (High-Shear vs. Spatula)

Once they hit the temperature, I pour B into A. This is the fun part!

  • The Mixer: I use my immersion mixer, but I’ve learned to keep the head submerged. If I lift it even a little, I get those “macrobubbles” that make the cream look like a sponge later. Not a good look! 😉

  • The Patience: Once it turns white and starts to thicken, I put the mixer away and switch to my spatula. This can take 30 minutes of manual stirring while it cools. It’s a great arm workout! But I’ve found that slow, constant stirring makes the final texture much smoother.

The Final Additions

I wait until the beaker feels cool to the touch (below 40°C) before I touch Phase C. I’ve realized that if I add my preservatives or my favorite delicate oils (like Rose Hip) while it’s still hot, I’m basically destroying the very ingredients I spent so much money on!

What I’ve Noticed (My Failure Points)

Even after so many batches, things can still go wrong:

  • The “Soap” Effect: Sometimes a cream leaves a white trail on the skin. I’ve noticed this happens when my thickener-to-emulsifier ratio is a bit “off.”

  • Separation: Usually, if a batch separates, I can trace it back to me being too fast with the temperature or a miscalculation in the HLB.

It’s a journey of trial and error, and honestly, every batch is a new chance to learn something about how these materials behave. It’s all in my hands! 😉

HAVE A GREAT DAY! 😄