LAB NOTES & SAFETY NOTICE
For educational purposes only. Content reflects personal, non-professional formulation experiments and is not instructional.
No formula or information on this site is intended for commercial use, consumer application, or third-party use.
Accessing this content means you accept all risks and full responsibility for safety, testing, legal compliance, and outcomes.
[Full Legal Disclaimer & Safety Requirements]
In this experiment I tried to formulat a soothing, matte-finish cream designed for skin that is no longer in an active acne phase but remains sensitive and prone to congestion. I tried creating a “grease fall” that would use butters which don’t melt so easily and don’t spread on the skin like, let’s say, coconut butter.
The Technical Highlights
The “Dry” Lipid Profile (Grease Fall)
To achieve a matte finish and avoid a “heavy” skin feel, I utilized a strategic blend of lipids:
- The “Dry” Butters: Kokum and Murumuru butters provide structural richness but possess a high stearic acid content, which leads to a “dryer” finish on the skin compared to Shea or Cocoa butter.
- Non-Comedogenic Oils: Safflower, Black Currant, and Cranberry seed oils are high in linoleic acid. In my records, I prioritize these for acne-prone skin as they help balance the skin’s sebum composition.
- Cetiol Sensoft: A lightweight synthetic ester used to enhance the “slip” and provide a professional, elegant texture without greasiness.
| Phase | Component | % / grams | Function |
| A | Distilled Water | to 100 | Solvent |
| A | Glycerin | 4.0 | Humectant |
| A | Xanthan Gum | 0.25 | Stabilizer |
| B | Methyl Glucose Sesquistearate | 3.0 | Emulsifier |
| B | Cetyl Alcohol | 1.8 | Co-emulsifier / Thickener |
| B | Kokum & Murumuru Butters | 1.0 / 1.0 | “Dry” Butters |
| B | Vitamin E / Cetiol Sensoft | 0.5 / 0.5 | Antioxidant / Emollient |
| C1 | High-Linoleic Oil Blend | 2.0 | Nutrient Lipids (Cold Phase) |
| C1 | Bisabolol | 0.5 | Soothing Active |
| C2 | Hyaluronic Acid (1% Gel) | 3.0 | Hydration |
| C2 | D-Panthenol / Allantoin | 1.0 / 0.4 | Healing / Anti-irritant |
| C2 | Silk Hydrolyzed Proteins | 2.6 | Conditioning |
| C2 | Aloe Vera Powder (200:1) | 0.5 | Concentrated Soothing |
| D | Preservative / Fragrance | 1.0 / q.s. | Protection / Aesthetic |
Notes from my Beaker:
-
The Aloe Choice: I used a high-quality Aloe Vera juice/gel. You have to be careful with Aloe because if you use the “ready-made” gels from the store, they already have thickeners in them that can mess up your emulsion. I prefer the liquid version so I can control the texture myself.
-
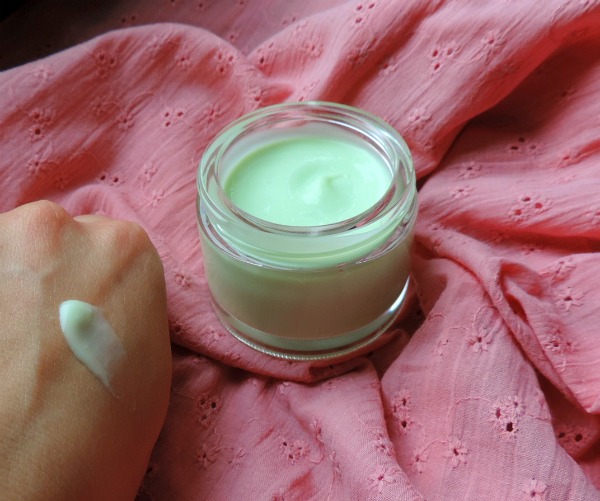
The Emulsion: I heated Phase A and Phase B to about 70°C. When I combined them, I used my mini-mixer for a few minutes until it turned into a beautiful, snowy white cream. It’s so satisfying to watch it thicken as it cools!
-
The pH Check: As always, I made sure to check the pH once it cooled down. Keeping it at 5.5 is the “sweet spot” for my skin to stay happy and the barrier to stay strong.
-
The Feel: This cream has a “velvet” finish. It sinks in quickly but you can still feel that the Aloe is there, keeping the skin hydrated and plump.
Final Verdict: This has become my go-to “emergency” cream for whenever my skin feels a bit sensitized. It’s simple, it’s cooling, and it works! It’s amazing what a difference a good amount of Aloe can make. ENJOY! 😀


what a beautiful creation! I want to use it! thank you for sharing!! 🙂
LikeLike
thanks Eeting! 😀
LikeLike
one thing i’m not sure if! for preservative that needs to be slightly acidic to work best (eg cosgard, optiphen ND etc), is it okay to add the preservative before pH adjustment or should we adjust pH first before adding the preservative?
LikeLike
Usually I add the preservative at the very end with the pH already adjusted (and then give a last mix with the immersion mixer).
I have added it also at the beginning (for example in creams that didn’t need to be heated)… however I don’t know if it can make a difference.
Just to be sure, I think it is best to add it when the pH range is already compatible 🙂
LikeLike
thank you :))
LikeLike
Wow it looks very light and…yummy hehe
LikeLike
I am new to your blog and I have to say that when I first see the recipe, it is indeed overwhelming. But when I read more, it is actually very detailed and well-structured. I like the green color, very refreshing and I also believe this is perfect for summer time. Will definitely give it a try, thanks for sharing 😀
LikeLike
Thank you for the lovely comment Janet! 🙂
Let me know when you try it 🙂
LikeLike
Lovely Pista green. This cream looks so perfect that I feel like tasting it. 😛
LikeLike
😀 😀 😀
LikeLike
Love it. Love your blog.
LikeLiked by 1 person