“Hydrating Elixir” Serum with Hyaluronic Acid

LAB NOTES & SAFETY NOTICE
For educational purposes only. Content reflects personal, non-professional formulation experiments and is not instructional.
No formula or information on this site is intended for commercial use, consumer application, or third-party use.
Accessing this content means you accept all risks and full responsibility for safety, testing, legal compliance, and outcomes.
[Full Legal Disclaimer & Safety Requirements]

Hyaluronic Acid and Sodium Lactate Serum 6

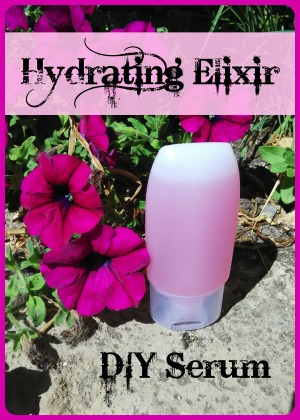
Hello Hello! 😀 Today I share one of my last experiments in the home “lsab”. Where I live, we had days over 40°C, and I just wanted something that felt icy and refreshing. I decided to formulate a serum that behaves perfectly when stored in the fridge—though I always remind myself: even if it’s cold, THERE IS NO ESCAPE FROM PRESERVATIVES! 😀

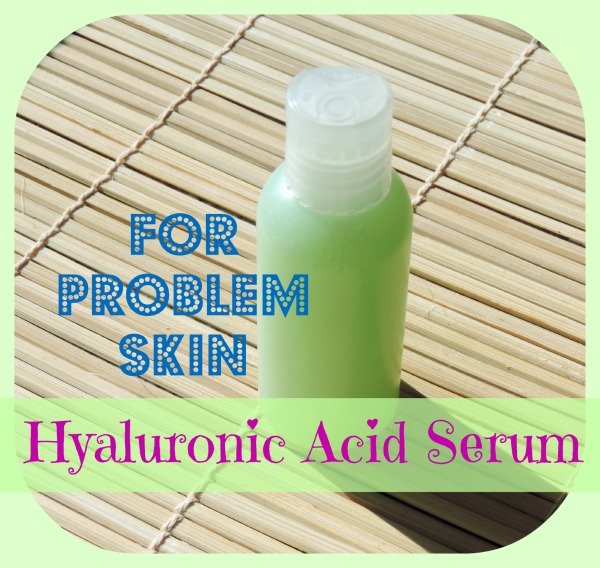
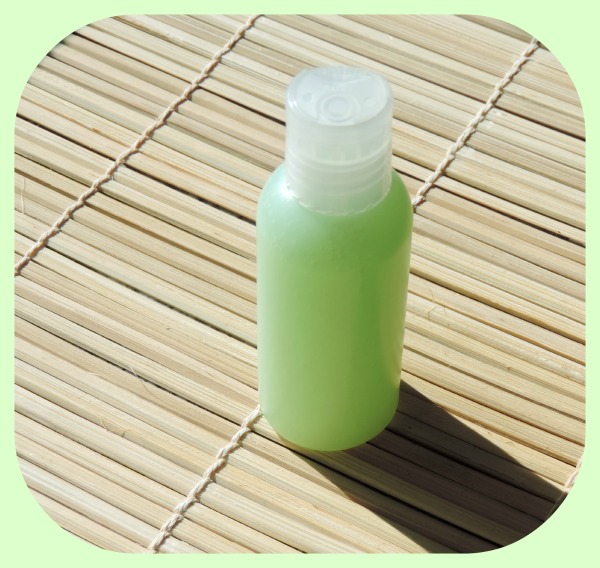
This is an “upgraded” version of my basic Hyaluronic Acid gel. I wanted to include two salts that I usually can’t put in my lotions because my favorite polymeric emulsifiers are such picky divas when it comes to salts! But in a simple water-based serum, they are absolute stars.

The Formula I Used:

  • Water: to 100%

  • Sodium Hyaluronate (high molecular weight): 1%

  • Sodium Hyaluronate (low molecular weight): 0.5%

  • Sodium Lactate: 2%

  • Sodium PCA: 1%

  • Niacinamide (Vitamin B3): 2.5%

  • D-Panthenol: 0.5%

  • Phenonip: 0.5%

  • Fragrance oil (Rock Candy): 0.2%


Notes from my Beaker:

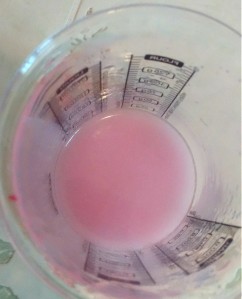
  1. The Hyaluronic “Fuss”: I measured out the water and poured the high molecular weight HA on top. Usually, I try to be patient and let it hydrate naturally, but I was in a rush! I used a stick blender which made it cloudy at first, but after a few days, it turned perfectly transparent. I did the same with the low molecular weight version right after.

  2. The Humectant Boost: I added the Sodium Lactate and Sodium PCA next. Since these are naturally found in our skin (NMF), they make the serum feel so high-performing.

  3. The Niacinamide Caution: I love using Vitamin B3 in the summer, but it’s so sensitive to pH. I measured mine and it was around 7.5, so I used a couple of drops of lactic acid to bring it down to pH 6.5. It’s essential to keep it in that neutral range!

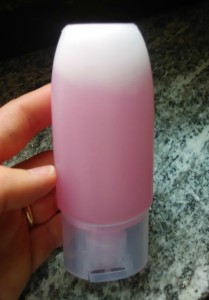
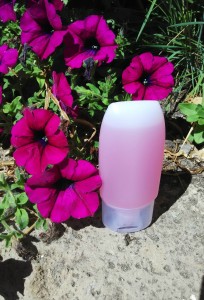
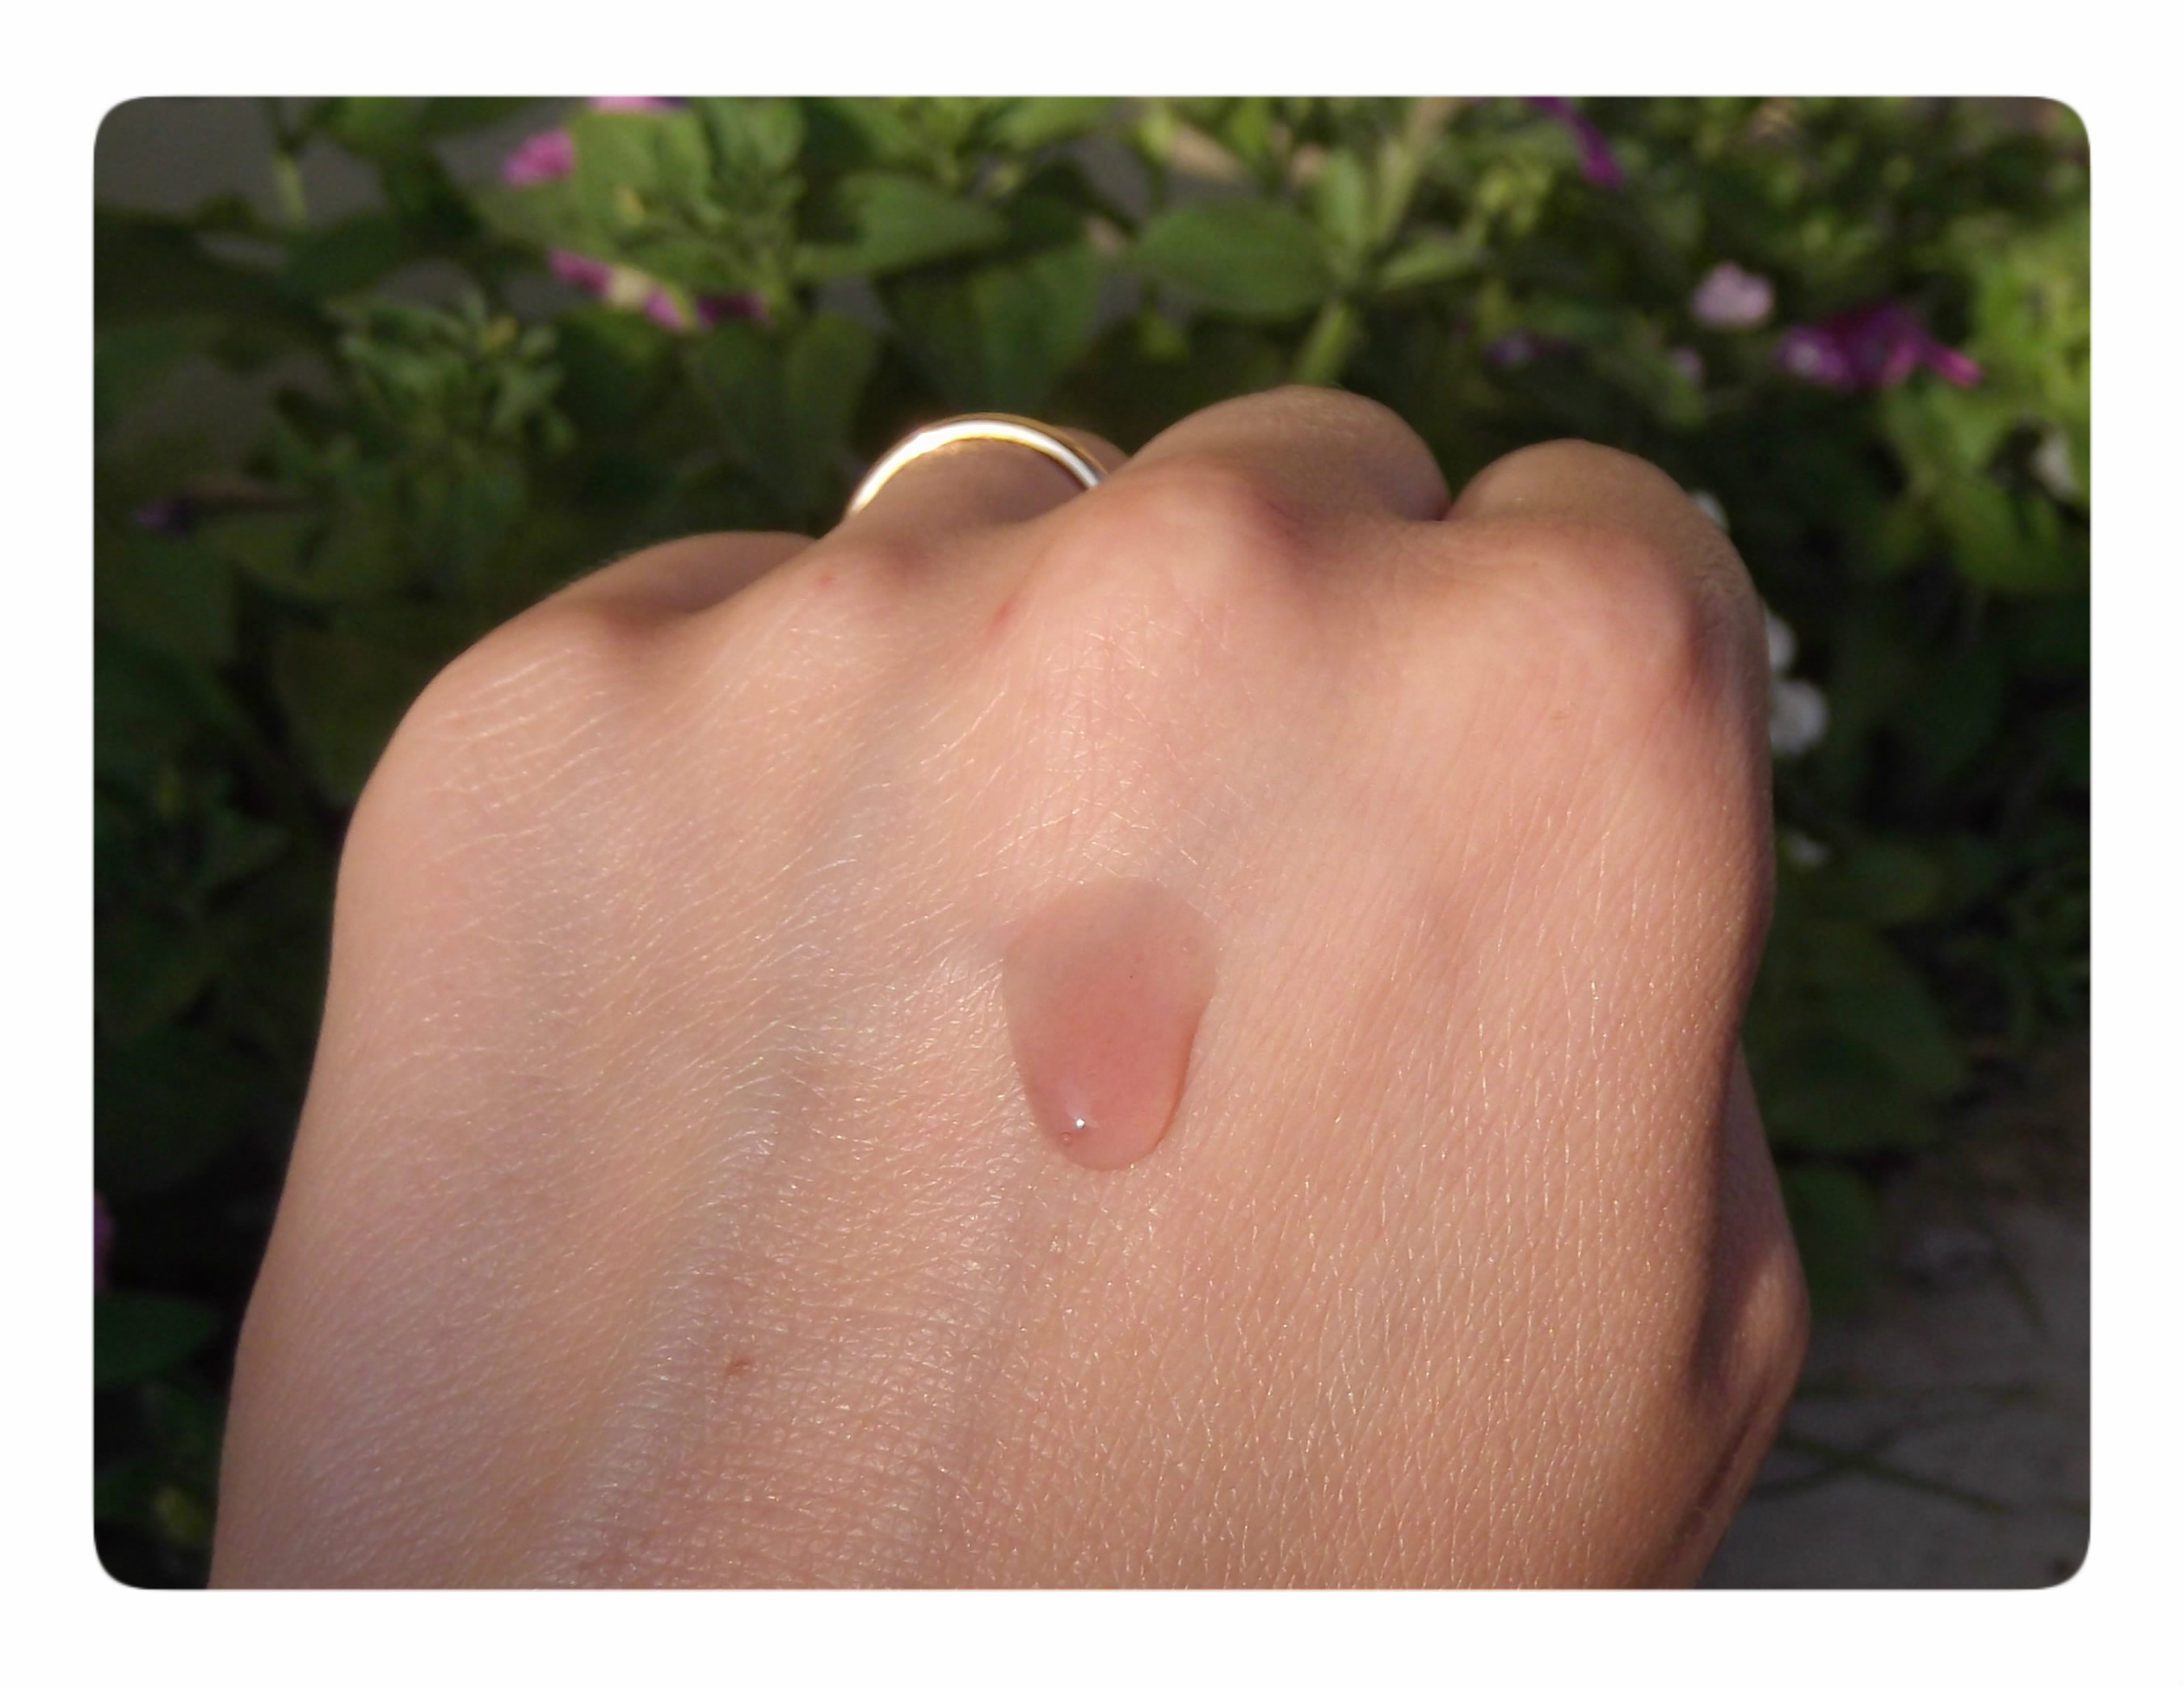
  4. A Touch of Pink: I added one drop of pink food colorant just to pamper myself. It wasn’t a necessity, but it looks so pretty in the bottle!

  5. The Scent: I used a “Rock Candy” fragrance (the Rock Star dupe) and I absolutely LOVE it.

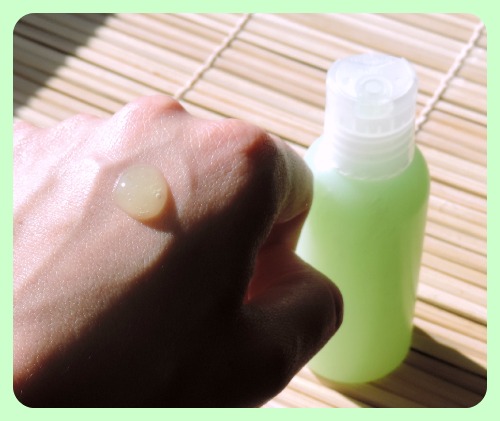
Final Verdict: I was a bit worried that with so many hygroscopic ingredients, it would feel sticky in the 40°C heat, but it’s not at all! I think the Niacinamide really helps with that. I only apply one drop and my skin feels unbelievably smooth. It’s the perfect “fridge treat” for the face. ENJOY! 🙂

Hyaluronic Acid and Sodium Lactate Serum 3

I have added one drop of pink food colorant cause I like to pamper myself with colors. Was it a necessity? Nope.
The Fragrance Oil used in this Serum was Rock Candy from Sensory Perfection (the L**h dupe for “Rock Star”) and I LOVE IT! 🙂

Hyaluronic Acid and Sodium Lactate Serum 4

Hyaluronic Acid and Sodium Lactate Serum


Hyaluronic Acid Serum for Problem Skin

LAB NOTES & SAFETY NOTICE
For educational purposes only. Content reflects personal, non-professional formulation experiments and is not instructional.
No formula or information on this site is intended for commercial use, consumer application, or third-party use.
Accessing this content means you accept all risks and full responsibility for safety, testing, legal compliance, and outcomes.
[Full Legal Disclaimer & Safety Requirements]

Hello there! 😀

Hyaluronic Acid Serum for Problem Skin

Lab Note: My “Problem Skin” Niacinamide Serum

Hello Hello! 😀 Today I’m looking back at a formula for a super simple but highly effective serum. I designed this one specifically for those “problematic skin” days—you know, when you have a bit of an oily T-zone, some mild blemishes, and maybe those annoying red marks left over from previous spots.

I have to remind myself: this isn’t a “magic cure” for serious acne. It’s just a helping hand to keep the skin hydrated and soothe that irritation. yeheee!

The Niacinamide “Trick”

The star here is Niacinamide (Vitamin B3). It’s a powerhouse for sebum and redness, but it has a secret: it’s a close friend of Nicotinic Acid. If the pH drops too low, the Niacinamide can turn into Nicotinic Acid, which causes flushing and burning—the exact opposite of “soothing!”

Because of this, I was incredibly “fussy” about the pH in my lab. My goal was a safe pH of 6–6.5. At the time, I was using the most reliable pH strips I could find, though a pH meter is definitely the “gold standard” for this!

The Formula I Used:

  • Water: to 100
  • Niacinamide: 4.0 (The blemish fighter)
  • Aloe Vera Powder (200:1): 0.5
  • Betaine (Trimethylglycine): 5.0 (The soothing powder—not the surfactant!)
  • Glycerin: 1.0
  • Sodium Hyaluronate: 0.9 (Used here as the “gelling agent” and for deep hydration)
  • Preservative: 1.0 (I used my Ecocert approved one)
  • Extras: A drop of green food-grade colorant and a hint of fragrance.

Notes from my Beaker:

  1. The Base Mix: I started by dissolving the Aloe, Glycerin, Betaine, and preservative into the water.
  2. The pH Balancing Act: This was the most important part. When I first measured the mix, the pH was a bit low (under 5.5). Since I didn’t want to play with Sodium Hydroxide that day, I used a clever trick: I added a tiny bit of SAP (Sodium Ascorbyl Phosphate). It’s a stable Vitamin C that is quite alkaline, so it raised my pH perfectly into that 6–6.5 “safe zone” for the Niacinamide.
  3. Adding the Active: Once the pH was stable, I stirred in the Niacinamide. And yes… I checked the pH again! You can never be too sure when you’re avoiding that Nicotinic Acid flush.
  4. The “Patience” Test: I poured the Sodium Hyaluronate on top. Usually, you’re supposed to just “forget about it” for a day while it hydrates into a gel. But since I have zero patience :D, I hit it with a spatula and then my immersion mixer. It worked like a charm!
  5. The Aesthetics: I added one drop of green colorant because it just felt “right” for a soothing aloe-based serum.

Final Verdict: Even though it was a bit of a “fuss” to keep the pH exactly right, the result was a serum that felt incredibly smooth. It didn’t feel sticky, and it really helped keep my T-zone in check without any of that scary flushing. ENJOY! 🙂

Niacinamide6

Niacinamide7

Zombie Vaccine – Lifting Eye Gel ;)

LAB NOTES & SAFETY NOTICE
These are personal experiments for educational use only— not instructions and not for commercial or consumer use. By proceeding, you assume all risks related to safety, testing, and regulatory compliance.
[Full Legal Disclaimer & Safety Requirements]

ZOMBIE VACCINE 2

ZOMBIE VACCINE 3

Lab Note: The “Zombie Vaccine” Eye Serum-Gel

Hello Hello! 😀 Who doesn’t look like a zombie in the morning? (Okay, maybe you don’t… but I definitely do!). I saw the name “Zombie Vaccine” on a coffee cup once and I knew I had to steal it for this lifting eye serum.

I’m calling this a serum because it’s made of 100% active ingredients! There are no fillers here—just pure hydration and “wake-up” magic for that delicate eye area. yeheee!

The Active Duo:

  • Caffeine: The ultimate “double espresso” for your face. It helps stimulate microcirculation to fight puffiness and those dark zombie circles.
  • Sodium Hyaluronate: This is the salt form of Hyaluronic Acid. Just 1 gram is enough to turn this liquid into a beautiful, thick gel. It gives a slight “lifting” effect as it dries, while pulling hydration deep into the skin.

The Formula: Zombie Vaccine

  • Water: to 100
  • Rose Water: 30.0 (Soothing and smells like a dream)
  • Glycerin: 3.0
  • Sodium Hyaluronate: 1.0 (The gelling agent)
  • Blueberry Powder Extract: 0.3 (Antioxidant power!)
  • Caffeine: 2.0 (The anti-puffiness hero)
  • Preservative (Cosgard): 1.0

Notes from my Beaker:

  1. The Caffeine Challenge: Caffeine can be a bit of a diva. I mixed the water, rose water, glycerin, and caffeine together and heated it very slowly, stirring constantly. You have to make sure it’s fully dissolved—and then I prayed it wouldn’t crystallize into needles as it cooled down! 😀 (Luckily, it stayed smooth).
  2. The “No-Stir” Gelling: Once the liquid was completely cool, I added the preservative and the blueberry extract. Then came the Sodium Hyaluronate. I just poured it on top and did not stir.
  3. The Waiting Game: I covered the beaker with plastic wrap and walked away. I gave it a tiny mix after a few hours, but mostly I just let it sit. It takes about a day and a half for the Hyaluronate to fully hydrate into a clear, thick gel.
  4. pH Check: I checked the pH and it was a neutral 7.0. Since it’s for the eyes, I left it right there!

Final Verdict: This serum is so refreshing in the morning! It’s light, it’s cold, and it really helps “tighten” things up so I look a bit more human and a bit less zombie. ENJOY! 😀 😀 😀

How to: Hyaluronic Acid gel

LAB NOTES & SAFETY NOTICE
For educational purposes only. Content reflects personal, non-professional formulation experiments and is not instructional.
No formula or information on this site is intended for commercial use, consumer application, or third-party use.
Accessing this content means you accept all risks and full responsibility for safety, testing, legal compliance, and outcomes.
[Full Legal Disclaimer & Safety Requirements]

Hyaluronic Acid Gel

My Experience: Preparing Hyaluronic Acid Gel (1% Solution)

Hello Hello! 😀 One of the things I use most in my experiments is Hyaluronic Acid Gel. I’m obsessed with its ability to keep the skin hydrated—after all, it’s a substance naturally found in our own skin!

While I don’t believe in “miracle” anti-aging claims (commercials, right? 😉 ), I do notice that keeping the skin hydrated makes it look so much more plump and fresh. Here is how I’ve been preparing my 1% “stock” solution lately.

The “Experimental” Formula

In my lab, I usually aim for a clean 1% concentration. For a 100g batch, I use:

  • 1g Sodium Hyaluronate

  • 98.4g Distilled Water (Or sometimes Rose Water for that luxurious scent!)

  • 0.6g Cosgard (or whatever preservative my experiment requires)

How I do it (The 2026 Safe Method! :D)

Over the years, I’ve refined how I handle this. Sodium Hyaluronate is precious (and not exactly cheap!), so I want to avoid wasting a single grain.

  1. Safety First: In my experiments, I always add the preservative to the water FIRST. I’ve learned that protecting the water from the very start is much safer than waiting until the end.

  2. The “No-Stir” Layer: I gently sprinkle the powder on top of the preserved water. PHEW! I make sure NOT to stir yet. If I stir now, the powder sticks to my spoon in a stubborn clump and it’s all lost!

  3. The Wait: I cover the beaker and let it rest for a few hours (or overnight). The powder hydrates all by itself.

  4. The Finish: Once it’s fully hydrated into a beautiful gel, I give it a final, slow stir to make it perfectly smooth.

This is exactly why I started making my own cosmetics: I wanted to stop believing the commercials and see the real INCI for myself. It makes me feel like IT’S ALL IN MY HANDS! 😉Hyaluronic Acid Gel 3 Hyaluronic Acid Gel 2