No Foam Face Wash

LAB NOTES & SAFETY NOTICE
For educational purposes only. Content reflects personal, non-professional formulation experiments and is not instructional.
No formula or information on this site is intended for commercial use, consumer application, or third-party use.
Accessing this content means you accept all risks and full responsibility for safety, testing, legal compliance, and outcomes.
[Full Legal Disclaimer & Safety Requirements]

17693126_10154162682641741_1323540383_o

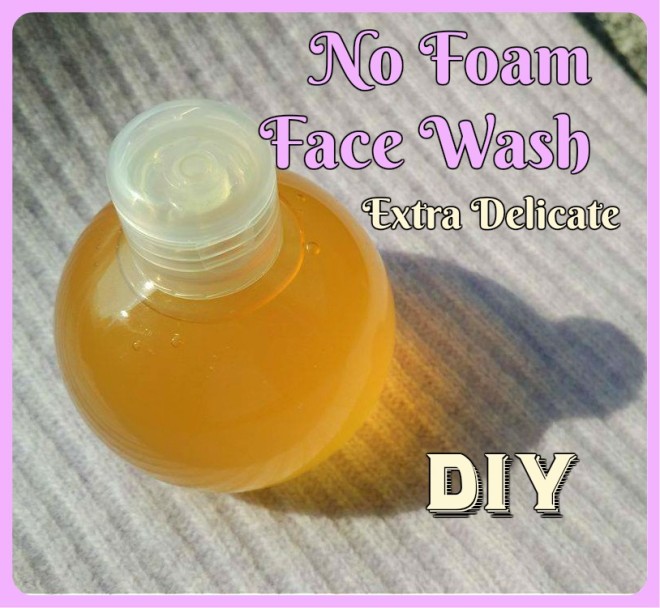
Lab Note: My “No-Foam” Gentle Face Wash

Hello Hello! :D This recipe is very special to me. For two years, I struggled with a constant, annoying form of acne. I was doing everything “right” according to the commercials—scrubbing like crazy, using alcoholic toners, and applying aggressive creams. Nothing worked!

Then, I finally decided to give my skin a break. I stopped the aggression and started treating my skin with respect. This face wash was a huge part of that. It doesn’t make a big foam, and it doesn’t leave your skin feeling “squeaky” (which usually just means “stripped!“), but it cleans perfectly.

The “Why” behind the formula:

I wanted a very delicate ASM of only 6.5%. Most shampoos are 15%, so you can see how much gentler this is! I also used a “Trio” of surfactants to keep it balanced:

  • Sodium Lauroyl Sarcosinate: My primary surfactant. It’s so much softer than SLES!

  • Cocamidopropyl Betaine: Added specifically to make the first one even milder.

  • Lauryl Glucoside: A non-ionic touch to keep everything stable.

The Formula:

Phase A:

  • Water to 100

  • Glycerin 3

  • Xanthan Gum 0.5 (I add this because Sarcosinate loves to become as liquid as water! This gives it a little “body” so it doesn’t slip through your fingers.)

  • Preservative (Water-soluble!)

Phase B:

  • Sodium Lauroyl Sarcosinate – 10

  • Lauryl Glucoside – 2 (It’s a dense paste, so microwave it for a few seconds first! :D)

  • Lavender EO – 2 drops

  • Sage EO – 2 drops (I love these for acne-prone skin because they are so soothing.)

Phase C:

  • Cocamidopropyl Betaine – 6

  • Lactic Acid (To reach pH 5—this is the secret to making it dense!)


Notes from the Beaker:

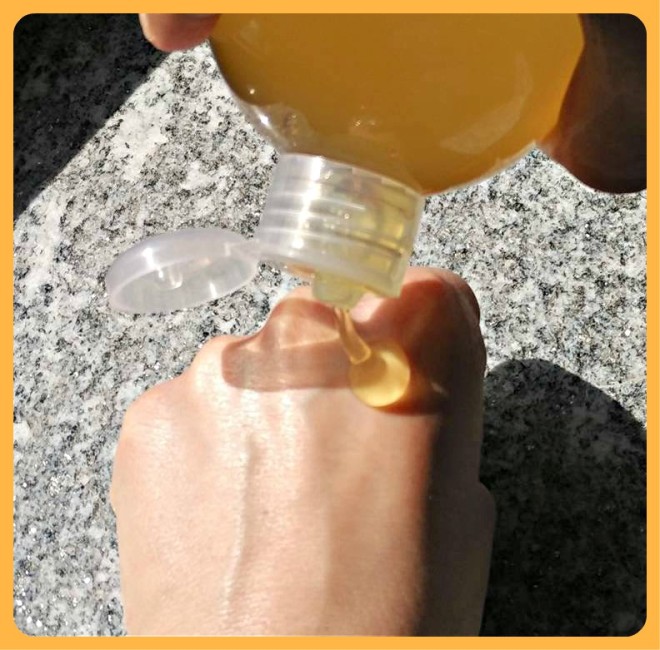
  1. Mixing with Love: I mixed everything very slowly with a spoon. If you mix too fast, you get a beaker full of bubbles and you’ll have to wait ages for them to go away!

  2. The pH Secret: This is the most important part! You must lower the pH to 5 using Lactic or Citric acid. One drop at a time! When you hit pH 5, the Sarcosinate suddenly becomes dense and “creamy.” If you go lower than 5, it might go liquid again, so be careful! 😉

  3. The Order: I add the Betaine (Phase C) at the very end. Sometimes adding it too early makes the whole thing “melt” into a liquid mess.

  4. A Touch of Color: I added one tiny drop of blue food coloring just to make it look pretty and fun in my bathroom.

Final Verdict: This face wash doesn’t “shout,” but it works. It leaves my skin calm, hydrated, and happy. If you are tired of aggressive products, give this a try! ENJOY! 🙂

17761561_10154162625556741_1284166204_o


Babassu Body Cream – Recipe

LAB NOTES & SAFETY NOTICE
For educational purposes only. Content reflects personal, non-professional formulation experiments and is not instructional.
No formula or information on this site is intended for commercial use, consumer application, or third-party use.
Accessing this content means you accept all risks and full responsibility for safety, testing, legal compliance, and outcomes.
[Full Legal Disclaimer & Safety Requirements]

Hello there! 😀

Babassu Body Cream

Lab Note: My “Smooth as Silk” Babassu & Shea Body Cream

Today I’m sharing a recipe for a rich body cream using a new emulsifier: Methyl Glucose Distearate. I’ve found the skin feel is even lighter than the “Sesquistearate” version, so I might start testing this for face creams too! yeheee!

For this body cream, I wanted it to feel luxurious but not greasy, so I chose Babassu Oil and Shea Butter, but balanced them with Dicaprylyl Ether to give it a nice “dry” finish.

The “Secret” Allantoin Trick:

I add Allantoin to almost everything because it’s so soothing and affordable. But it can be tricky to disperse! My secret? I found that it “melts” perfectly into Hydrolyzed Proteins. Now, I always pair them together in my Phase C—no more grainy creams! 😉

The Formula I Used:

Phase A (The Gel Base):

  • Water: to 100

  • Glycerin: 5.0

  • Xanthan Gum: 0.2

  • Carbopol Ultrez 21: 0.4 (The “No-Stir” superstar!)

Phase B (The Precious Fats):

  • Methyl Glucose Distearate: 3.5 (The new emulsifier)

  • Cetyl Alcohol / Cetyl Palmitate: 0.8 / 0.7 (My thickening duo)

  • Shea Butter: 6.0

  • Babassu Oil: 8.0

  • Rose Hip Oil: 3.0

  • Dicaprylyl Ether: 3.0 (For that “dry” touch)

Phase C (The Active Finish):

  • Hydrolyzed Oat Proteins: 3.0

  • Allantoin: 0.4 (Pre-mixed into the proteins!)

  • Preservative (Cosgard): 1.0

  • Fragrance Oil: A few drops


Notes from my Beaker:

  1. The Carbopol Ritual: I measured the Carbopol Ultrez 21 and just poured it on top of the water. Do not mix it! Just let it sit and hydrate slowly while it sits on the surface. After a few minutes, it looks like water with little whitish pieces—that’s perfect! It only becomes a gel once the pH hits 5.

  2. The Emulsion: I heated Phase A and B to 70°C. I added the Xanthan-glycerin slurry to the water just before mixing. Then, I slowly poured Phase B into Phase A while stirring with a spatula.

  3. The Mixer: Once they are combined, it’s time for the immersion mixer! It turns white and liquid, but the mixer is what makes the “magic” emulsification happen.

  4. The Ice Bath: You cannot skip the cooling process or it might separate! I used an ice bath to speed things up, stirring for about 30 minutes until it reached room temperature.

  5. The Finish: I added my Phase C (with my Allantoin-Protein mix!), checked the pH, and adjusted it to 5.5.

  6. The Waiting Game: Because of the Cetyl Alcohol and Palmitate, the cream keeps thickening for 24-48 hours. I left it in the beaker covered with plastic wrap for two days, stirring it every now and then, before finally putting it into jars.

Final Verdict: The texture is lovely! It’s rich because of the Shea and Babassu, but the new emulsifier and the Dicaprylyl Ether keep it from feeling “heavy.” And thanks to the protein trick, the Allantoin is perfectly smooth. ENJOY! 😀 😀 😀

Body cream itsallinmyhands


Amla Power – DIY Spicy Shampoo

LAB NOTES & SAFETY NOTICE
For educational purposes only. Content reflects personal, non-professional formulation experiments and is not instructional.
No formula or information on this site is intended for commercial use, consumer application, or third-party use.
Accessing this content means you accept all risks and full responsibility for safety, testing, legal compliance, and outcomes.
[Full Legal Disclaimer & Safety Requirements]

Amla Power DIY Shampoo

Lab Note: “Amla Power” Spicy Shampoo (The Poetic Effect!)

Hello Hello! 😀 Instead of trying to invent a “miracle anti-gravity” cream today, I decided to focus on something I really needed: a new shampoo!

I formulated this one for the “Autumn hair loss” season. I’m not saying I found a high-tech miracle cure—I’m not even sure those exist! Instead, I used a simple trick: Spicy Essential Oils to help stimulate blood circulation in the scalp. Plus, I added the “Prince” of Indian hair care: Amla Powder!

The Amla Legend

I bought this Amla in India. There, it’s believed to do everything: strengthen follicles, stop dandruff, prevent graying, and even straighten hair! Sips water. If you know me, you know I don’t blindly believe in miracles, but I love the history of Amla, so I added it for The Poetic Effect. 🙂

A Formulator’s Warning: Adding powders to shampoo is tricky! Unless your shampoo is super thick, the powder will eventually sink to the bottom. It can also mess with stability, so I used a higher level of preservative and made a small batch (100g) to be used quickly!


The Formula: Spicy Amla Power

Phase A:

  • Water: to 100

  • Amla Powder: 0.2 (For the poetry!)

  • Glycerin: 3.0

  • Inulin: 1.0 (For smoothing)

  • Hydrolyzed Silk Proteins: 2.5

  • Preservative (Cosgard): 1.0

Phase B (The Surfactant Base):

  • SLES: 25.0

  • Coco Glucoside / Glyceryl Oleate: 2.5

  • Decyl Glucoside: 2.5

Phase C (The “Spice” & Conditioning):

  • Polyquaternium 7: 2.0 (The conditioner)

  • EO of Cinnamon: 10 drops

  • EO of Cardamom: 5 drops

  • EO of Sweet Orange: 5 drops

Phase D (The Thickener):

  • Cocamidopropyl Betaine: 10.0 (The key to the texture!)

  • pH adjusted to 4.5 with Citric Acid


Notes from my Beaker:

  1. Dispersing the Amla: At first, the Amla powder just floated there, so I hit it with the immersion mixer until Phase A was uniform.

  2. Surfactant Magic: I mixed the Phase B surfactants first. It’s always satisfying to see that thick, pearly density start to form!

  3. One by One: I added the Phase C ingredients (Polyquat and oils) to the surfactants one at a time. I’m not very patient about bubbles :D, so there were a few, but that’s okay!

  4. The Big Mix: I poured the watery Phase A into the thick Phase B very slowly. It became very liquid at first—but don’t panic!

  5. The “Betaine Flip”: As soon as I added the Cocamidopropyl Betaine (Phase D), the whole thing became dense and thick like a real shampoo. It’s my favorite part of the process!

Final Verdict: It smells incredible—like a spicy tea for your head! My hair felt strong and the scalp felt “awake.” Just remember to shake it if the Amla starts to settle!

Amla Power Shampoo