Pink Sugar Frosting Body Lotion (Recipe)

LAB NOTES & SAFETY NOTICE
These are personal experiments for educational use only— not instructions and not for commercial or consumer use. By proceeding, you assume all risks related to safety, testing, and regulatory compliance.
[Full Legal Disclaimer & Safety Requirements]

DSCF3571

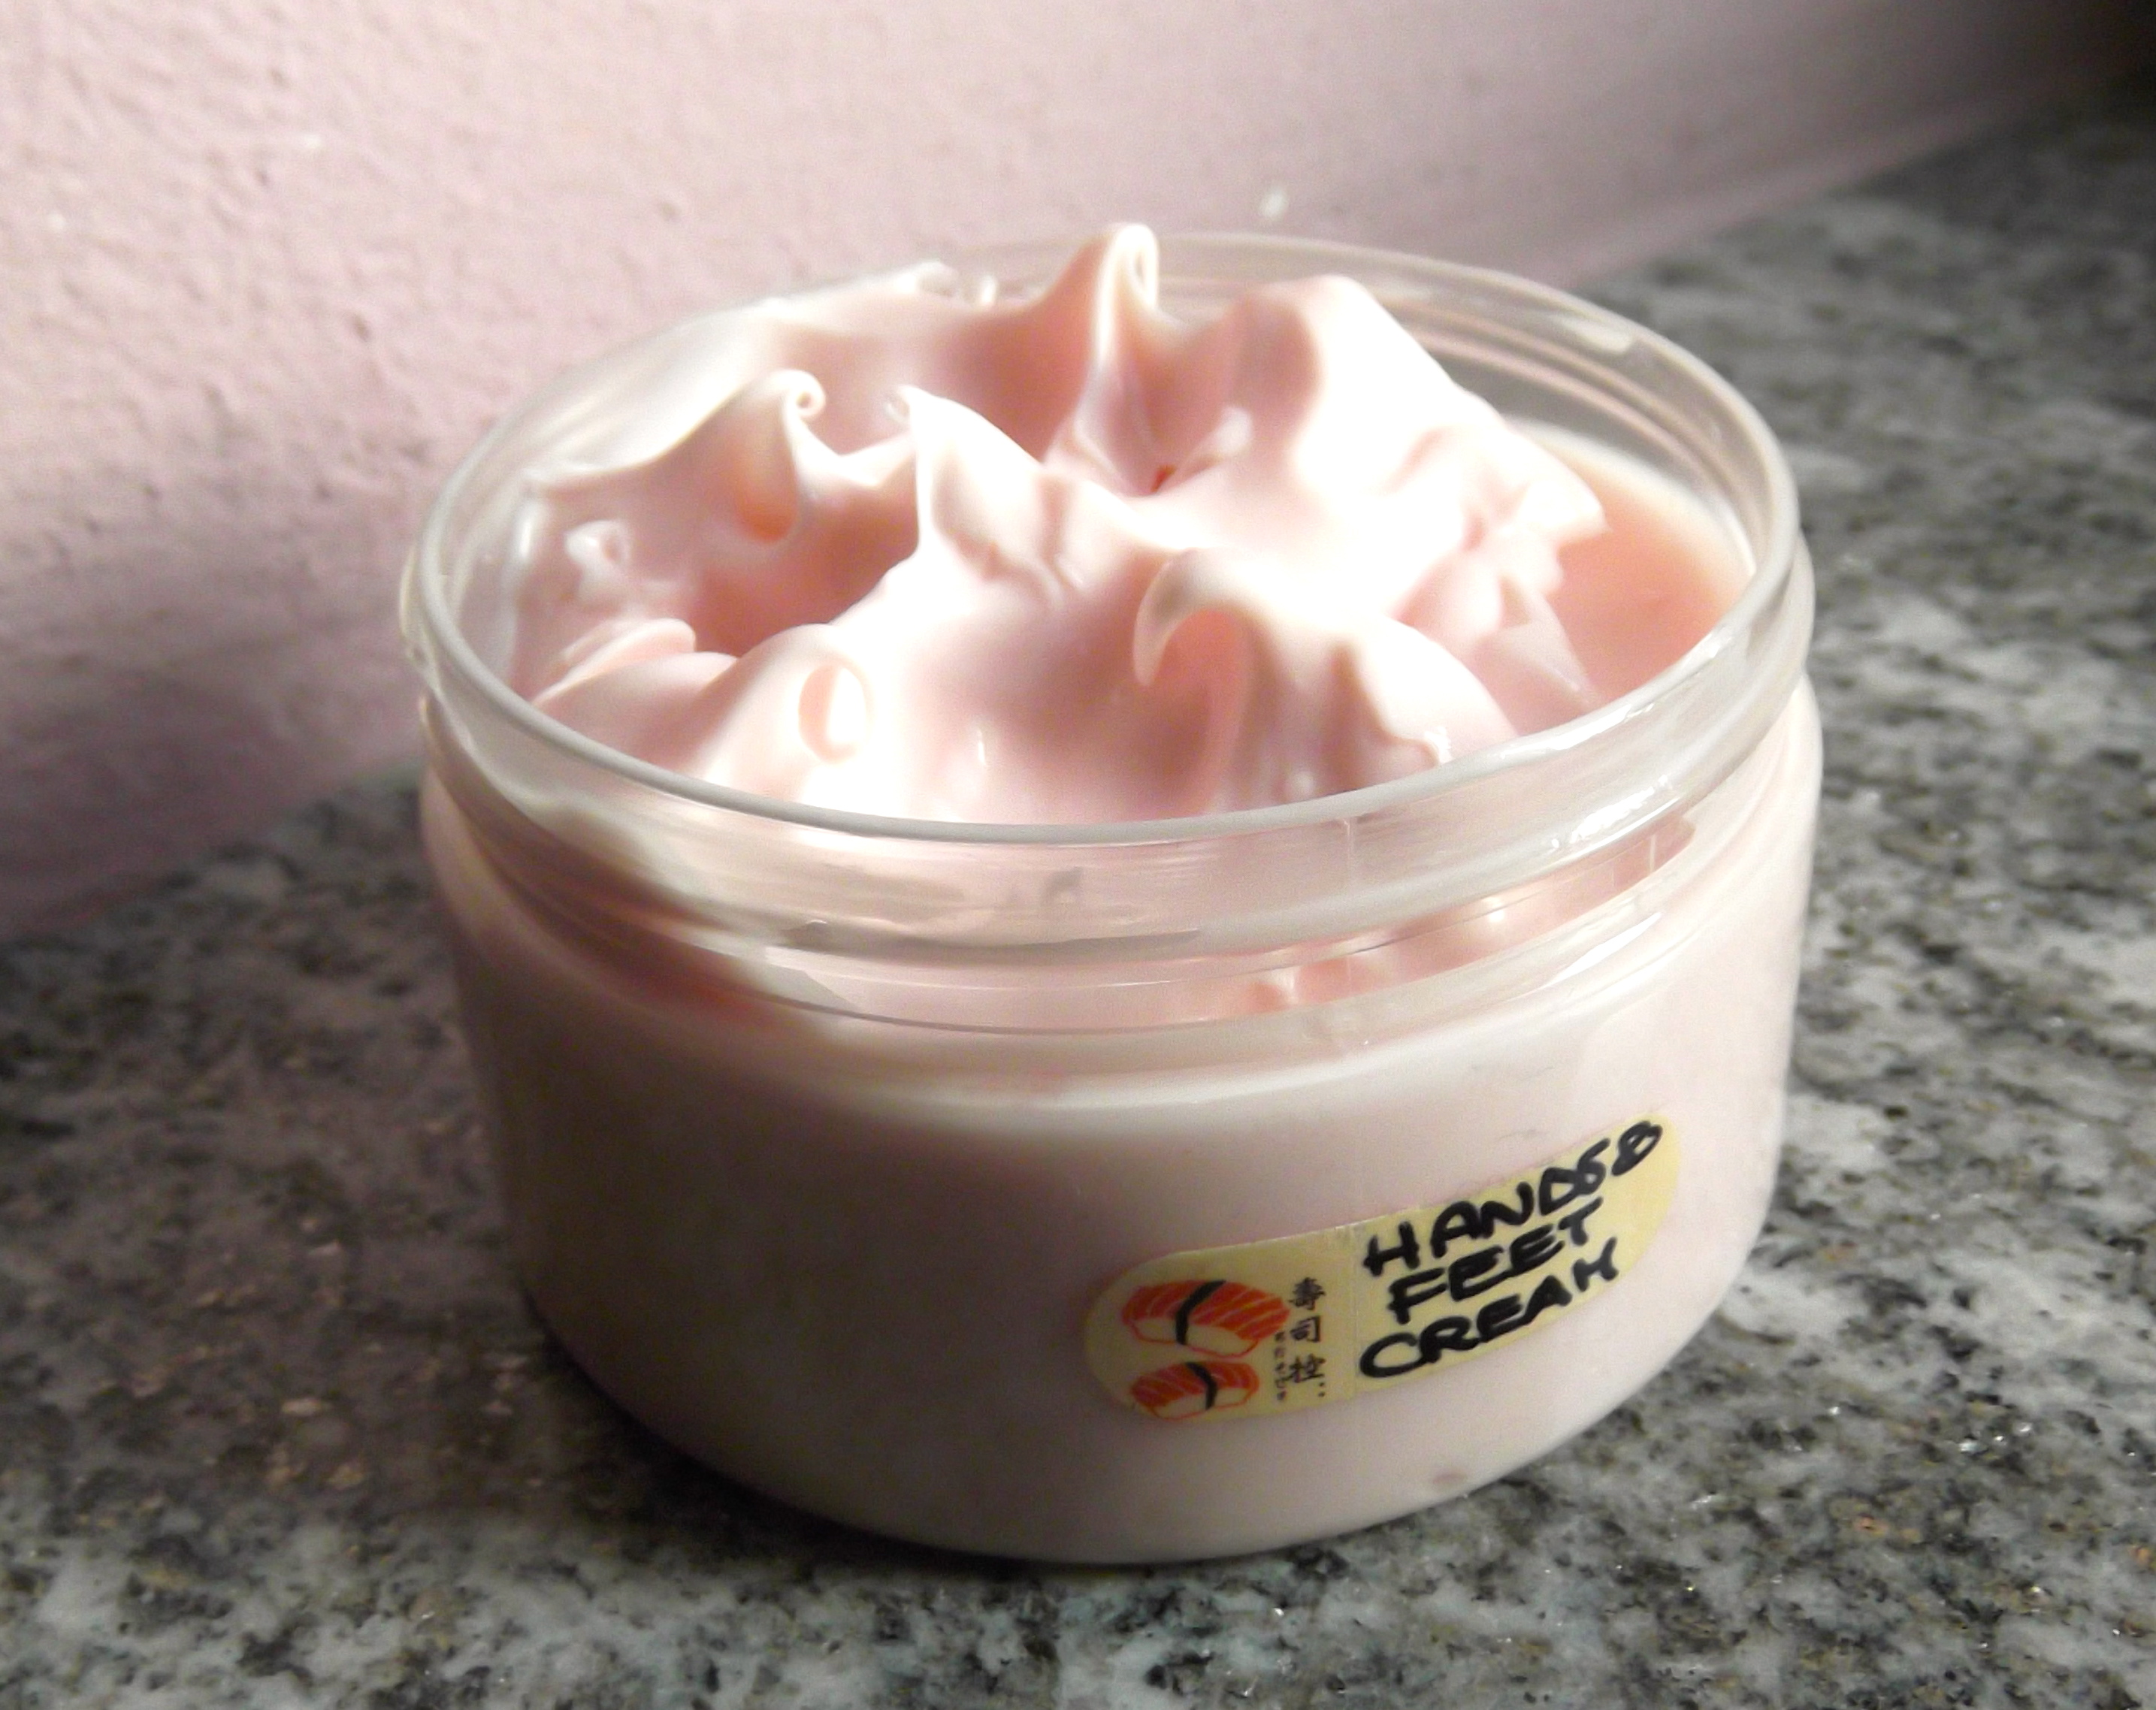
Silk-Touch Body Cream

Hello Hello! 😀 My goal for this one was to make a super emollient cream—the kind that feels really luxurious on the skin. I didn’t want to pack it with a million actives; I just wanted it to do good for the body! We spend so much time on our faces, but our body skin deserves some love too, right? 😉

The “Grease-Fall” (My Oil Selection):

Since this is for the body, I wasn’t worried about oils being comedogenic. I used 5% Shea Butter (which is comedogenic, whatever you read online! :P) because it is absolute heaven for body skin.

For the rest, I created a “Grease-Fall” using light and extra light oils. Most of these are synthetic or waxes (like Jojoba) because they make the cream feel so much better on the skin. If you want only natural oils, it won’t feel quite as silky, but Jojoba gets you pretty close!

The Formula:

Phase A:

  • Water to 100

  • Glycerin 5

  • Carbopol Ultrez 21 – 0.1 (A little gelling agent to keep it bouncy!)

Phase B (The “No-Heat” Emulsifier):

  • Abil Care 85 – 2 (This is a silicone-based emulsifier. I don’t use it on my face because it gives me tiny pimples, but for the body? I totally enjoy it! It makes the cream velvety and it’s almost impossible to fail with it! :D)

  • Tinovis ADE – 1.5 (This is the thickener/gel maker that works at room temperature—no heating needed, yeheee!)

  • Shea Butter – 5

  • Safflower Oil – 3

  • Borage Oil – 3

  • Jojoba Oil – 5

  • Dicaprylyl Ether – 5 (Extra light synthetic oil)

  • Cetiol Sensoft – 5 (The lightest oil ever—it feels like silicone but it isn’t!)

  • Tocopherol – 1 (Vitamin E)

Phase C (The Actives):

  • Allantoin – 0.35

  • Oat Hydrolyzed Proteins – 1.65 * Panthenol – 1 (Vitamin B5)

  • Preservative (The amount needed for yours!)

  • Fragrance Oil (I used “Pink Sugar” from Gracefruit… mmm! :D)


Notes from the Beaker:

  1. The Allantoin Hack: Allantoin can be a pain to dissolve—it gets gritty! But I found a trick: if you mix it with the hydrolyzed proteins first, it melts in so fast! That does the trick every time! 😀

  2. No Double Boiler: Since I used Abil Care 85 and Tinovis ADE, I didn’t have to heat anything up! It’s a fast way to get a professional texture.

  3. Mixing: I just poured Phase A into Phase B and mixed. It gets thick and silky almost instantly.

  4. Substitution Note: If you swap the emulsifier for one that does need heat, you have to move the Tinovis to Phase C because it hates heat!

Final Verdict: I am so satisfied with the “Silk-Touch” on this one. It’s emollient without being a sticky mess. ENJOY!!! 😀

How to formulate a Face Wash – with Recipe

LAB NOTES & SAFETY NOTICE
These are personal experiments for educational use only— not instructions and not for commercial or consumer use. By proceeding, you assume all risks related to safety, testing, and regulatory compliance.
[Full Legal Disclaimer & Safety Requirements]

DIY Face Wash - Recipe

Today I experimented on an “extra-mild” facial cleanser. My goal here was to build a balanced Surfactant Trio (Anionic, Amphoteric, and Non-Ionic) but keep the concentration low enough to respect a compromised skin barrier—especially for my skin, which tends to get acne when it’s irritated.

The ASM Calculation & My Surfactant Logic

To make sure this was as gentle as possible, I targeted a total ASM of 6.5%. Most store-bought face washes are 10–15%, so I knew this would be much softer.

  • Sodium Lauroyl Sarcosinate (Anionic): My primary choice for a creamy lather. It’s so much milder than SLES or SLS.

  • Cocamidopropyl Betaine (Amphoteric): I included this to “buffer” the Sarcosinate. It helps stop the cleanser from being too aggressive on the skin.

  • Lauryl Glucoside (Non-Ionic): This completes the trio. It’s great for removing oily residues without causing irritation.

The Math (Validated against my 6.5% ASM target):

  • Sarcosinate 10g: 10 * 0.29 = 2.9g

  • Betaine 6g: 6 * 0.32 = 1.92g

  • Lauryl Glucoside 3g: 3 * 0.52 = 1.56g

  • Total ASM: 6.38% (Perfect!)


My Formula: Mild Face Wash

Phase Component % / grams Function
A Distilled Water to 100 Solvent
A Glycerin 3.0 Humectant
A Xanthan Gum 0.5 Thickener / Suspension
B Sodium Lauroyl Sarcosinate 10.0 Primary Mild Anionic
B Lauryl Glucoside 3.0 Non-Ionic Detergent
B Lavender & Sage EOs 4 drops Soothing / Antimicrobial
C Cocamidopropyl Betaine 6.0 Amphoteric Buffer
C Preservative & Lactic Acid q.s. Safety / pH Calibration

What I Noticed During the Process

  • Gelling the Water: Sarcosinate is notoriously hard to thicken! I used 0.5% Xanthan Gum to give it enough “body” so it wouldn’t just run off my hands.

  • The “Heat” Trick: My Lauryl Glucoside was a thick paste. I had to give it a quick warm-up in a water bath to liquefy it before mixing, otherwise, I would have ended up with “fish-eyes” (lumps) in my gel.

  • The “Slow-Mix” Rule: Sips water. I stayed away from the high-speed mixers. I just used a manual stirring motion because I didn’t want to turn my beaker into a bubble bath before I even finished!

  • The pH Moment: This is the most sensitive part. I used Lactic Acid to bring the pH down to 5.0.

    • My Observation: At pH 5.5, the Sarcosinate reaches its best density. But I have to be careful—if the pH drops much lower than that, the whole structure can fail and turn back into a liquid mess, plus the betaine should never go below that pH!

Final Thoughts

For me, this face wash is the definition of “Less is More.” By getting rid of harsh alcohols and scrubs and using this low-ASM blend instead, I finally gave my skin some space to breathe.

Personal Observation: This formula was a real turning point for my skin. It really confirms my theory: cleaning the skin shouldn’t mean stripping the skin.

DIY face wash

How to formulate a detergent – THEORY pt.2

LAB NOTES & SAFETY NOTICE
These are personal experiments for educational use only— not instructions and not for commercial or consumer use. By proceeding, you assume all risks related to safety, testing, and regulatory compliance.
[Full Legal Disclaimer & Safety Requirements]

How to formulate a detergent

My Lab Notes: Surfactant Assembly & Phase Logic

Hello Hello! 😀

I’ve been recording my experiments with detergents, and I’ve realized it’s about so much more than just getting the skin clean. It’s about managing the “Micellar structure” so the product feels professional.

1. My “Trio-Strategy” for Softness

I’ve documented that a single-surfactant system is usually too harsh for my skin. I’ve started using a three-part team:

  • Primary: My “cleaning engine” (like SLES).

  • Secondary: A “buffer” like Cocamidopropyl Betaine to reduce irritation.

  • Aesthetics: A tiny bit of Glyceryl Oleate to make the lather feel like luxury.

2. My Thickening Observations

I’ve noticed that people associate thickness with quality, so I’ve been testing three reliable ways to build “body”:

  • The Salt-Curve: I’ve recorded that SLES becomes extremely dense when I add electrolytes (salt) because it forces the micelles to pack tighter.

  • The pH Trigger: In my experiments with Sarcosinate, the texture changes completely at pH 5.0. It goes from thin to thick almost instantly!

  • Polymeric Support: If the surfactants are being stubborn, I use Xanthan Gum (<1%) in Phase A to get the flow I want.

3. My Assembly Protocol (Avoiding the “Crash”)

I have to be very careful with the order of addition to avoid “crashing” the formula or making it cloudy.

  • Phase A (The Aqueous Foundation): I hydrate my gums and glycerin here.

  • Phase B (The Concentrate): This is where my main surfactants go. Sips water. I’ve learned to mix these very slowly with a spatula—no immersion mixers allowed, or I’ll end up with a beaker full of air bubbles!

  • Phase C (The Trigger): This is my favorite part. When I add the Betaine and the pH adjusters at the end, I often see the “thickening moment” happen right before my eyes.

Final Lab Thought

Formulating detergents is a game of patience. If I rush the mixing, I lose the clarity. A thin gel still cleans, but I’ve found that a thick, glossy gel is what makes the experience feel truly professional. It’s all in my hands! 😉

HAVE A GREAT DAY! 😄

How to formulate a detergent – THEORY pt. 1

How to formulate a detergent

LAB NOTES & SAFETY NOTICE
These are personal experiments for educational use only— not instructions and not for commercial or consumer use. By proceeding, you assume all risks related to safety, testing, and regulatory compliance.
[Full Legal Disclaimer & Safety Requirements]

My Lab Notes: Surfactant Theory & The Chemistry of Cleansing

Hello Hello! 😀

I’m recording my research into surfactants (Surface Active Agents). These are the amphiphilic molecules that make my cleansers work. Their “water-loving” head and “oil-loving” tail are what allow them to lift debris from the skin.

1. The Four Groups (My Personality Map)

Surfactants can be categorized by their electrical charge. It’s the easiest way to predict how they’ll interact with skin and hair:

  • Anionic (-): My “powerhouses” for foam and cleaning (SLES, Sarcosinate).

  • Cationic (+): I use these for conditioning because they “stick” to the negatively charged hair shaft.

  • Non-Ionic (0): Usually mild stabilizers (Glucosides).

  • Amphoteric (+/-): My “buffers.” I’ve found these are essential for reducing the irritancy of the Anionics (Betaine).

2. The ASM Calculation (Active Matter)

I’ve documented a common trap: raw surfactants are rarely 100% pure. They are usually solutions.

  • The ASM Coefficient: Always check my supplier’s sheet. For instance, if my SLES is 27% ASM, I have to calculate my formula based on that “pure” percentage, not the total weight of the liquid.

My Target ASM Hierarchy:

Based on my trials, I’ve set these “strength targets” for my formulas:

  • Intimate Wash: ~5% ASM

  • Face Wash: <10% ASM

  • Shampoo: 10% – 15% ASM

  • Shower Gel: 18% – 20% ASM

  • Bubble Bath: 20% – 25% ASM

3. The Synergy Discovery

One of the most important things I’ve recorded is that synergy reduces irritancy.
Using 12% ASM of a single surfactant is much harsher than a 12% blend of three different types. I now always use a “Trio” (Primary + Buffer + Aesthetic Booster) to keep the skin barrier happy.

Self note: It’s important that I keep checking the Technical Data Sheets. Sometimes the same ingredient can vary between 27% and 30% ASM depending on the batch!

It’s all about layering the charges correctly to get a product that cleans without being aggressive.

Hair Conditioner Recipe (and THEORY)

Hair Conditioner Recipe

LAB NOTES & SAFETY NOTICE
These are personal experiments for educational use only— not instructions and not for commercial or consumer use. By proceeding, you assume all risks related to safety, testing, and regulatory compliance.
[Full Legal Disclaimer & Safety Requirements]

Theory & Practice: The Basic Hair Conditioner

Hello Hello! :D Today I want to show you a foundational recipe for a high-performance hair conditioner.

Making a conditioner is similar to making a skin lotion, but there are some critical differences in the technique. If you don’t follow these, your conditioner might fail or separate!

The Two Golden Rules of Conditioner:

  1. The Pour: In a lotion, we usually pour the Oil (B) into the Water (A). In a conditioner, you MUST pour the Water (Phase A) into the Oil (Phase B). This is vital for the cationic emulsion!

  2. Phase C: There isn’t a “block” Phase C. You must add every extra ingredient SINGULARLY, ONE BY ONE, once the emulsion is at room temperature.

The Formula: Eco-Friendly Conditioner

Phase A (Water):

  • Water: to 100

  • Glycerin: 3.0

  • Guar Hydroxypropyltrimonium Chloride: 0.1 (This is a fantastic detangler! If you don’t have it, you can use a Flaxseed or Mallow infusion instead).

  • Heat to precisely 75°C.

Phase B (The Cationic Base):

  • Esterquat: 8.0 (This is a cationic emulsifier—specifically for hair! It’s great because it’s eco-friendly).

  • Jojoba Oil: 2.0

  • Cetyl Alcohol: 3.5 (For thickness and “slip”)

  • Stearic Acid: 1.5

  • Heat to 70°C.

“Phase C” (Add one by one!):

  • Hydrolyzed Wheat Protein: 3.0

  • Panthenol: 1.0

  • Polyquaternium-7: 2.0 (Enhances the conditioning. You can skip it if you don’t have it).

  • Preservative: (According to your product’s dosage, e.g., 0.6%)

  • Fragrance/Essential Oil: To your taste! :D


Notes from my Beaker:

  • The Emulsifier: Unlike face creams, conditioners need a Cationic charge to stick to the hair (which has a negative charge). Esterquat is the perfect choice because it’s much better for the environment than older conditioning agents.

  • Temperature Check: Use your thermometer! If Phase A isn’t hot enough when it hits the Esterquat, the emulsion won’t be as smooth and stable.

  • The Finish: Once you’ve added your ingredients one by one, give it a final slow stir. You’ll notice the texture becomes very creamy and rich.

Final Verdict: This conditioner is simple but very effective. It leaves the hair soft, easy to comb, and static-free without being too heavy.

HAVE A GREAT DAY!!! 😀

DSCF3512


How to formulate a SERUM

Hyaluronic Acid Serum

LAB NOTES & SAFETY NOTICE
These are personal experiments for educational use only— not instructions and not for commercial or consumer use. By proceeding, you assume all risks related to safety, testing, and regulatory compliance.
[Full Legal Disclaimer & Safety Requirements]

This post is a great way to show how formulation shifts when you move from “heavy” emulsions to “active-heavy” serums. In 2026, the trend is all about “minimalist science,” so framing this as your Technical Brief on Aqueous Systems is perfect.

Here is the “Studio” revamp, using the Lab Notes persona.


Lab Notes: Observations on Aqueous Systems & Serum Theory

In my formulation research, serums represent a distinct category of product design. While lotions are designed for barrier protection and emollience, serums are engineered as high-delivery systems for specific active components. Below are my documented observations on the characteristics and structural theory of these fluid systems.

Defining Characteristics of a Serum

In my lab records, I categorize a “Serum” based on these specific technical parameters:

  • Lipid Load: Systems are typically very light, with a total fat content often documented between 1.5% and 4%.

  • Viscosity ($\eta$): Serums are designed to be fluid or semi-fluid rather than high-viscosity creams.


  • Active Density: They are formulated to hold a higher concentration of “hero” ingredients.


  • Cold Process Theory: Because the lipid load is so low, many of my serum experiments are conducted at room temperature (Cold Process), preserving the integrity of heat-sensitive vitamins.

Theory Perspective: If a cream is the “protector” of the skin, a serum is the “booster.” Expecting a serum to provide the same occlusion as a rich cream is a common misconception in formulation theory; they serve different physiological goals.


Structural Phases in Serum Design

Phase A: The Aqueous Base

Phase A is the backbone of the serum. In my experiments, I focus heavily on the choice of Rheology Modifiers (gelling agents) to determine the “pick-up” and “after-feel” of the product.

  • Robustness: I prioritize gelling agents that can withstand high electrolyte (salt) loads from actives.

  • My Go-To Polymers: I often record the use of Xanthan Gum or Hydroxyethylcellulose (HEC). Note that HEC requires a thermal trigger to hydrate, which I account for in my processing notes if cold-sensitive actives are involved.

Phase B: The Targeted Lipid Phase

Even in a water-heavy system, a small lipid phase is often necessary to carry oil-soluble vitamins (like Vitamin E/Tocopherol).

  • Solubilization vs. Emulsification: In my lab, when the oil phase is under 2%, I often experiment with solubilizers (surfactant-based materials) rather than traditional waxes. This allows the final system to remain translucent and liquid.

  • Cold Emulsifiers: For serums, I frequently document the use of liquid, room-temperature emulsifiers to maintain a “Cold Process” workflow.

Phase C: The Active Integration

In serum theory, the line between Phase A and Phase C is often blurred. Since many serums are cold-processed, I can incorporate the actives directly into the water phase from the start.

Hyaluronic Acid: The Dual-Purpose Ingredient

I’ve found that Sodium Hyaluronate is a fascinating case study in serum design. It acts simultaneously as a high-performance active and a gelling agent. In my records, I’ve noted that a high-molecular-weight Hyaluronic Acid can create a complete serum structure on its own, requiring nothing more than water and a preservative.


Concluding Thoughts on Serum Strategy

Designing a serum is an exercise in precision. Because the formula is so “exposed” (lacking the heavy waxes of a cream), every ingredient must be perfectly balanced to avoid tackiness or instability. I find these systems to be the ultimate test of an active ingredient’s compatibility with a base.

What’s next in the lab?

I am currently reviewing my notes on Niacinamide stability within these aqueous systems. If you have specific observations on pH-sensitive actives in serums, I’d love to compare data!

How to make foot & hand cream: formulating!

LAB NOTES & SAFETY NOTICE
These are personal experiments for educational use only— not instructions and not for commercial or consumer use. By proceeding, you assume all risks related to safety, testing, and regulatory compliance.
[Full Legal Disclaimer & Safety Requirements]

DSCF3497

Formulating a Protective Barrier Cream (Hands & Feet)

In this experimental batch, I am documenting the creation of a high-lipid barrier cream designed for hands and feet. These areas require a specific “Heavy Emollient” profile—thick, protective, and highly hydrating. My goal was to achieve a 25% lipid load while maintaining a stable, professional texture.

Phase A: Rheology and Electrolyte Stability

In my lab notes, the choice of gelling agent for this formula was dictated by the active ingredients in Phase C.

  • Distilled Water: to 100

  • Glycerin: 4.0% (Increased humectant levels for extreme dryness).

  • Xanthan Gum: 0.5% Technical Observation: I opted for a relatively high percentage of Xanthan Gum as the sole stabilizer. I purposely avoided Carbomer polymers because the high concentration of Urea (an electrolyte) in Phase C would compromise the carbomer’s lattice, leading to viscosity loss.

Phase B: The Heavy “Grease-Fall” and Protective Waxes

For a hand/foot treatment, the lipid profile shifts toward the “heavy” end of the Gaussian distribution.

  • The Lipid Cascade: I prioritized hard butters (Cocoa and Shea) to provide structure and occlusion.

  • The Role of Waxes: I’ve introduced Jojoba Wax at 2%. Waxes are not strictly part of the “Grease-Fall” fluidity; instead, they function as film-formers, providing a protective “glove” effect against environmental stressors.

Experimental Oil Phase (25% total fats):

  • Jojoba Wax: 2.0%

  • Cocoa Butter: 5.0%

  • Shea Butter: 10.0%

  • Argan Oil: 5.0%

  • Grape Seed Oil: 5.0%

Phase C: Managing Urea and pH Stability

Phase C contains the “Hero” ingredients, but they require careful chemical management.

  • Urea (10%): A potent humectant known for its water-binding and keratolytic (exfoliating) properties.

  • Gluconolactone (2%): In my research, Urea is known to cause a pH drift (becoming more alkaline over time). To counter this, I’ve included Gluconolactone as a buffering/sequestering agent to maintain pH stability.

  • Texture Modifier: I added Aluminum Starch Octenylsuccinate (1%) to mitigate the greasiness of the 25% fat load, resulting in a matte, “velvet” after-feel.


My Batch Processing Workflow

  1. Hydration: I dispersed the Xanthan Gum in Glycerin before adding the water (setting aside 15g for the urea solution).

  2. Thermal Phase: Both Phase A and Phase B were heated to 70°C.

  3. Emulsification: Phase B was incorporated into Phase A in three stages using an immersion mixer.

  4. Urea Integration: Once the emulsion cooled to room temperature, I dissolved the Urea and Gluconolactone in the reserved 15g of water and integrated this into the base.

  5. Final Finish: I added the preservative, essential oils (Grapefruit and Mint), and a touch of food-grade coloring for aesthetic appeal.

Final QC Check: The pH was measured and found to be stable between 5.5 and 6.0.