LAB NOTES & SAFETY NOTICE
These are personal experiments for educational use only— not instructions and not for commercial or consumer use. By proceeding, you assume all risks related to safety, testing, and regulatory compliance.
[Full Legal Disclaimer & Safety Requirements]
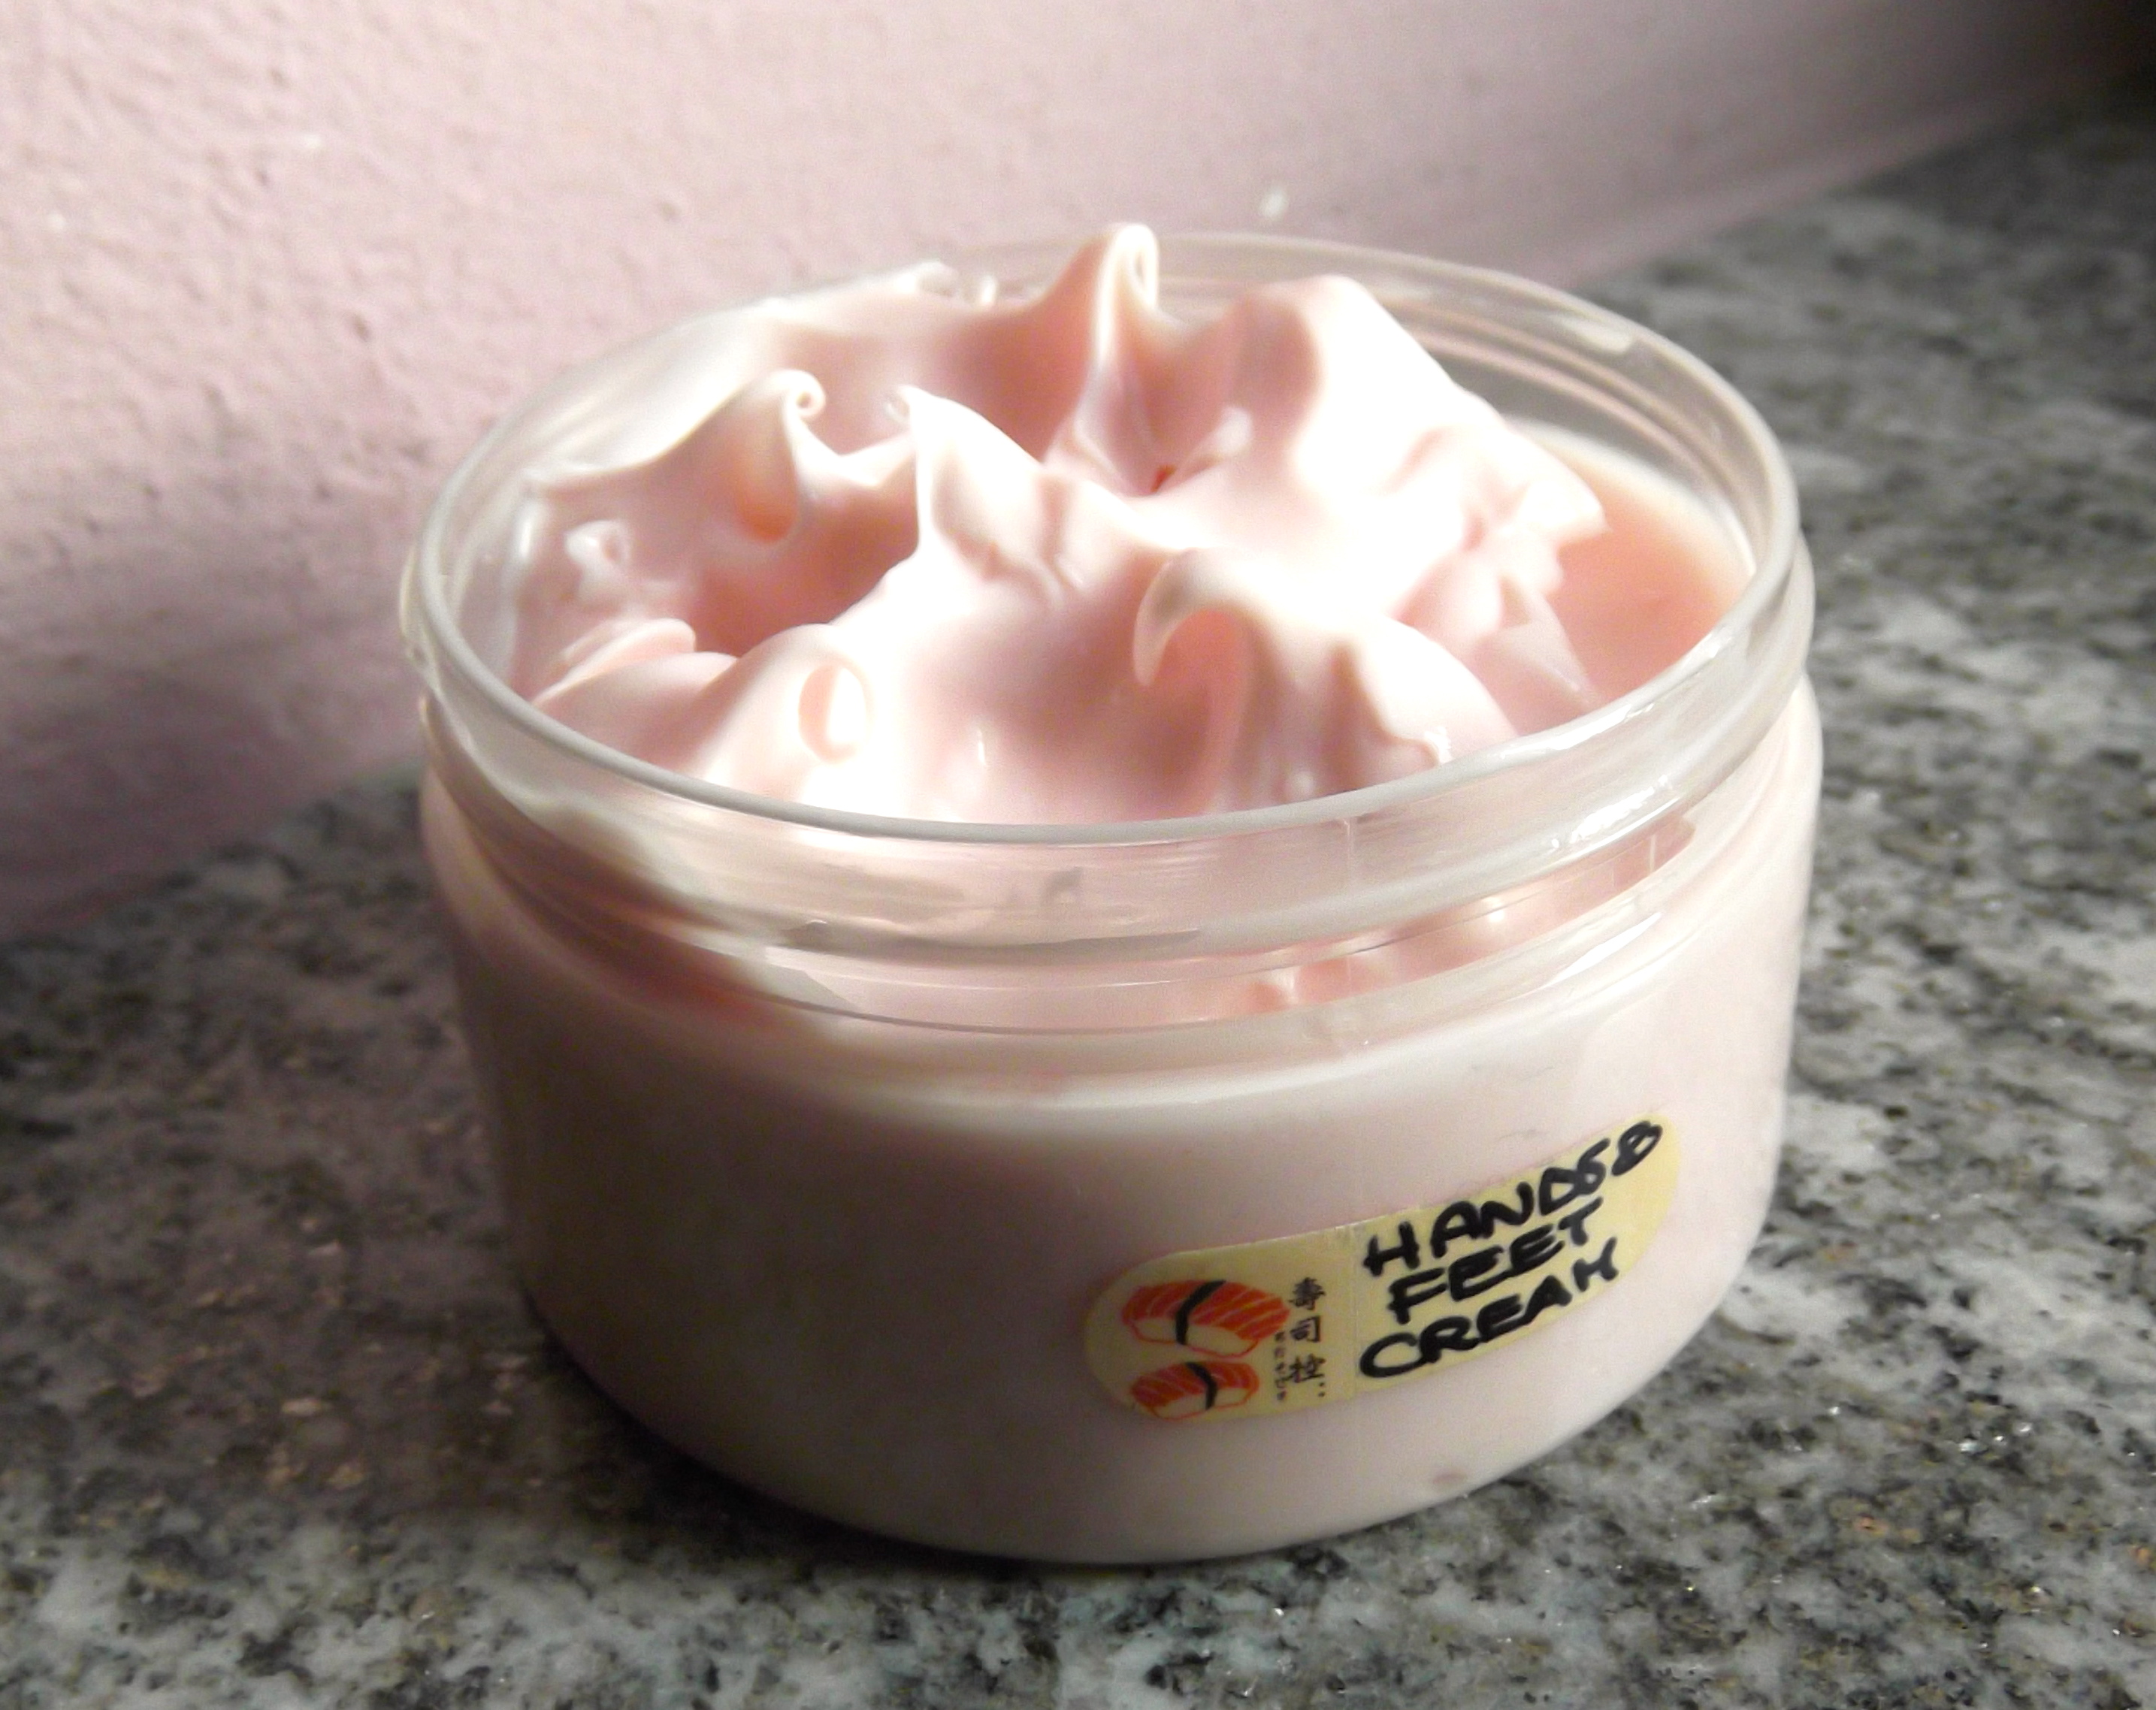
Formulating a Protective Barrier Cream (Hands & Feet)
In this experimental batch, I am documenting the creation of a high-lipid barrier cream designed for hands and feet. These areas require a specific “Heavy Emollient” profile—thick, protective, and highly hydrating. My goal was to achieve a 25% lipid load while maintaining a stable, professional texture.
Phase A: Rheology and Electrolyte Stability
In my lab notes, the choice of gelling agent for this formula was dictated by the active ingredients in Phase C.
-
Distilled Water: to 100
-
Glycerin: 4.0% (Increased humectant levels for extreme dryness).
-
Xanthan Gum: 0.5% Technical Observation: I opted for a relatively high percentage of Xanthan Gum as the sole stabilizer. I purposely avoided Carbomer polymers because the high concentration of Urea (an electrolyte) in Phase C would compromise the carbomer’s lattice, leading to viscosity loss.
Phase B: The Heavy “Grease-Fall” and Protective Waxes
For a hand/foot treatment, the lipid profile shifts toward the “heavy” end of the Gaussian distribution.
-
The Lipid Cascade: I prioritized hard butters (Cocoa and Shea) to provide structure and occlusion.
-
The Role of Waxes: I’ve introduced Jojoba Wax at 2%. Waxes are not strictly part of the “Grease-Fall” fluidity; instead, they function as film-formers, providing a protective “glove” effect against environmental stressors.
Experimental Oil Phase (25% total fats):
-
Jojoba Wax: 2.0%
-
Cocoa Butter: 5.0%
-
Shea Butter: 10.0%
-
Argan Oil: 5.0%
-
Grape Seed Oil: 5.0%
Phase C: Managing Urea and pH Stability
Phase C contains the “Hero” ingredients, but they require careful chemical management.
-
Urea (10%): A potent humectant known for its water-binding and keratolytic (exfoliating) properties.
-
Gluconolactone (2%): In my research, Urea is known to cause a pH drift (becoming more alkaline over time). To counter this, I’ve included Gluconolactone as a buffering/sequestering agent to maintain pH stability.
-
Texture Modifier: I added Aluminum Starch Octenylsuccinate (1%) to mitigate the greasiness of the 25% fat load, resulting in a matte, “velvet” after-feel.
My Batch Processing Workflow
-
Hydration: I dispersed the Xanthan Gum in Glycerin before adding the water (setting aside 15g for the urea solution).
-
Thermal Phase: Both Phase A and Phase B were heated to 70°C.
-
Emulsification: Phase B was incorporated into Phase A in three stages using an immersion mixer.
-
Urea Integration: Once the emulsion cooled to room temperature, I dissolved the Urea and Gluconolactone in the reserved 15g of water and integrated this into the base.
-
Final Finish: I added the preservative, essential oils (Grapefruit and Mint), and a touch of food-grade coloring for aesthetic appeal.
Final QC Check: The pH was measured and found to be stable between 5.5 and 6.0.


