LAB NOTES & SAFETY NOTICE
These are personal experiments for educational use only— not instructions and not for commercial or consumer use. By proceeding, you assume all risks related to safety, testing, and regulatory compliance.
[Full Legal Disclaimer & Safety Requirements]
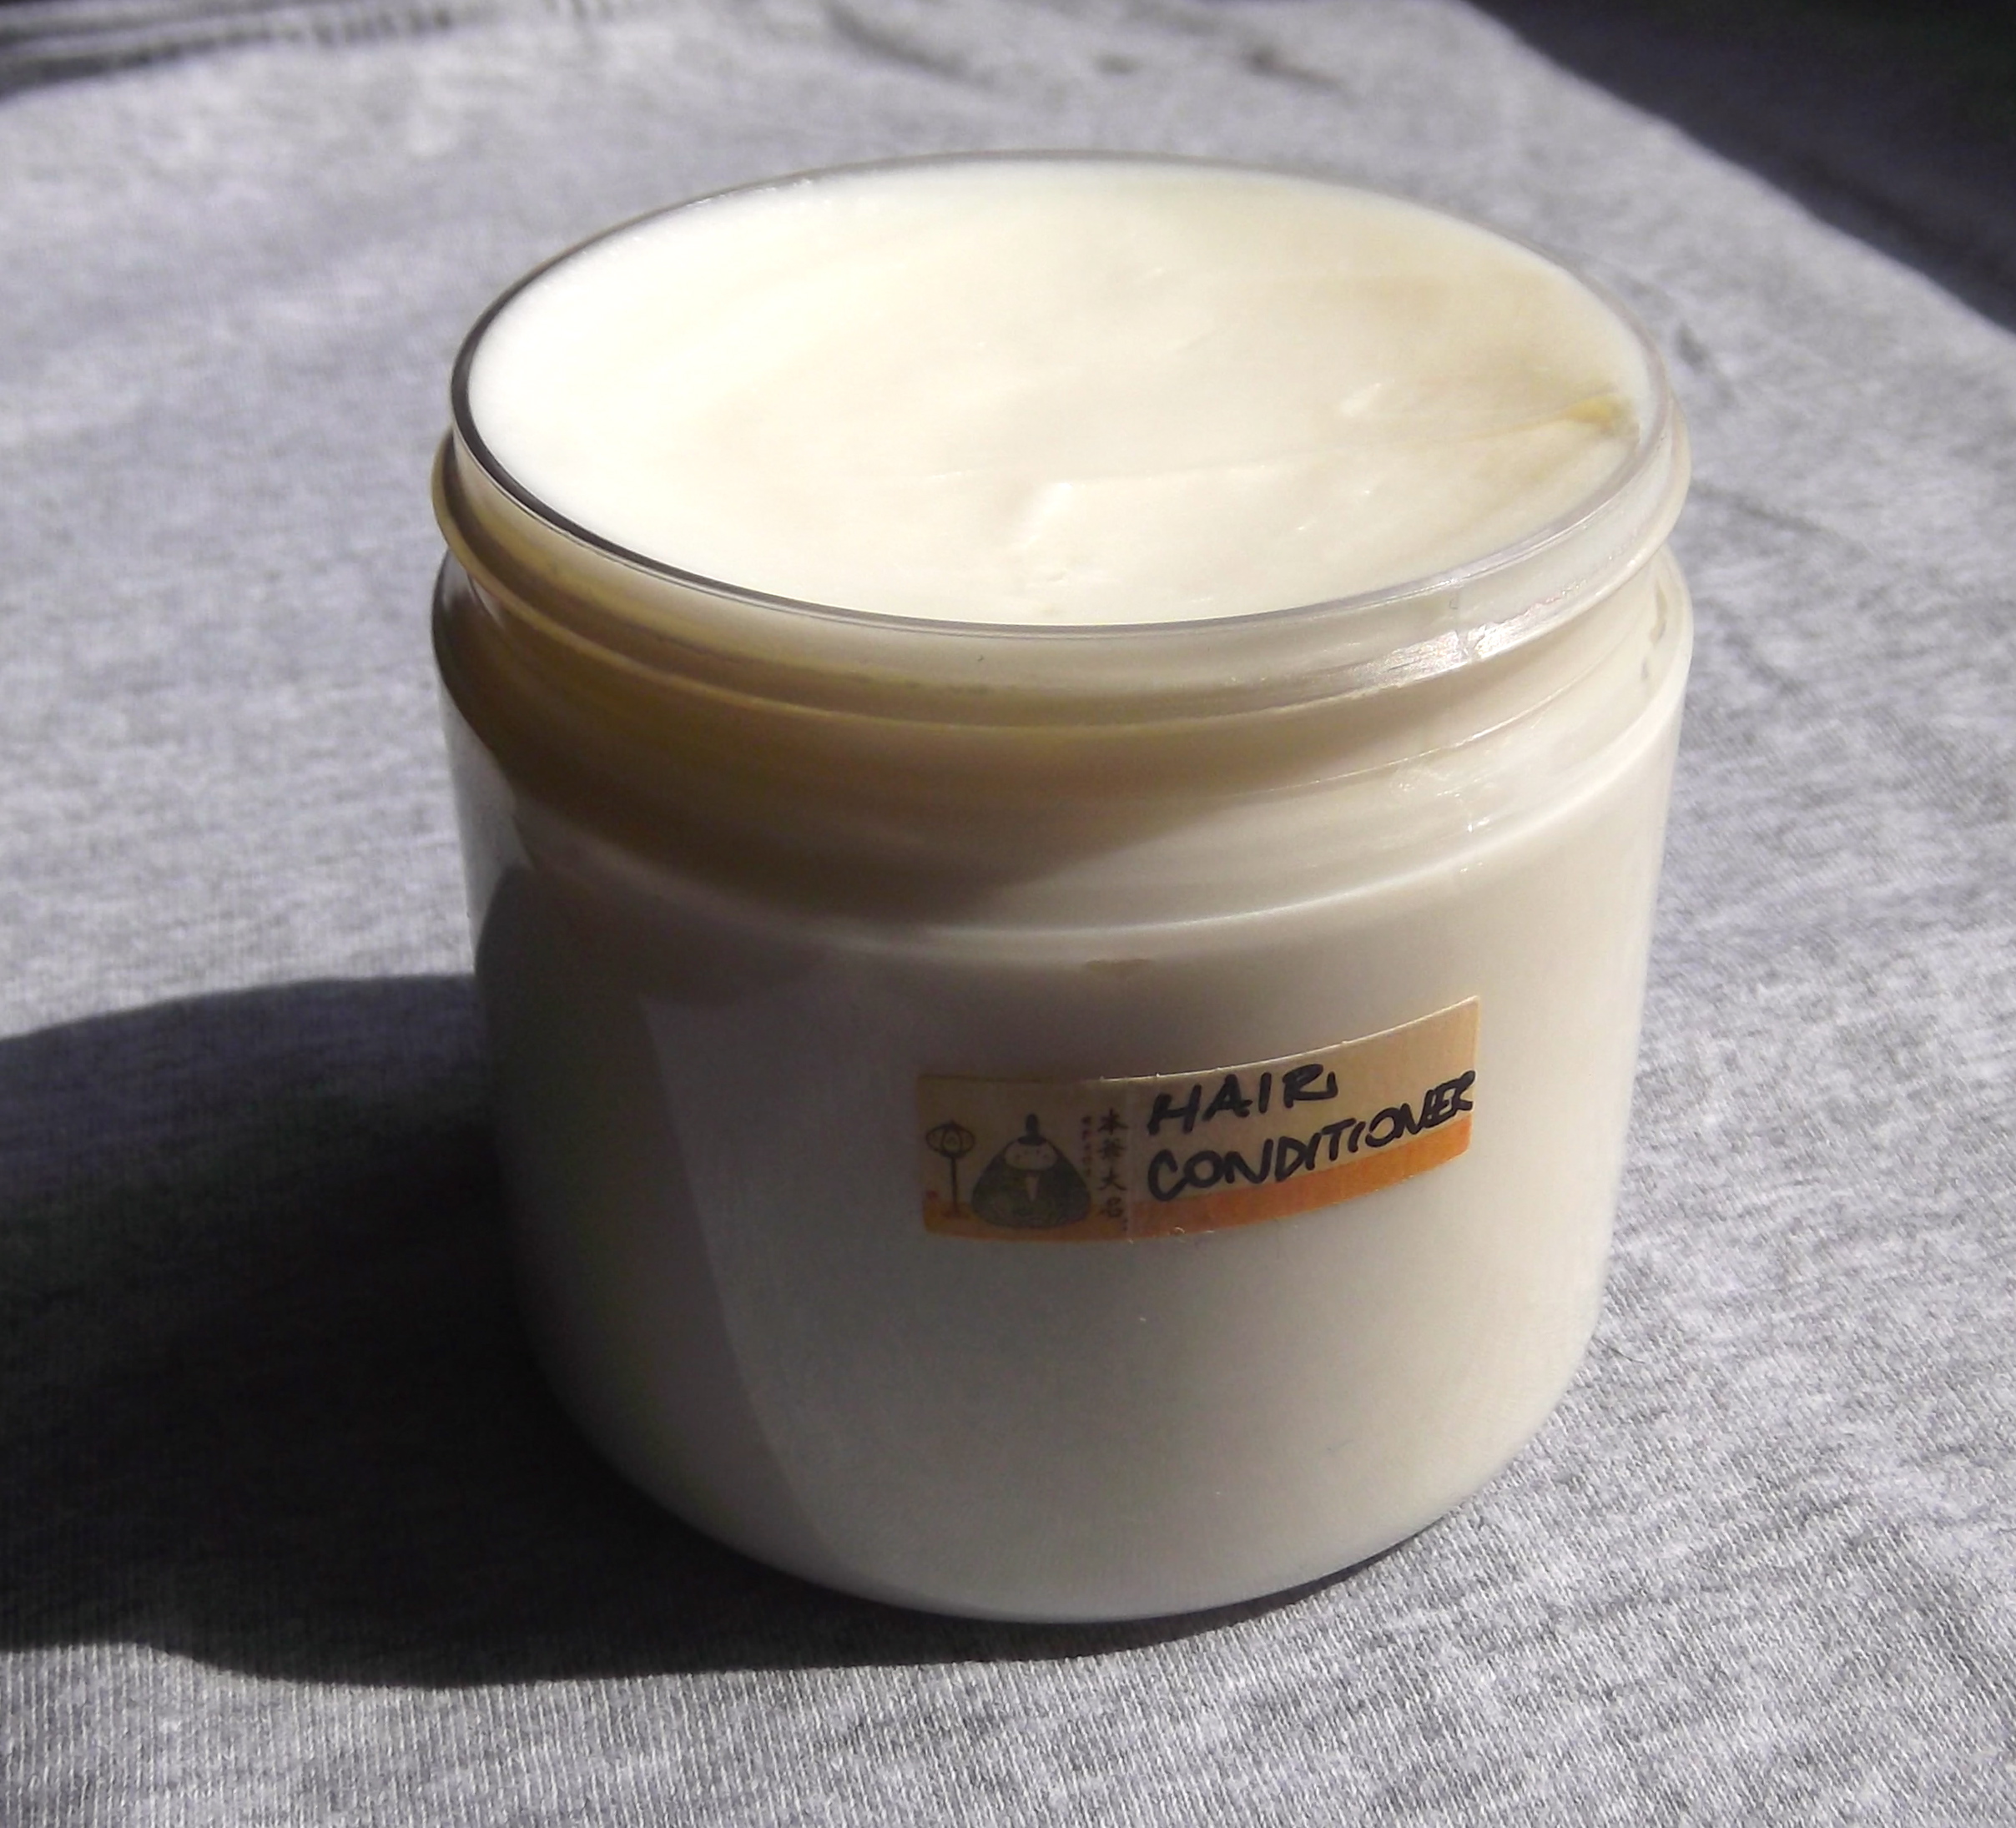
Theory & Practice: The Basic Hair Conditioner
Hello Hello! :D Today I want to show you a foundational recipe for a high-performance hair conditioner.
Making a conditioner is similar to making a skin lotion, but there are some critical differences in the technique. If you don’t follow these, your conditioner might fail or separate!
The Two Golden Rules of Conditioner:
-
The Pour: In a lotion, we usually pour the Oil (B) into the Water (A). In a conditioner, you MUST pour the Water (Phase A) into the Oil (Phase B). This is vital for the cationic emulsion!
-
Phase C: There isn’t a “block” Phase C. You must add every extra ingredient SINGULARLY, ONE BY ONE, once the emulsion is at room temperature.
The Formula: Eco-Friendly Conditioner
Phase A (Water):
-
Water: to 100
-
Glycerin: 3.0
-
Guar Hydroxypropyltrimonium Chloride: 0.1 (This is a fantastic detangler! If you don’t have it, you can use a Flaxseed or Mallow infusion instead).
-
Heat to precisely 75°C.
Phase B (The Cationic Base):
-
Esterquat: 8.0 (This is a cationic emulsifier—specifically for hair! It’s great because it’s eco-friendly).
-
Jojoba Oil: 2.0
-
Cetyl Alcohol: 3.5 (For thickness and “slip”)
-
Stearic Acid: 1.5
-
Heat to 70°C.
“Phase C” (Add one by one!):
-
Hydrolyzed Wheat Protein: 3.0
-
Panthenol: 1.0
-
Polyquaternium-7: 2.0 (Enhances the conditioning. You can skip it if you don’t have it).
-
Preservative: (According to your product’s dosage, e.g., 0.6%)
-
Fragrance/Essential Oil: To your taste! :D
Notes from my Beaker:
-
The Emulsifier: Unlike face creams, conditioners need a Cationic charge to stick to the hair (which has a negative charge). Esterquat is the perfect choice because it’s much better for the environment than older conditioning agents.
-
Temperature Check: Use your thermometer! If Phase A isn’t hot enough when it hits the Esterquat, the emulsion won’t be as smooth and stable.
-
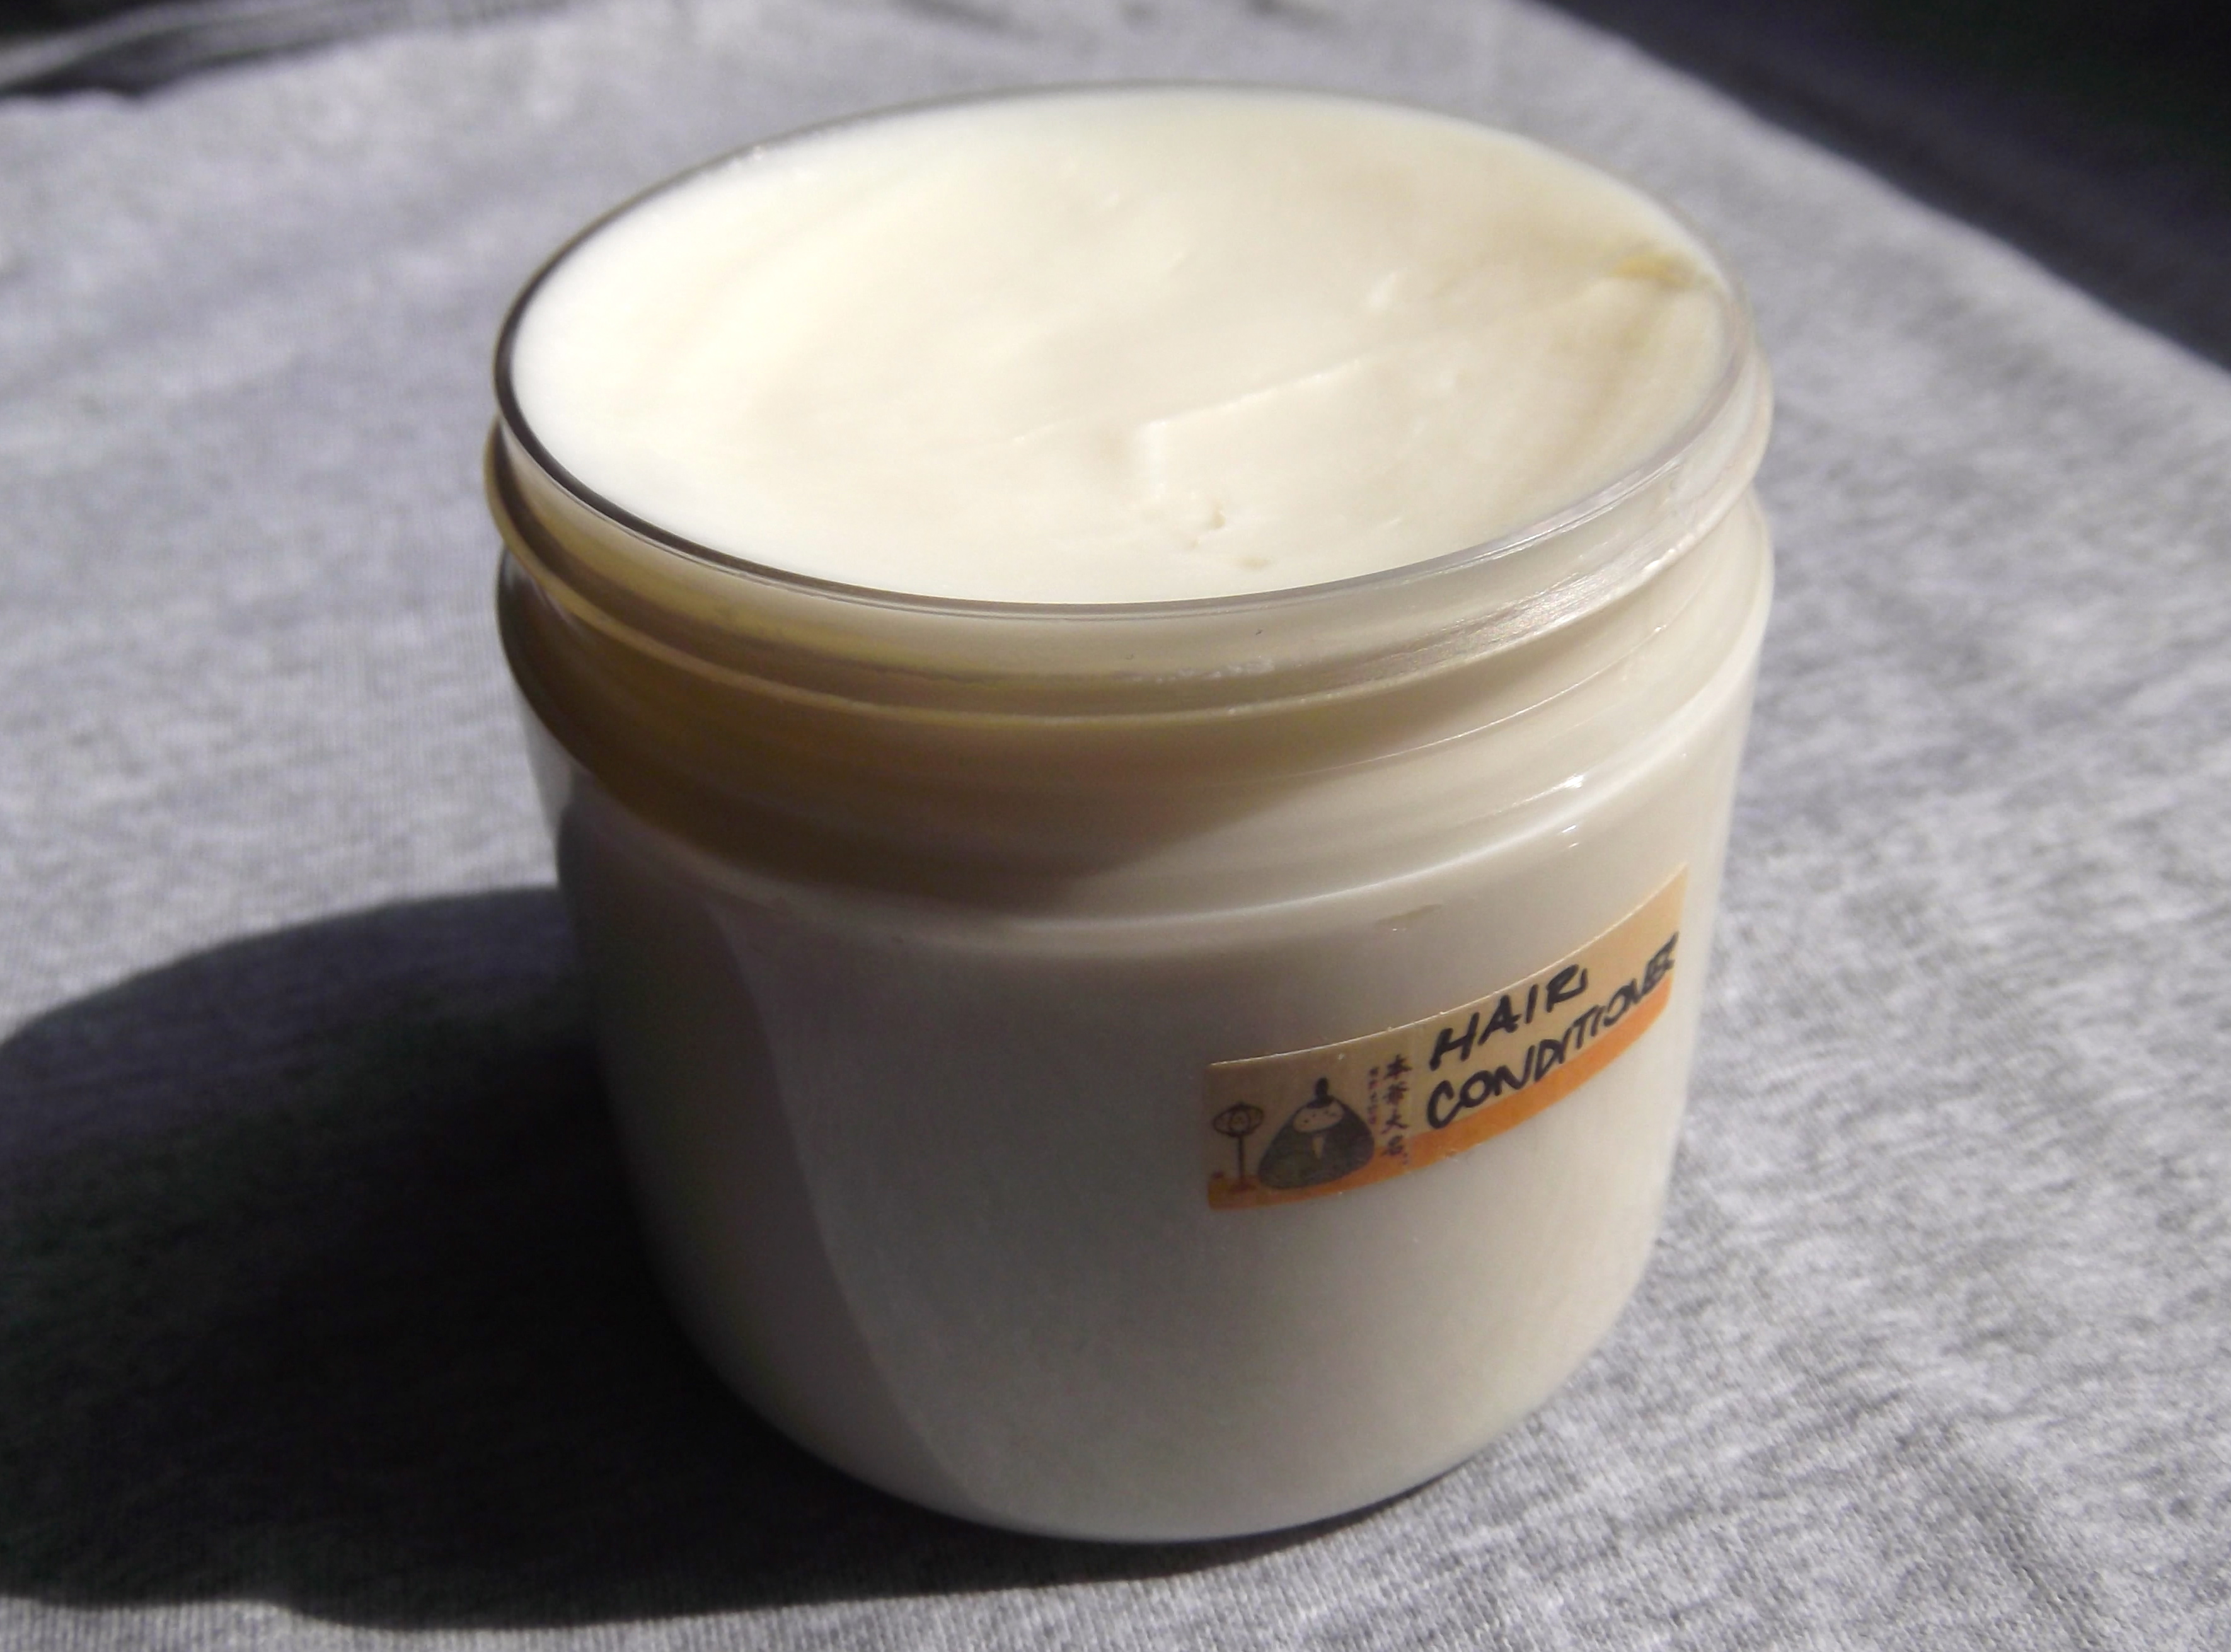
The Finish: Once you’ve added your ingredients one by one, give it a final slow stir. You’ll notice the texture becomes very creamy and rich.
Final Verdict: This conditioner is simple but very effective. It leaves the hair soft, easy to comb, and static-free without being too heavy.
HAVE A GREAT DAY!!! 😀