LAB NOTES & SAFETY NOTICE
These are personal experiments for educational use only— not instructions and not for commercial or consumer use. By proceeding, you assume all risks related to safety, testing, and regulatory compliance.
[Full Legal Disclaimer & Safety Requirements]

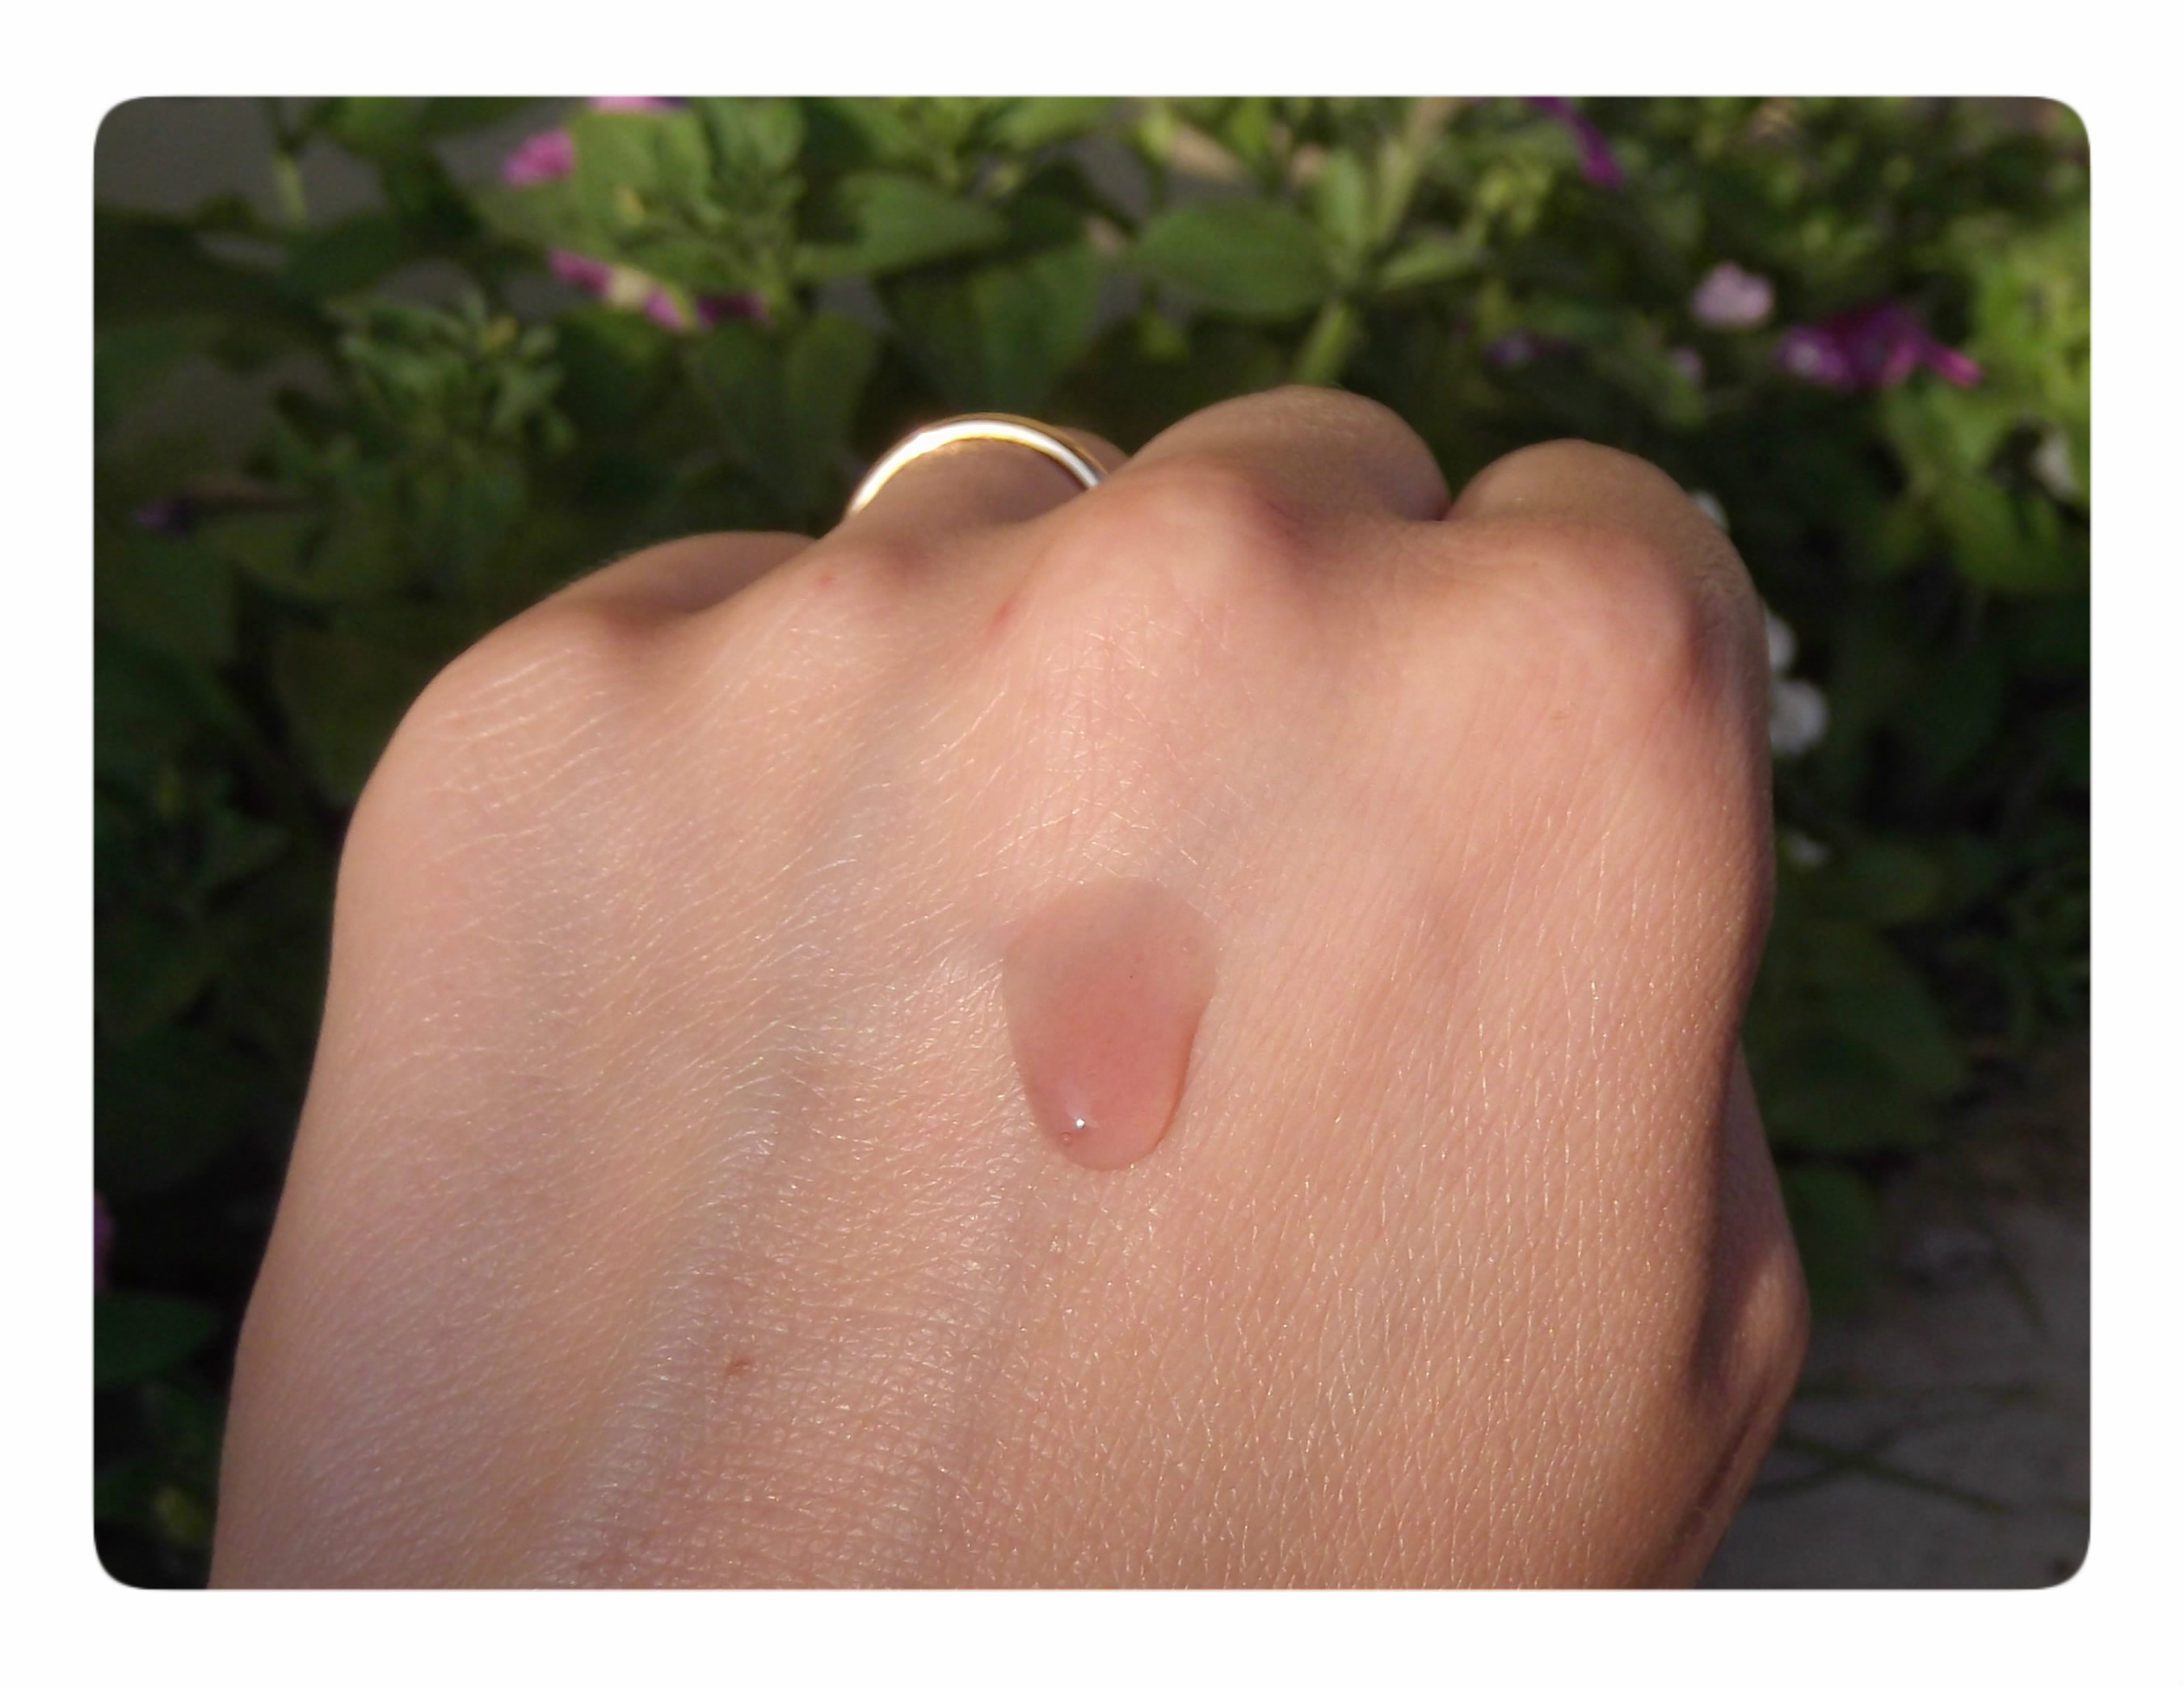
Lab Note: The “Zombie Vaccine” Eye Serum-Gel
Hello Hello! 😀 Who doesn’t look like a zombie in the morning? (Okay, maybe you don’t… but I definitely do!). I saw the name “Zombie Vaccine” on a coffee cup once and I knew I had to steal it for this lifting eye serum.
I’m calling this a serum because it’s made of 100% active ingredients! There are no fillers here—just pure hydration and “wake-up” magic for that delicate eye area. yeheee!
The Active Duo:
- Caffeine: The ultimate “double espresso” for your face. It helps stimulate microcirculation to fight puffiness and those dark zombie circles.
- Sodium Hyaluronate: This is the salt form of Hyaluronic Acid. Just 1 gram is enough to turn this liquid into a beautiful, thick gel. It gives a slight “lifting” effect as it dries, while pulling hydration deep into the skin.
The Formula: Zombie Vaccine
- Water: to 100
- Rose Water: 30.0 (Soothing and smells like a dream)
- Glycerin: 3.0
- Sodium Hyaluronate: 1.0 (The gelling agent)
- Blueberry Powder Extract: 0.3 (Antioxidant power!)
- Caffeine: 2.0 (The anti-puffiness hero)
- Preservative (Cosgard): 1.0
Notes from my Beaker:
- The Caffeine Challenge: Caffeine can be a bit of a diva. I mixed the water, rose water, glycerin, and caffeine together and heated it very slowly, stirring constantly. You have to make sure it’s fully dissolved—and then I prayed it wouldn’t crystallize into needles as it cooled down! 😀 (Luckily, it stayed smooth).
- The “No-Stir” Gelling: Once the liquid was completely cool, I added the preservative and the blueberry extract. Then came the Sodium Hyaluronate. I just poured it on top and did not stir.
- The Waiting Game: I covered the beaker with plastic wrap and walked away. I gave it a tiny mix after a few hours, but mostly I just let it sit. It takes about a day and a half for the Hyaluronate to fully hydrate into a clear, thick gel.
- pH Check: I checked the pH and it was a neutral 7.0. Since it’s for the eyes, I left it right there!
Final Verdict: This serum is so refreshing in the morning! It’s light, it’s cold, and it really helps “tighten” things up so I look a bit more human and a bit less zombie. ENJOY! 😀 😀 😀


