LAB NOTES & SAFETY NOTICE
For educational purposes only. Content reflects personal, non-professional formulation experiments and is not instructional.
No formula or information on this site is intended for commercial use, consumer application, or third-party use.
Accessing this content means you accept all risks and full responsibility for safety, testing, legal compliance, and outcomes.
[Full Legal Disclaimer & Safety Requirements]
Hello there! 😀
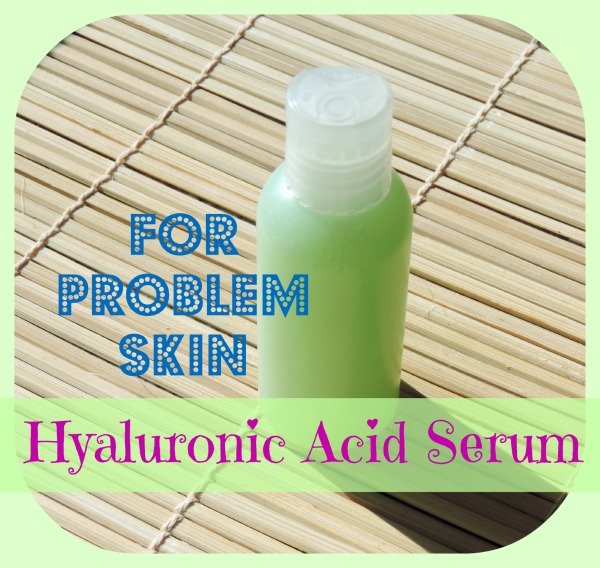
Lab Note: My “Problem Skin” Niacinamide Serum
Hello Hello! 😀 Today I’m looking back at a formula for a super simple but highly effective serum. I designed this one specifically for those “problematic skin” days—you know, when you have a bit of an oily T-zone, some mild blemishes, and maybe those annoying red marks left over from previous spots.
I have to remind myself: this isn’t a “magic cure” for serious acne. It’s just a helping hand to keep the skin hydrated and soothe that irritation. yeheee!
The Niacinamide “Trick”
The star here is Niacinamide (Vitamin B3). It’s a powerhouse for sebum and redness, but it has a secret: it’s a close friend of Nicotinic Acid. If the pH drops too low, the Niacinamide can turn into Nicotinic Acid, which causes flushing and burning—the exact opposite of “soothing!”
Because of this, I was incredibly “fussy” about the pH in my lab. My goal was a safe pH of 6–6.5. At the time, I was using the most reliable pH strips I could find, though a pH meter is definitely the “gold standard” for this!
The Formula I Used:
- Water: to 100
- Niacinamide: 4.0 (The blemish fighter)
- Aloe Vera Powder (200:1): 0.5
- Betaine (Trimethylglycine): 5.0 (The soothing powder—not the surfactant!)
- Glycerin: 1.0
- Sodium Hyaluronate: 0.9 (Used here as the “gelling agent” and for deep hydration)
- Preservative: 1.0 (I used my Ecocert approved one)
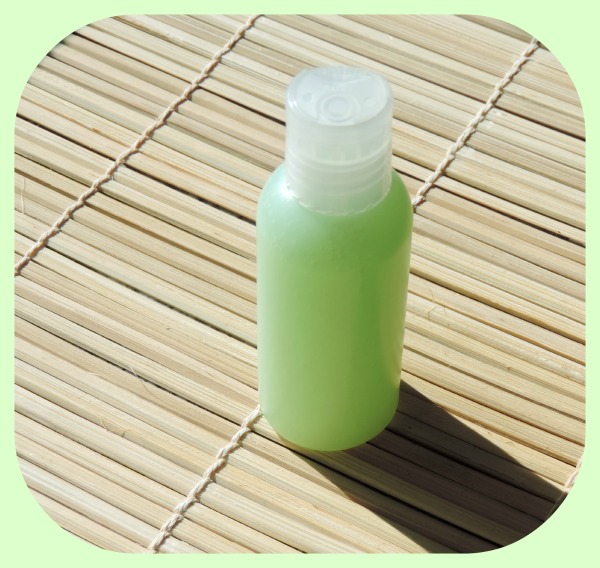
- Extras: A drop of green food-grade colorant and a hint of fragrance.
Notes from my Beaker:
- The Base Mix: I started by dissolving the Aloe, Glycerin, Betaine, and preservative into the water.
- The pH Balancing Act: This was the most important part. When I first measured the mix, the pH was a bit low (under 5.5). Since I didn’t want to play with Sodium Hydroxide that day, I used a clever trick: I added a tiny bit of SAP (Sodium Ascorbyl Phosphate). It’s a stable Vitamin C that is quite alkaline, so it raised my pH perfectly into that 6–6.5 “safe zone” for the Niacinamide.
- Adding the Active: Once the pH was stable, I stirred in the Niacinamide. And yes… I checked the pH again! You can never be too sure when you’re avoiding that Nicotinic Acid flush.
- The “Patience” Test: I poured the Sodium Hyaluronate on top. Usually, you’re supposed to just “forget about it” for a day while it hydrates into a gel. But since I have zero patience :D, I hit it with a spatula and then my immersion mixer. It worked like a charm!
- The Aesthetics: I added one drop of green colorant because it just felt “right” for a soothing aloe-based serum.
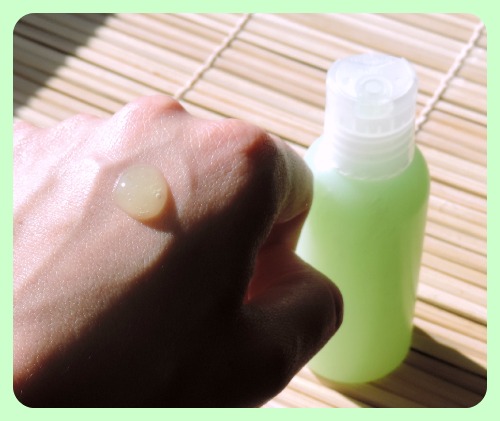
Final Verdict: Even though it was a bit of a “fuss” to keep the pH exactly right, the result was a serum that felt incredibly smooth. It didn’t feel sticky, and it really helped keep my T-zone in check without any of that scary flushing. ENJOY! 🙂