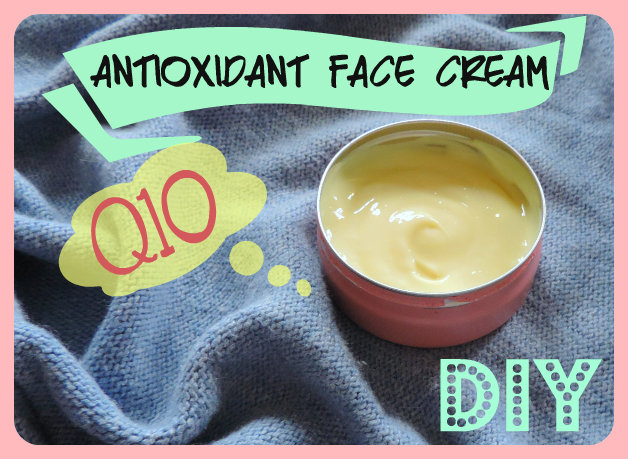
Hello there! 🙂
I am back with a new recipe for a light face cream, perfect for summer (you can use it as a potent aftersun).
I do not like (and I don’t suggest) to use antioxidant creams all the year around because the cell-metabolism is complex and using too much antioxidants might have its bad sides as well… however, a month of antiox-cream and two months of not antiox-creams shouldn’t do any harm 🙂 on the contrary…
The ANTIOXIDANT properties of this cream are performed not by just one active ingredient but by a combination of antioxidant active ingredients which work in SYNERGY! 🙂
This means that if you make a “Q10 Cream” with only Q10 as active ingredient (even at higher concentration) it won’t work as well as together these other antioxidants! 🙂
Q10 is known to accelerate the metabolism of a cell, therefore it somehow makes the cells live shorter (or, as they put it in the cosmetic industry: “it promotes skin renewal”).
It works well with Vitamin C (of course we are going to use a stable form), Vitamin E and Alpha-Lipoic Acid.
Warning! Alpha-Lipoic Acid has a terrible smell of battered egg, therefore, if you can’t stand bad smell, omit it!
In this recipe I am going to try out a new emulsifier (new to me, that’s what I mean 😉 ), I am talking about “Hitecream 3000”
The INCI is: Potassium Palmitoyl Hydrolyzed Oat Protein, Behenyl Alcohol, Palm Glycerides, Sodium Stearoyl Glutamate, Sucrose Palmitate.
I have decided to follow the technical sheet of it and I have used it as the only emulsifier and thickener (it already contains Behenyl Alcohol, which is a thickener) at 7%.
Now that I have already tried it I can say that the emulsion came out fine and that, even thought 7% is a high concentration, it didn’t become too thick. Probably if I had to remake this cream, I would use it at 5% and try adding a little of Cetyl alcohol… but this I still have to test 🙂 I am just rambling here…
Enough now! 😀
The RECIPE! 🙂
Phase A:
Water to 100
Glycerin 2
Xanthan Gum 0.2 (I am using the non-transparent grade, but the transparent grade is fine as well)
Carbopol Ultrez 21 0.3
Phase B:
Hitecream 3000 7
Kokum butter 1.5 (you can substitute it with another butter)
Murumuru butter 1 (same as above)
Dicaprylyl Ether 1.5 (this is a light synthetic oil, you can substitute it with jojoba oil if you don’t have it. It won’t be the same effect though)
Tocopherol 1 (this is our beloved Vitamin E)
Phase C (the oily one)
Safflower oil 0.5
Ribes Nigrum oil 0.5
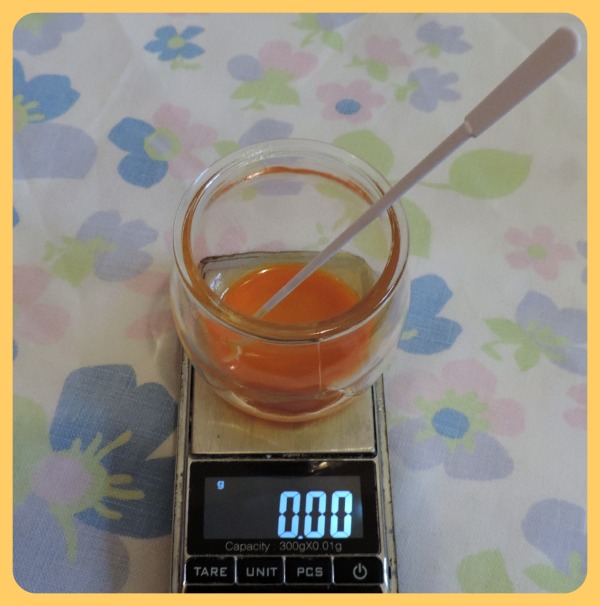
Q10 0.1 (this concentration is enough for the cream! You will notice that the cream, eventually, will be slightly yellow)
Alpha-Lipoic Acid 0.5 (to actually work in synergy it should be used around 1.5%, the problem is the terrible smell it has – and honestly, at 0.5% it already is terrible! So, once again, if you cannot stand massaging your face with a “battered egg smell”, simply ignore and omit this ingredient) 😀
Phase D (the cold water based phase)
SAP 1 (sodium ascorbyl phosphate – this is the stable form of Vitamin C – if you have another stable form you can use it of course)
Rose water 10 (you can also use normal water – it is just to “melt” the SAP in…)
Preservative (at the specific concentration of the preservative you are using)
D-Panthenol 1 (also known as Vitamin B5 – remember that this can break down the Carbopol Ultrez 21 we have in the Phase A, so add little at a time and if you see the cream breaking down… don’t add all of it!)
The HOW TO is the same as for any other cream with a waxy emulsifier I have done, so don’t get lost if most of the pictures, here, will be from old creams I made! 🙂
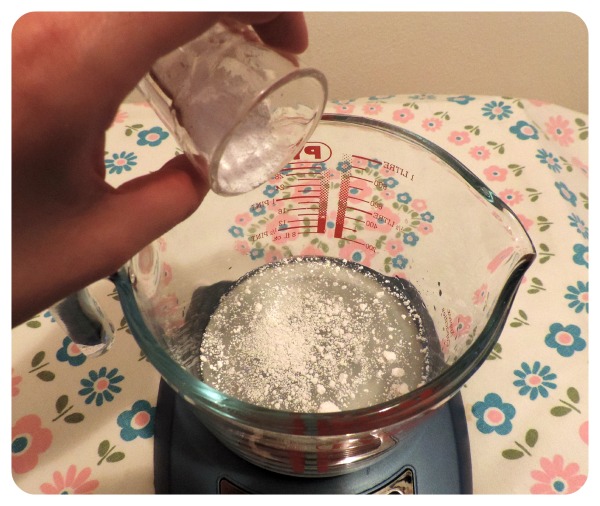
1) When we work with Xanthan Gum and Carbopol Ultrez 21 we have to separate the Phase A initially:
First we disperse the Xanthan Gum in the glycerin and add a little bit of the water of the Phase A

Then we pour the Carbopol on top of the remaining water of the Phase A.
Until we see something like this:

(It will happen naturally and without stirring! If you stir, you might get most of the Carbopol stuck to your spoon or spatula and that will be a good % of it… so don’t stir! 😉 )
Only after the Carbopol has “hydrated” you can add the Xanthan Gum mix to the Carbopol water.
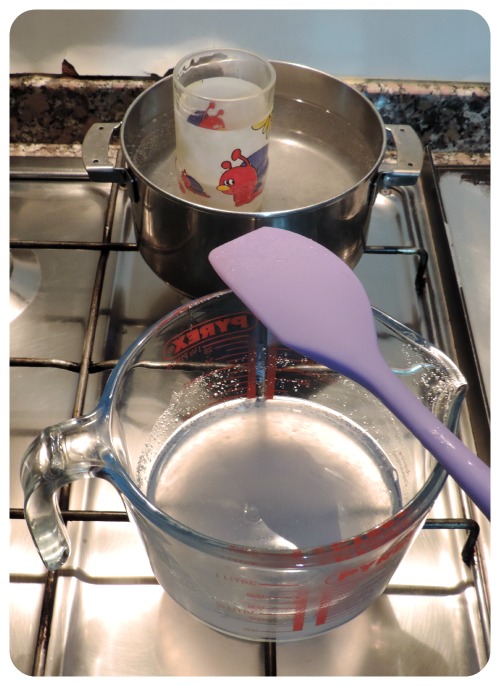
2) Measure the Phase B in a separate Becher
3) Heat up the two phases up to 70°C
4) When they both reached the temperature of 70°C, pour the Phase B into the Phase A (little at a time, while stirring with a spatula). When all the Phase B is in the Phase A, it is time to use your stick blender or immersion mixer and create the emulsion.
Pay attention to not incorporate any air in the process (it might destabilize your emulsion in the future, if the cream is full of micro-bubbles).
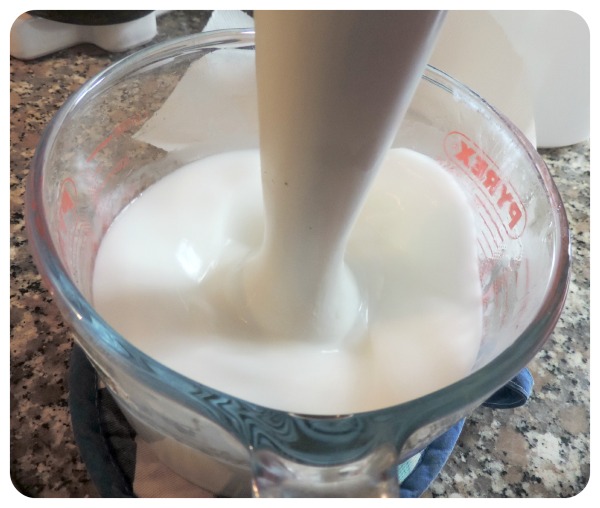
5) Once it looks emulsified (it will still be quite liquid, however I noticed that this Hitecream emulsifier thickens pretty fast 🙂 ) keep stirring with a spatula until the cream reaches room temperature.
Do not skip this step: when the emulsion is still hot and quite liquid it can easily break; stirring with a spatula helps the emulsion get stable.

6) Measure the oily Phase C:
(here are some new pictures for you… enjoy!!! 🙂 )

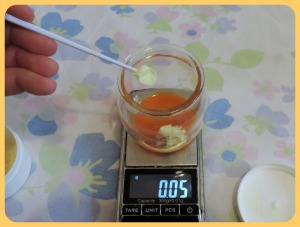
The one on the left is the Q10! You can see what a wonderful orange rich color it has!
In the cream, however, it will become quite pale (we are using only 0.1% of it).
Mix it to the oils
Add the Alpha-Lipoic Acid (which is the pale yellow powder on the spoon)
Well done! 🙂
Add it to the emulsion, using a spatula.
6) Measure the Phase C and add it to the emulsion as well.
7) Give it a last mix with the immersion mixer! 🙂
That’s it! 😀
Notice: I added a drop of yellow into the final cream, the color wouldn’t be so yellow otherwise 🙂
For more recipes click HERE
To learn how to formulate cosmetics click HERE
For a list of online cosmetic ingredients suppliers click HERE
Did you like the recipe? 🙂
Any request? 🙂

This work is licensed under a Creative Commons Attribution-NonCommercial-NoDerivatives 4.0 International License.


Woo!!!
LikeLike
how about we add kojic acid or sepi white for lightening?
LikeLike
What is the INCI for Sepi white?
Kojic acid is just an acid and, as such it can only lightly (and with time, unless you make a totally different cosmetic: an acid peel) peel your outer skin layer making your skin appear lighter in case you got tanned.
All acids work in the same way but they need to be handled differently in formulation (some are stronger than others), but they don’t really whiten the skin.
LikeLike
Hi there, could you substitute Hitecream 3000 with a different emulsifier? I have MGD and behenyl alcohol. Could I combine the two?
LikeLike
Hi Sophie, you can always substitute emulsifiers and thickeners with others that you have available… just keep in mind that the consistency of the lotion will change as well.
I never liked MGD much and I found it quite difficult to work with it, at least compared to other emulsifiers… So I wish you good luck 😀
LikeLike
So all this active ingredients will not work as whitening as they claim.but is there anything that help active ingredients like to boost it’s effectiveness
LikeLike
Hmmm the active ingredients do SOMETHING but they cannot do “as much as we often expect” them to do 😀 something that might HELP are systems in which the active ingredients are “transported” a little deeper in the skin (still, not THAT deep) like liposomes, and some actives are already sold encapsulated in them as it isn’t something we can really DIY.
LikeLike